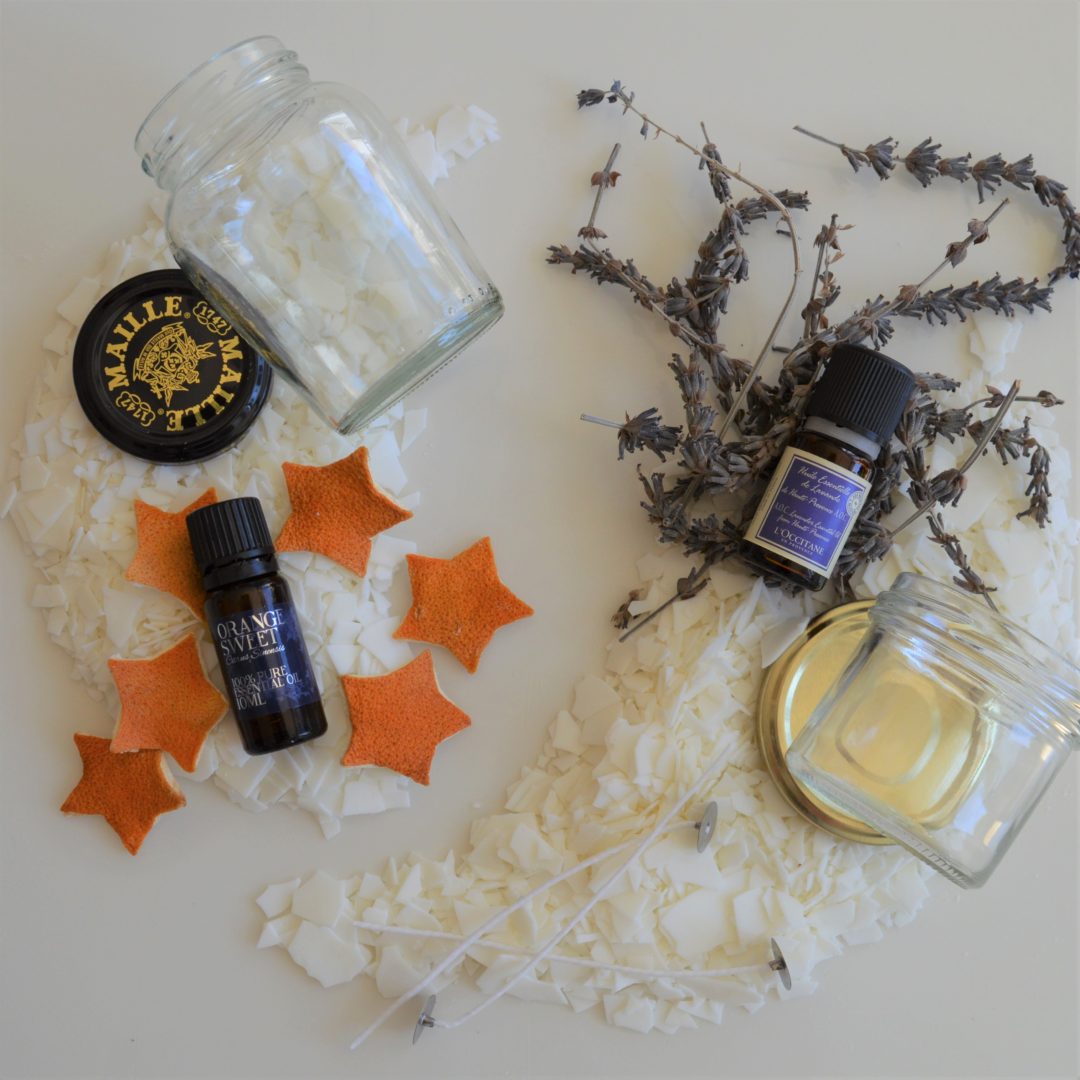
I always have upcycling on the brain so when my empty jar shelf started overflowing, I figured I needed to do something with them… Candles! So I had the jars and I have a collection of essential oils at home so I was just missing the wax and the wicks. For me soya wax was the only choice: it’s vegan, it burns cleaner (paraffin is derived from petroleum) and it’s easy to clean up. I reached out to hobbycraft and they sent me some soya wax and pre-waxed wicks to try.
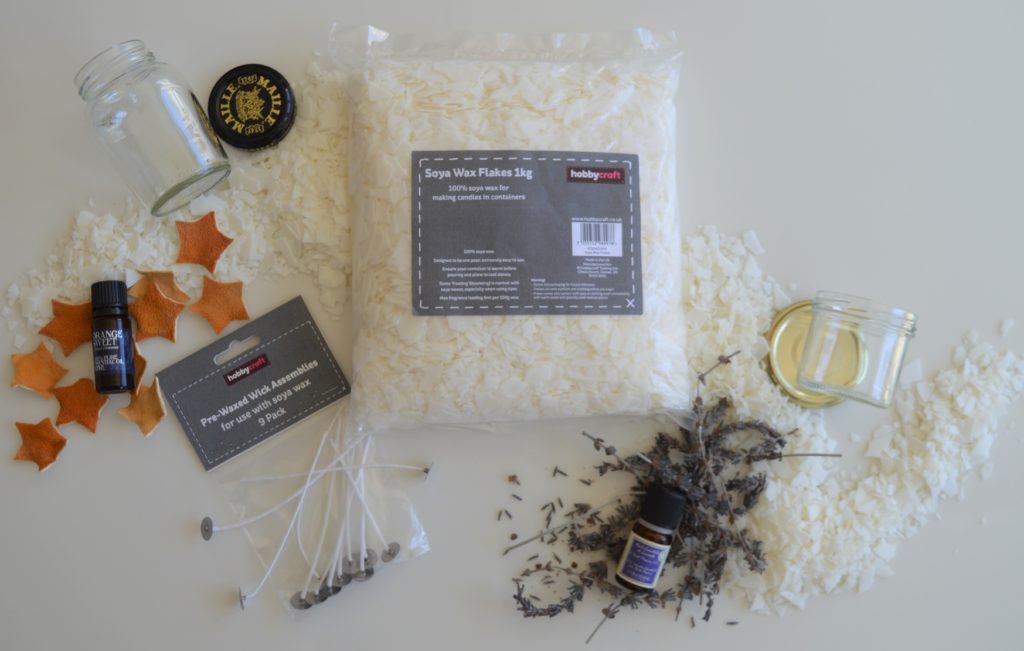
A small aside about the essential oils. There are specific candle fragrances you can buy which apparently have a stronger fragrance in soy wax than essential oils do. But, I like using essential oils as they are natural and you can use them for their known properties. I use lavender oil on a regular basis for it’s relaxing properties (including during the birth of both of my daughters).
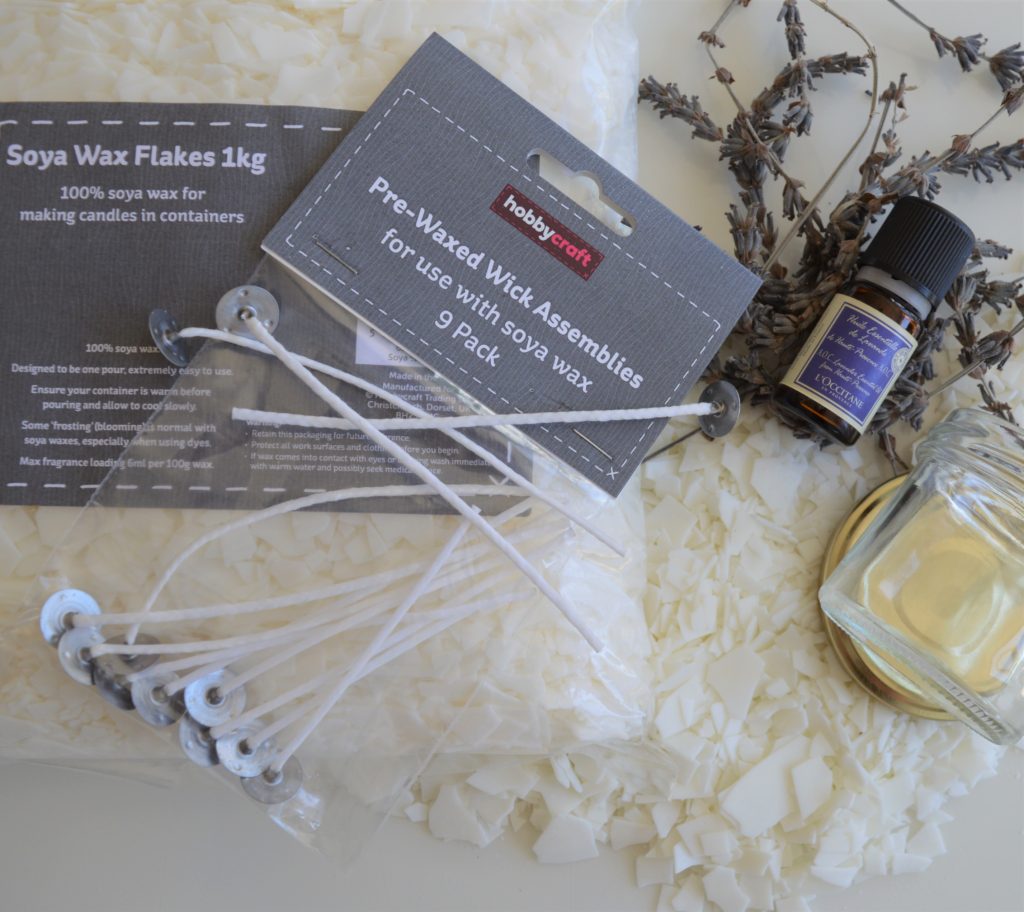
To make the candles you will need:
- soya wax flakes
- pre-assembled soya wax wicks
- containers (you can use anything glass or ceramic – it needs to take the heat of the melted wax)
- optional: essential oils
- glue gun
- straw
- saucepan (I got one from a charity shop) and a wooden spoon
- jug (I got a glass one from the pound shop)
Step 1 – Measure out your wax. It’s super simple: double it! Fill your container twice and put it in the saucepan. When the wax melts it reduces by half so you need double the amount to fill your jar. Depending on the size of your saucepan, you can do large or small batches. Put the saucepan containing the wax flakes to one side whilst you prepare the jars.

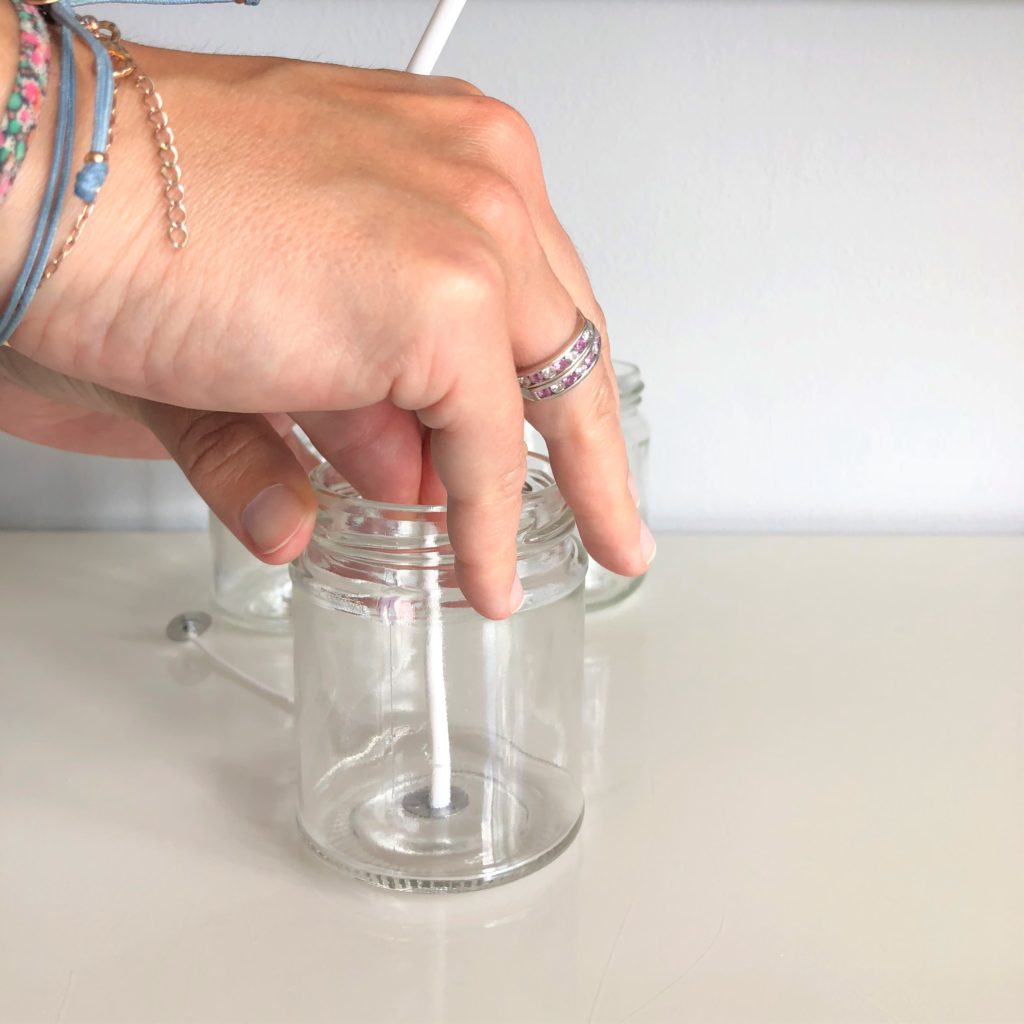
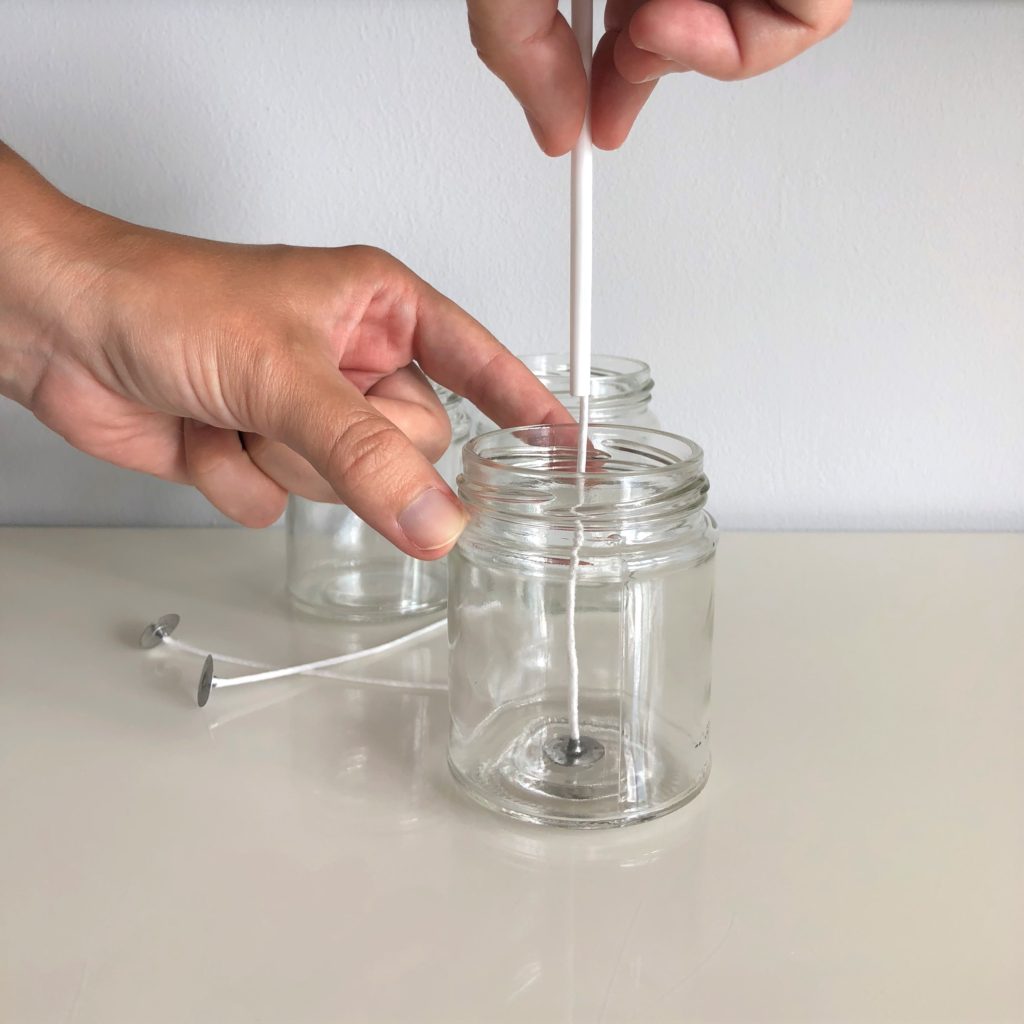
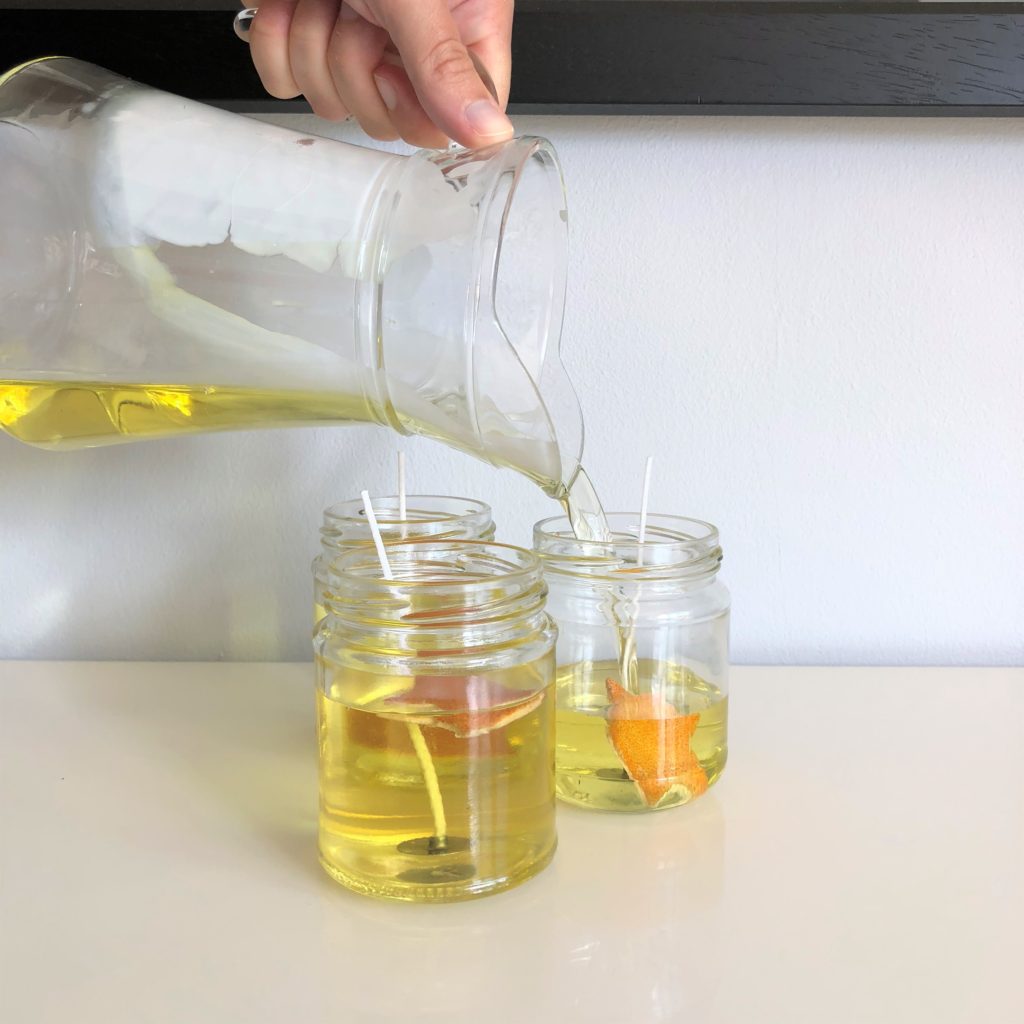
Step 2 – After doing some reading, I decided to get the pre-assembled wicks which have a metal base attached. I used a straw to make it easier to hold the wick and position it into the jar. I used my glue gun to attach it to the centre of the base of the jar. Holding it down for a few seconds to dry.

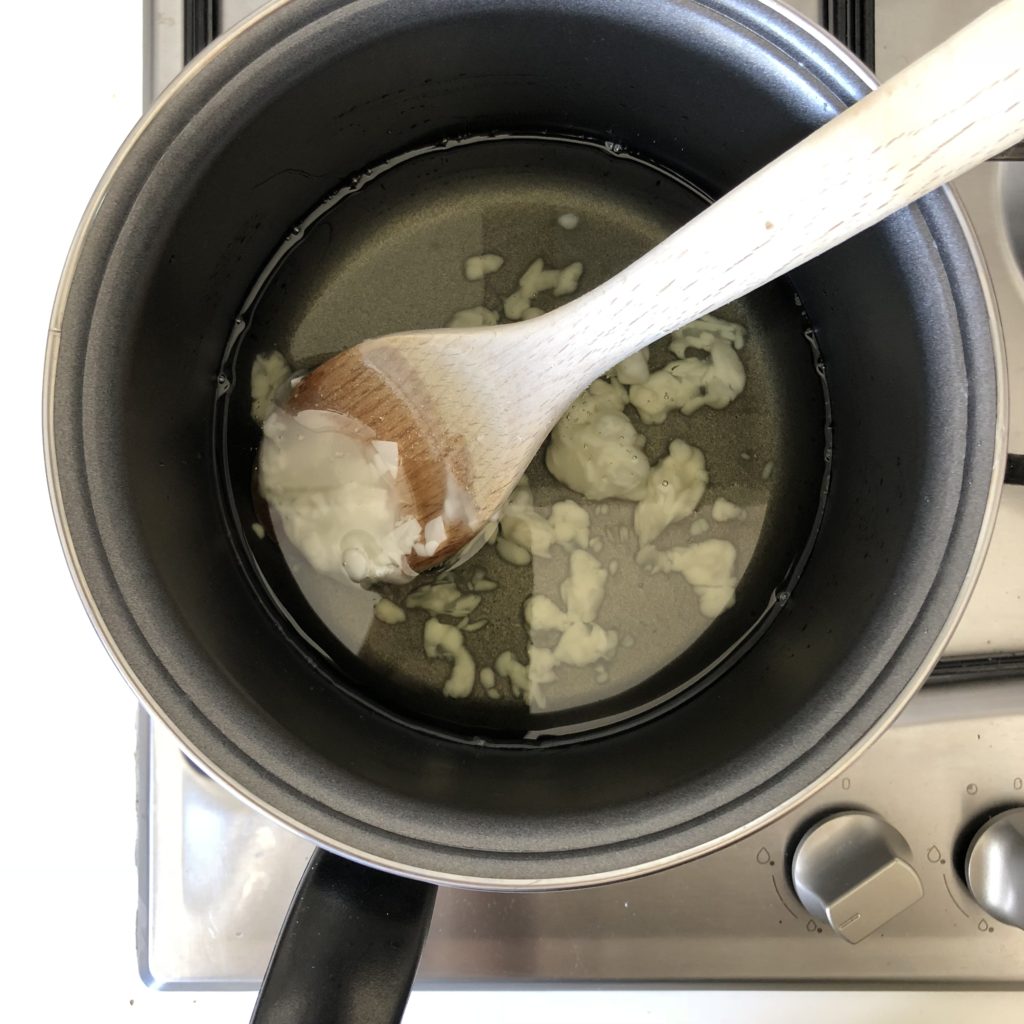
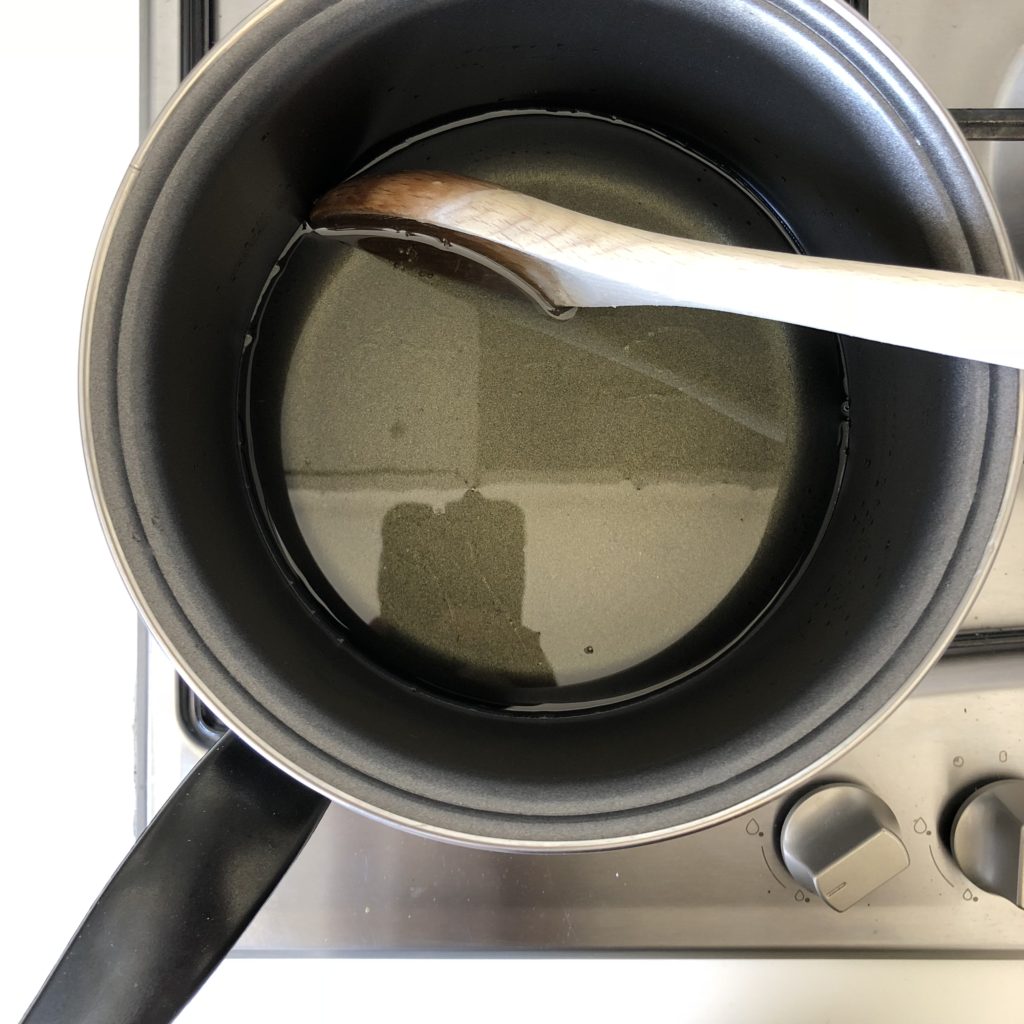
Step 3 – Melting the wax. I didn’t use a thermometer – I like to keep things simple. I just gently heated the wax on the hob on a low flame. Obviously keep a close eye on it: melted wax is hot, can burn and if left it can catch fire! I used a wooden spoon to stir the wax every now and again to break up larger clumps. Once it was completely clear – like the second photo – your wax is ready. Easy.
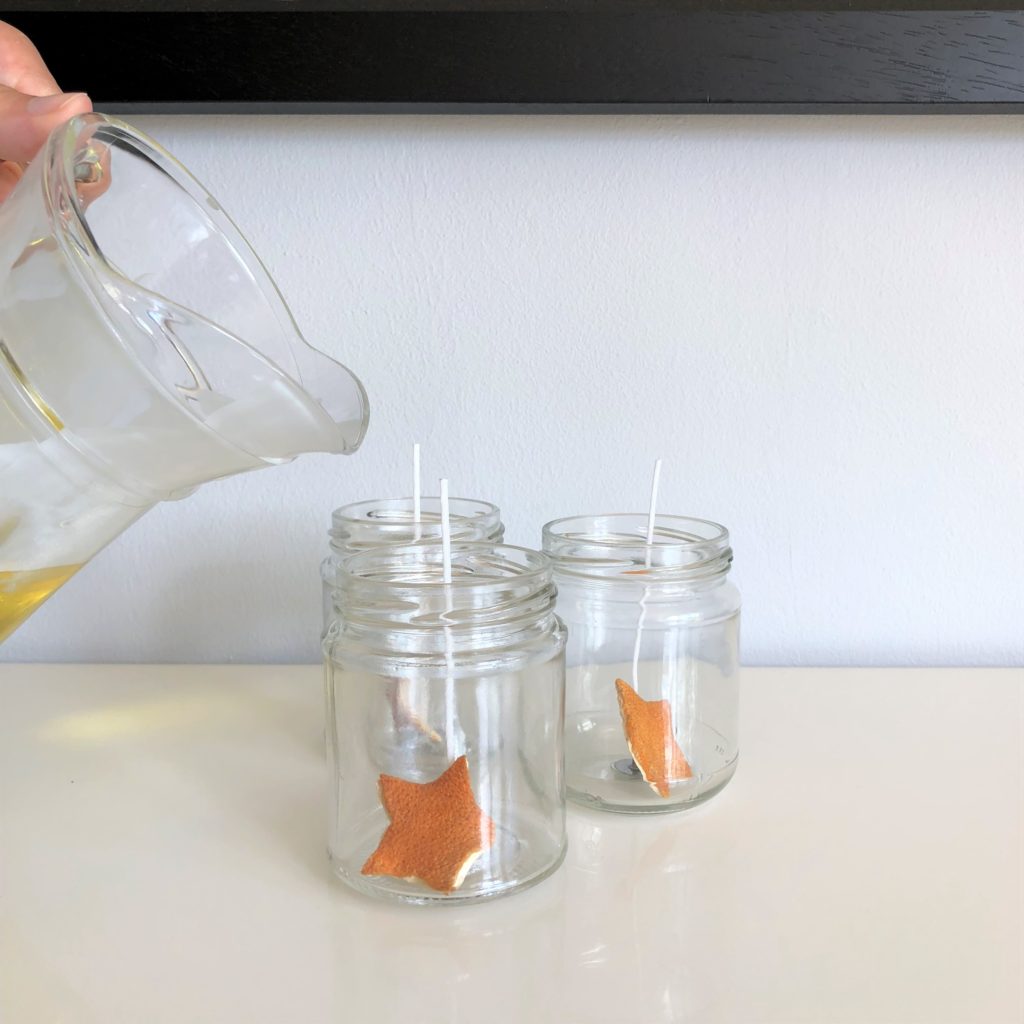
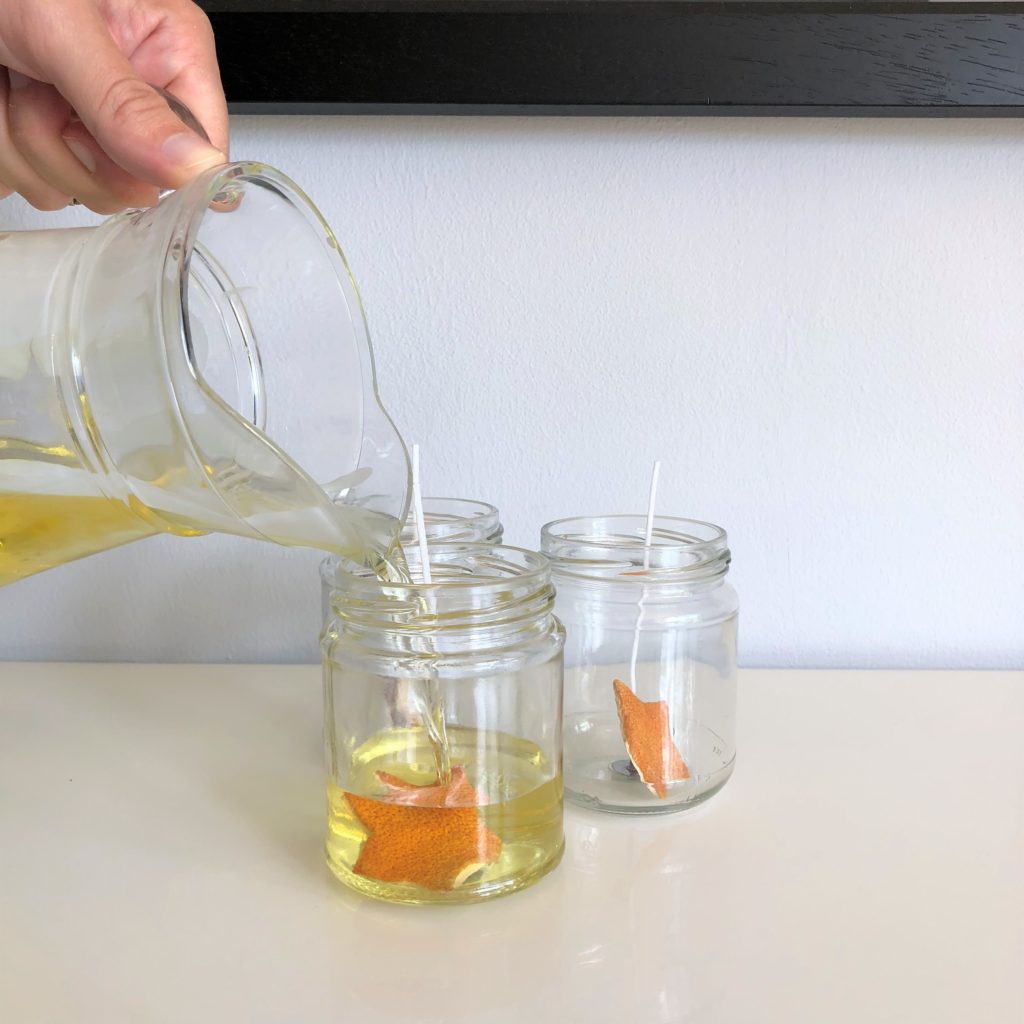
Step 4 – Adding the essential oils. Once the wax has melted let it cool for a couple of minutes before you add the essential oils. The reason you don’t want to add them to the melted wax immediately is that the high heat will reduce the scent of your oils. Depending on how strong your oil is, you can use about 1 ½ teaspoons of essential oil per 500g of wax. Stir well. I transferred the melted wax + essential oils to a glass jug to make it easier to pour it into the prepared jars.
Step 5 – You then need to secure the wicks so that they set straight in the candle. I used washi tape.
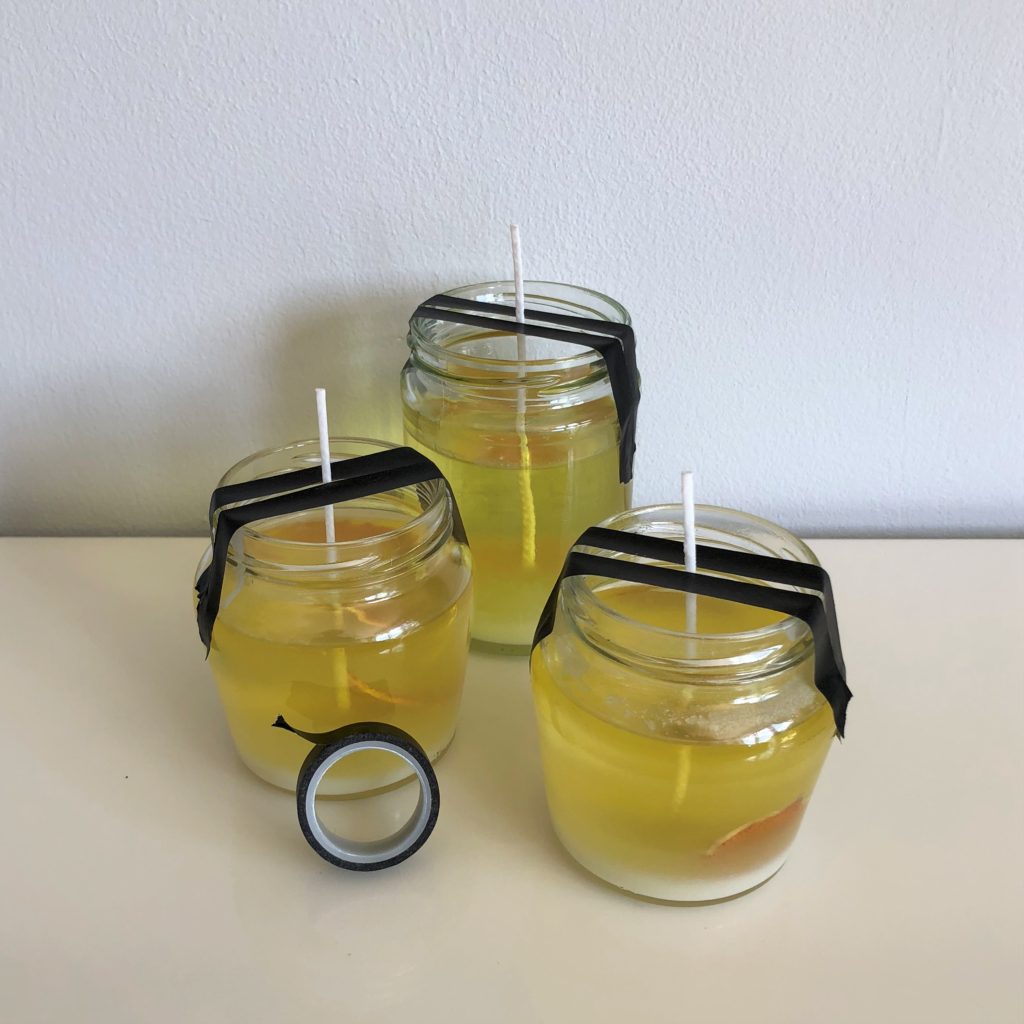
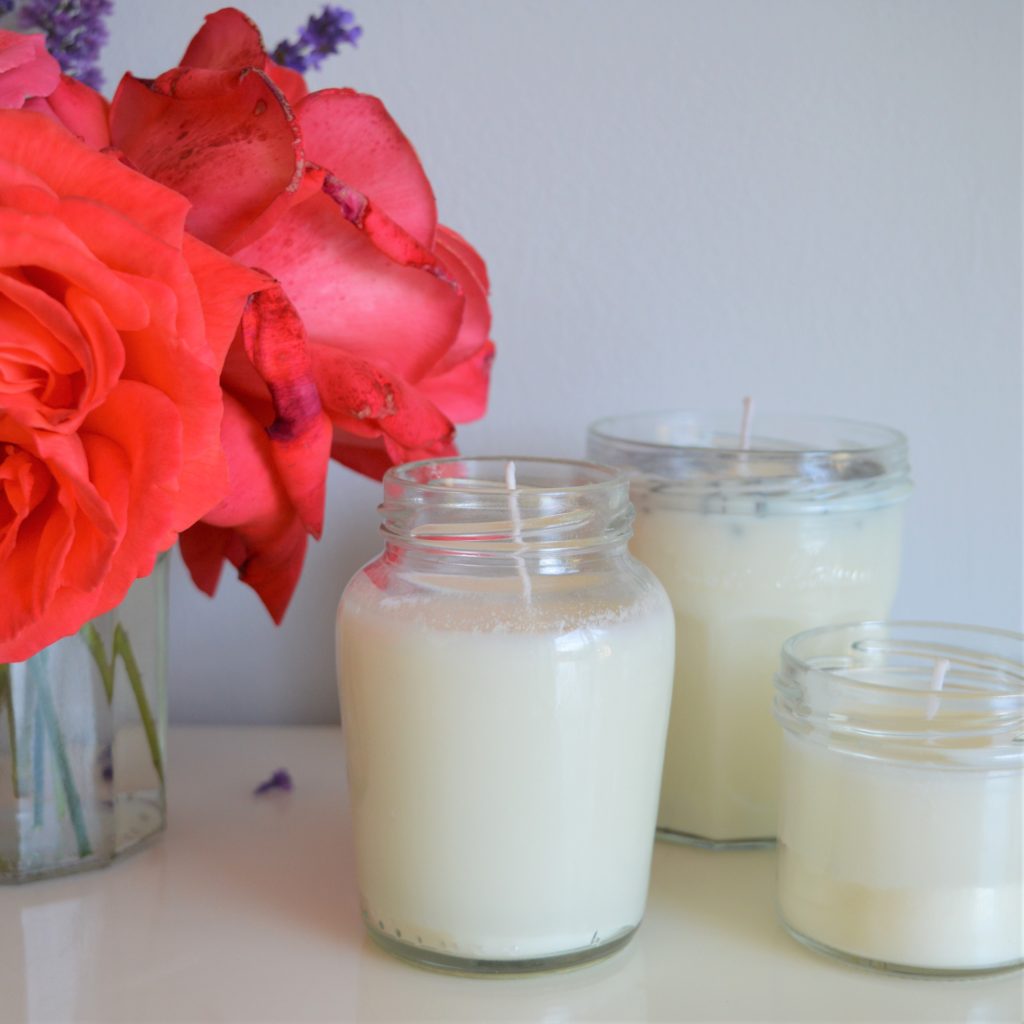
Leave to cool at room temperature overnight and then trim the wick to 2cm above the wax (or to suit the jar). Et voilà!
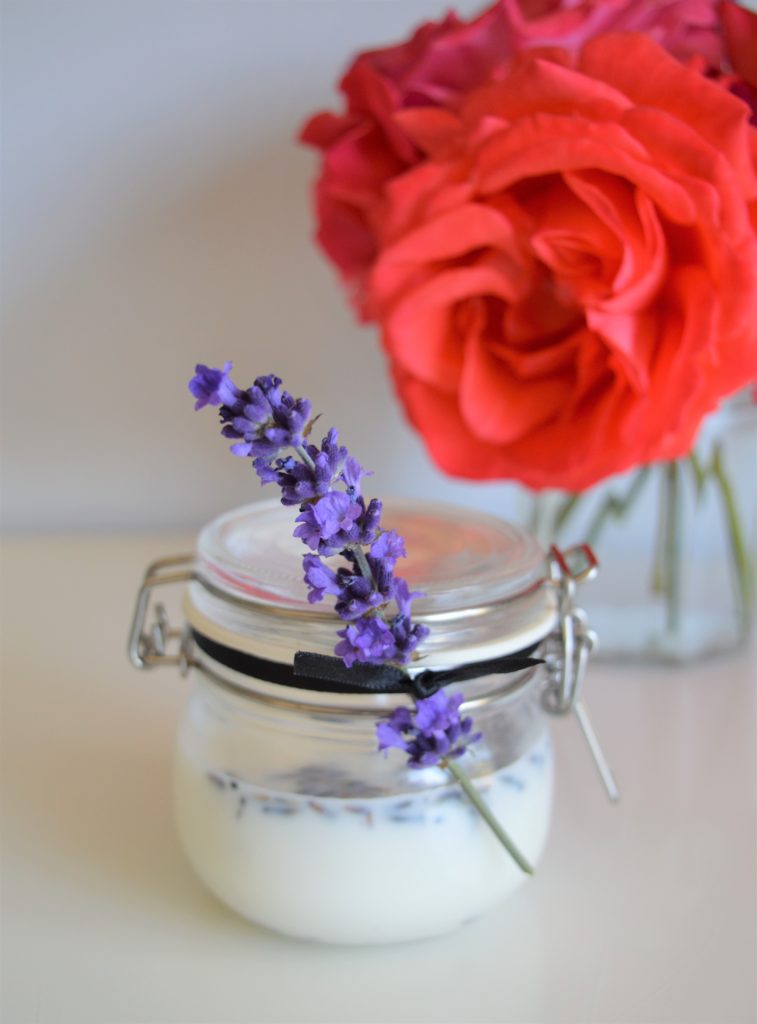
I made two batches, one lavender and one sweet orange. I added dried lavender to the lavender ones and dried orange peel cut into a star (with a cookie cutter) to the orange ones.
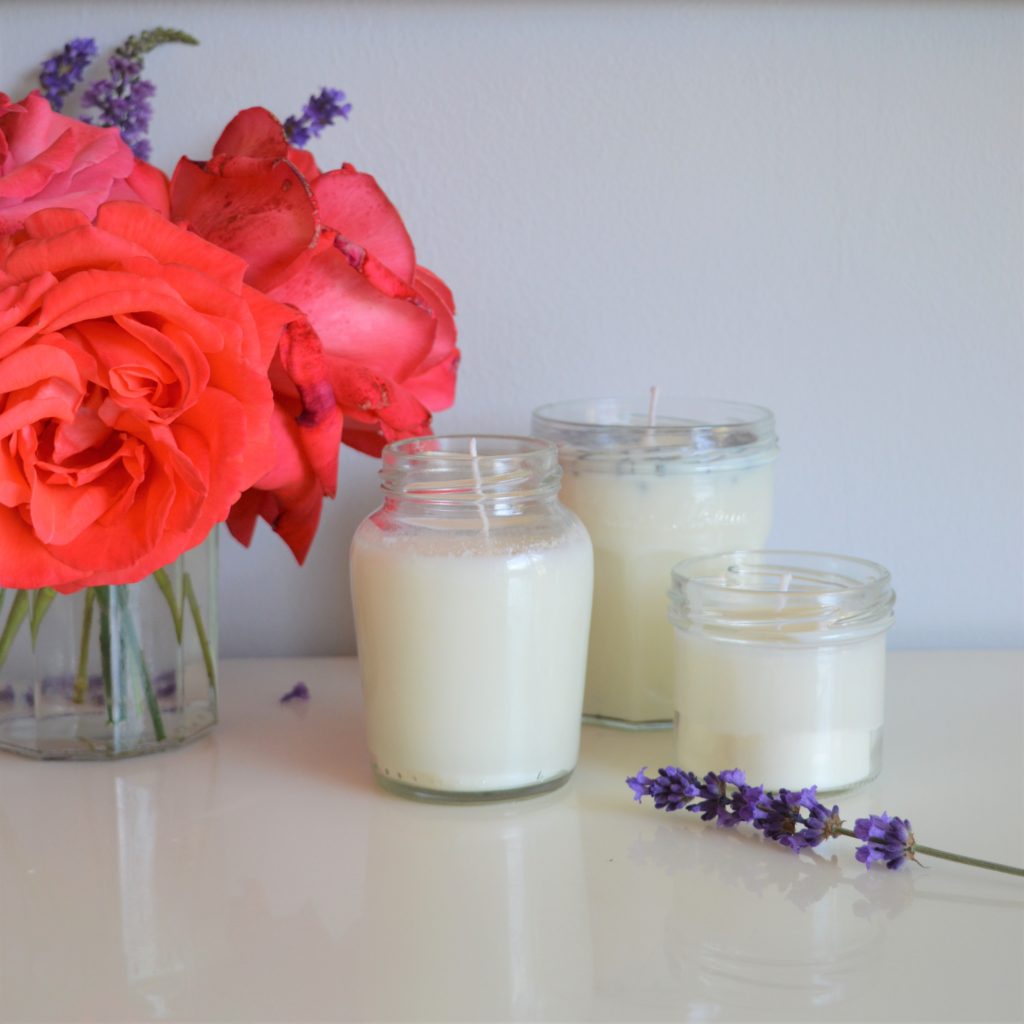
Gorgeous to keep or give away.
Please comment below if you have any questions and please share your inspired home made productions on social media with the tag #homemadeproductions
Happy making!
Small print: The wax and wicks used in this post were kindly gifted by hobbycraft.