Another summer, another lavender post. Last summer I shared how to make bouteille de lavande (lavender bottles) so this summer we thought we would make lavender bags with my mum’s lavender.

Here are the little helpers cutting the lavender. I read that you need to cut your lavender 8 inches above the wood on the 8th of the 8th month. Once cut, you need to make bouquets to dry the lavender. I used off cuts of material to tie them together but you could use anything you have at home.


You then need to hang them upside down for a week to dry the heads. This process also intensifies the smell of the lavender as the oil gathers in the head.


A week later, you need to remove the heads from the stalks. I did this with my fingers onto a tray outside as it can be a bit messy. But it smells amazing!

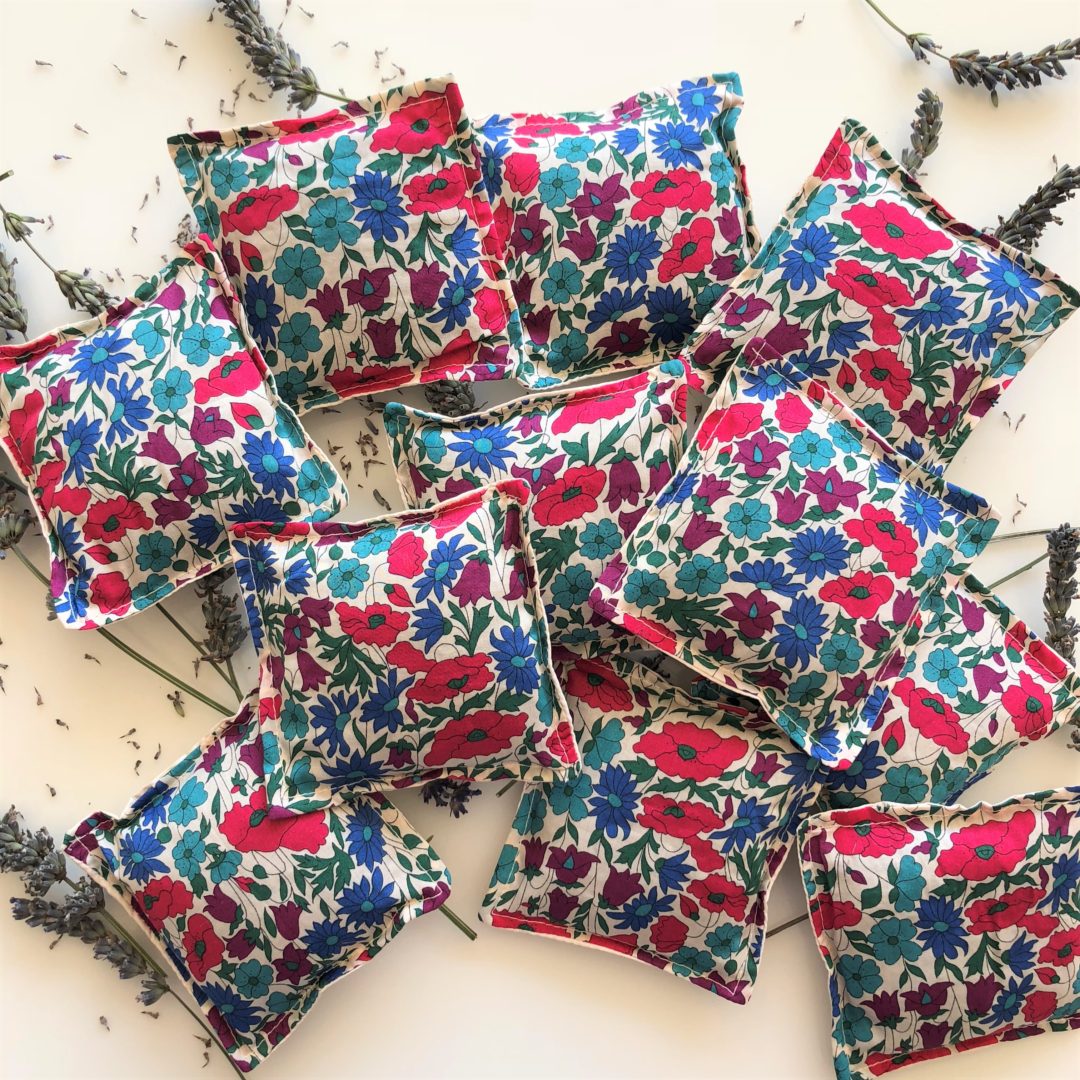
Then the fun bit: you need to pick your material for the bags. I chose the Poppy and Daisy Liberty print fabric as I will be selling them to raise money for the Royal British Legion. I got it from a lovely liberty fabric seller on eBay called thelittleworldoffabric. For the reverse, my mum had a cream fabric which was the perfect match. My mum kindly sewed these for me. They are 10cm squares sewed together on 3 sides on the reverse and then turned the right way round to make pockets.

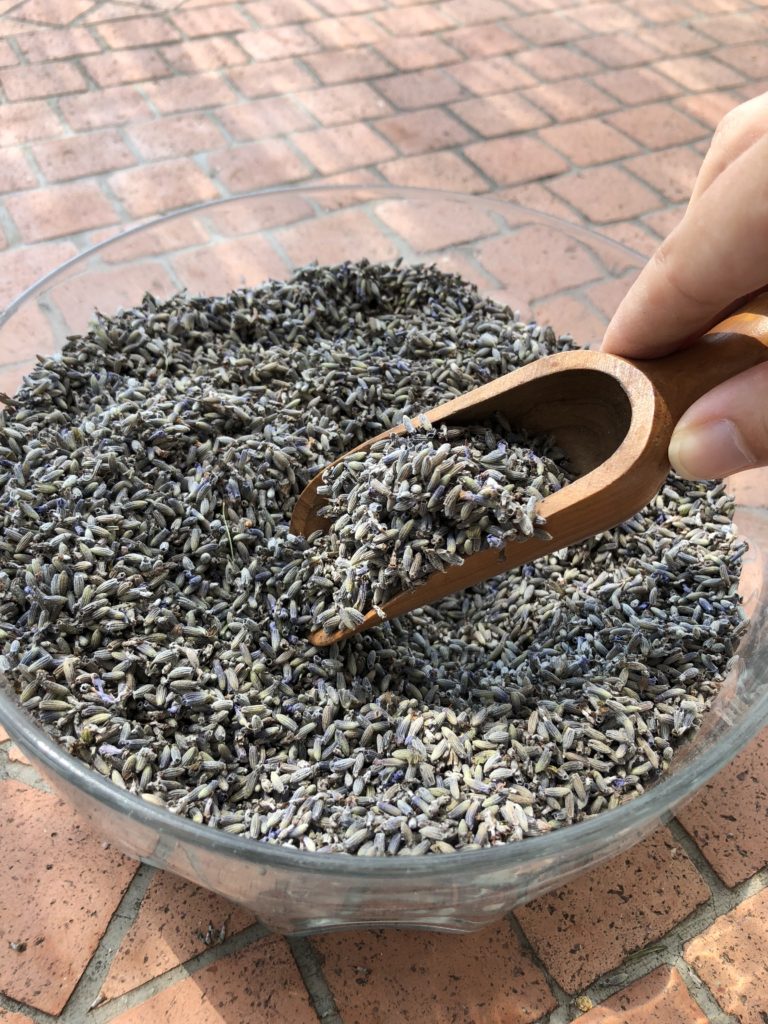
My mum had this handy scoop in her kitchen cupboard but you could use a spoon. You then just need to fill the bags.


My mum then sewed the opening closed and added an extra line of stitching.
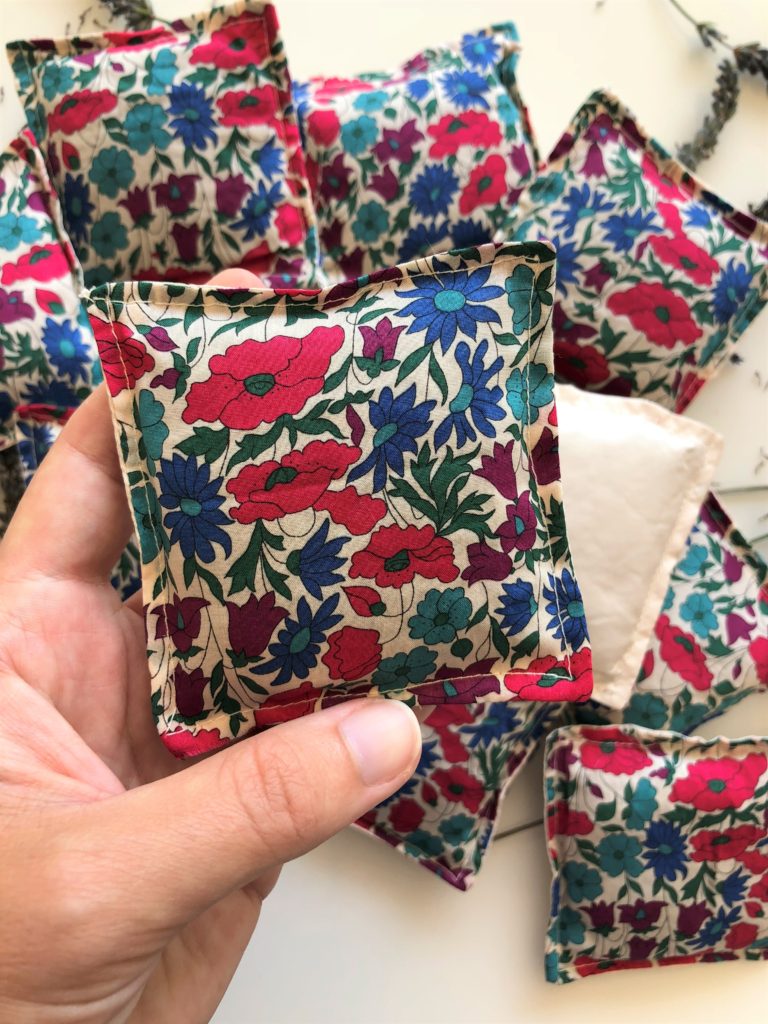
Voilà Liberty poppy print lavender bags. Aren’t they lovely and they smell divine!

Please comment below if you have any questions and please share your inspired home made productions on social media with the tag #homemadeproductions
Happy making!

