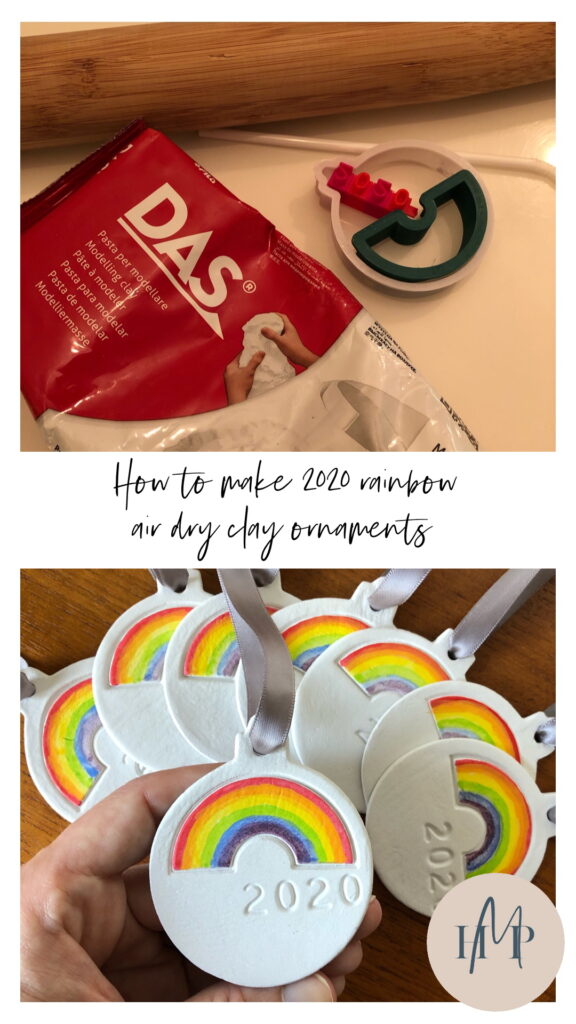
I love making air dry clay decorations: they are perfect for Christmas, gifts, teacher presents and of course I had to give them a 2020 rainbow twist. So here’s my how to make air dry clay 2020 rainbow decorations.
You will need:
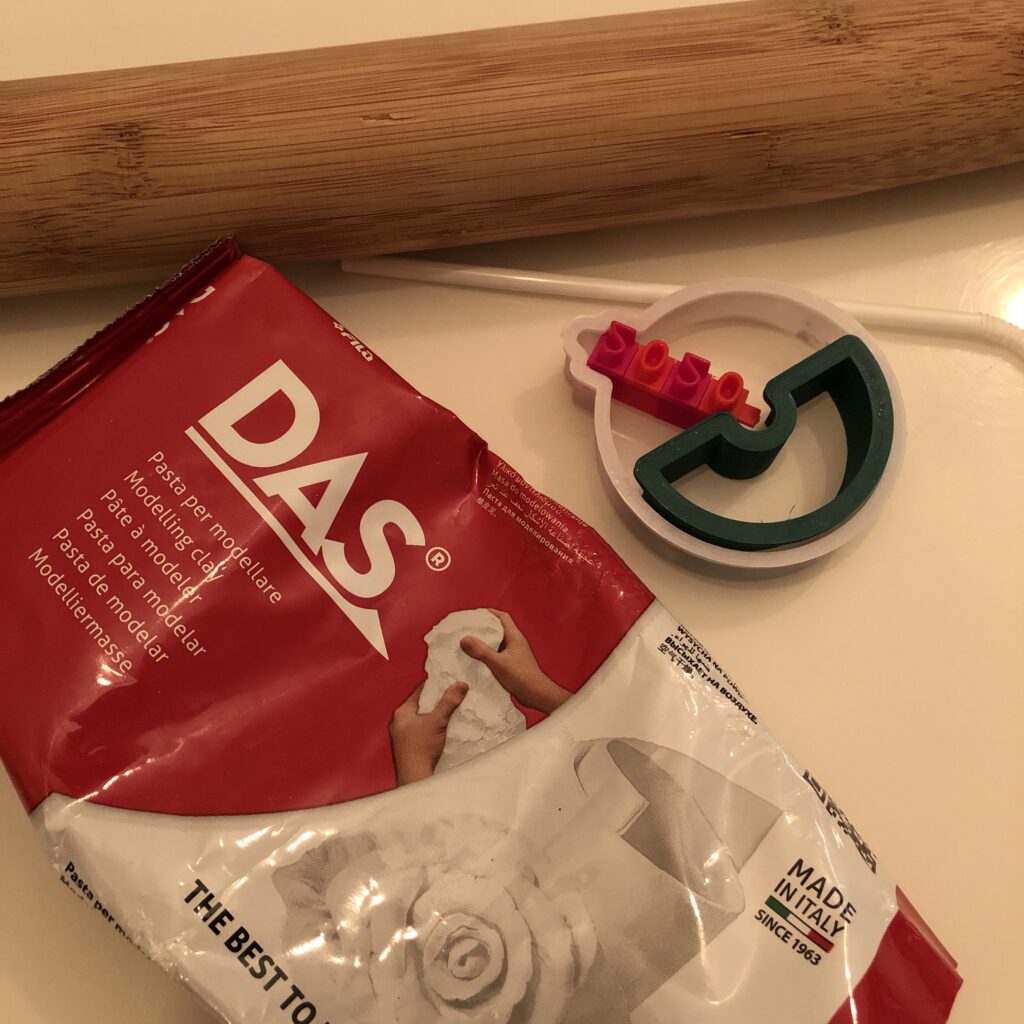
- air dry clay (I use DAS air dry clay)
- a rolling pin
- a tray
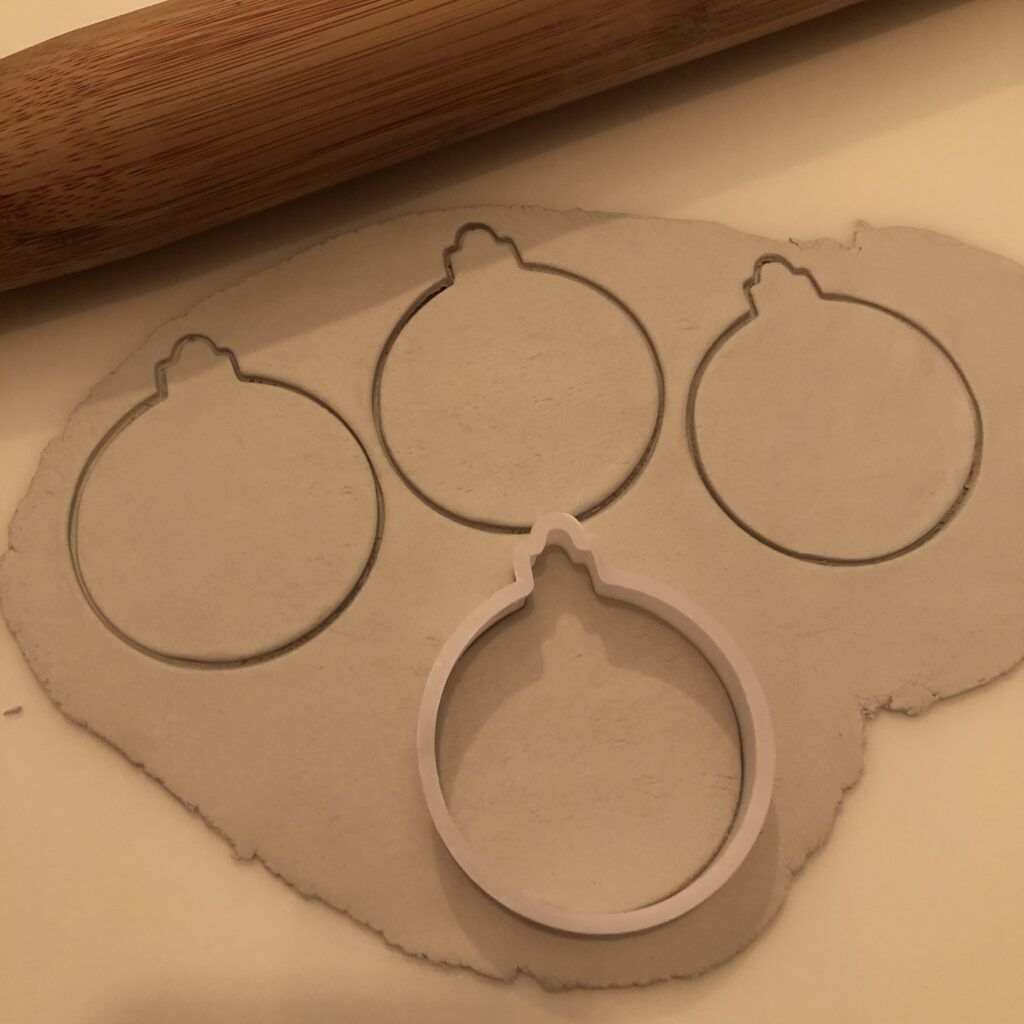
- an ornament shaped cookie cutter
- a plastic straw (I have an old one that I reuse)
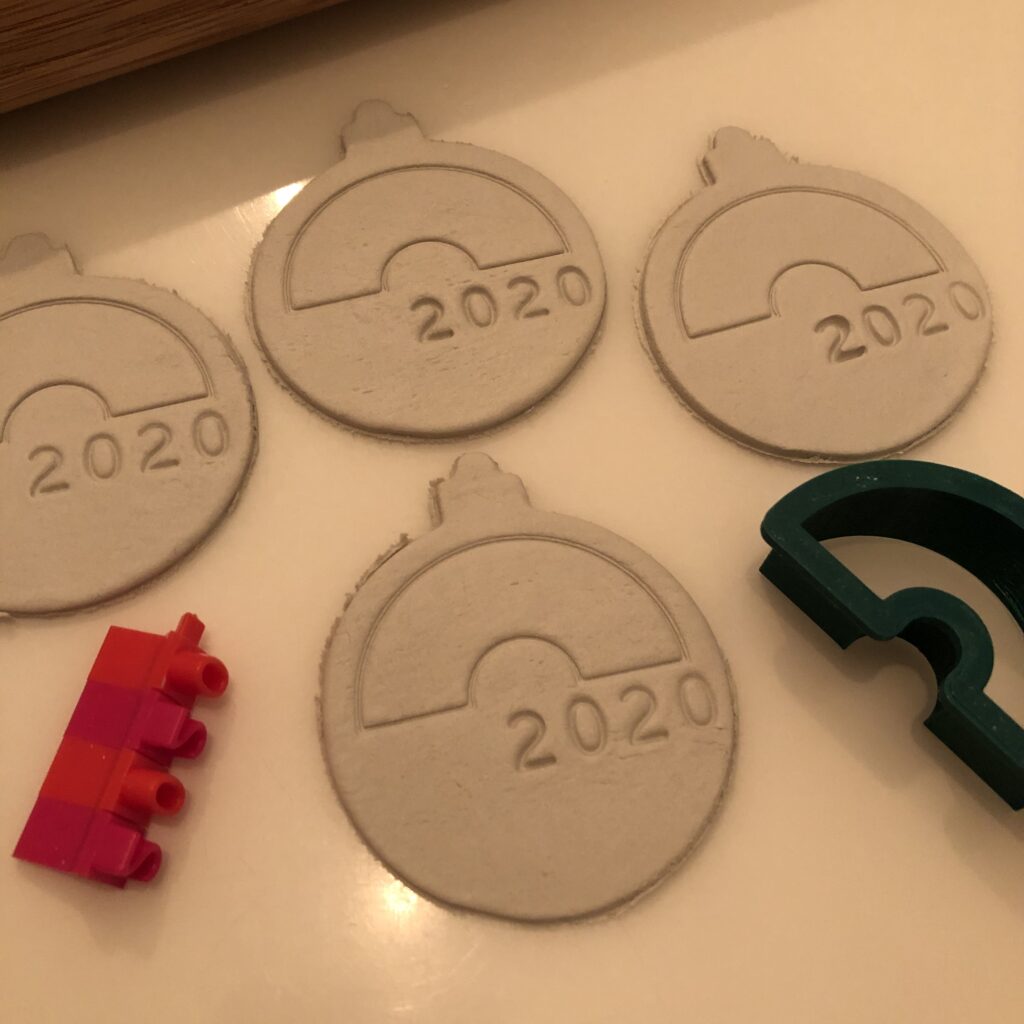
- for stamping: number stamps (I used this set) and a rainbow cookie cutter (I used this one)
- fine sanding paper
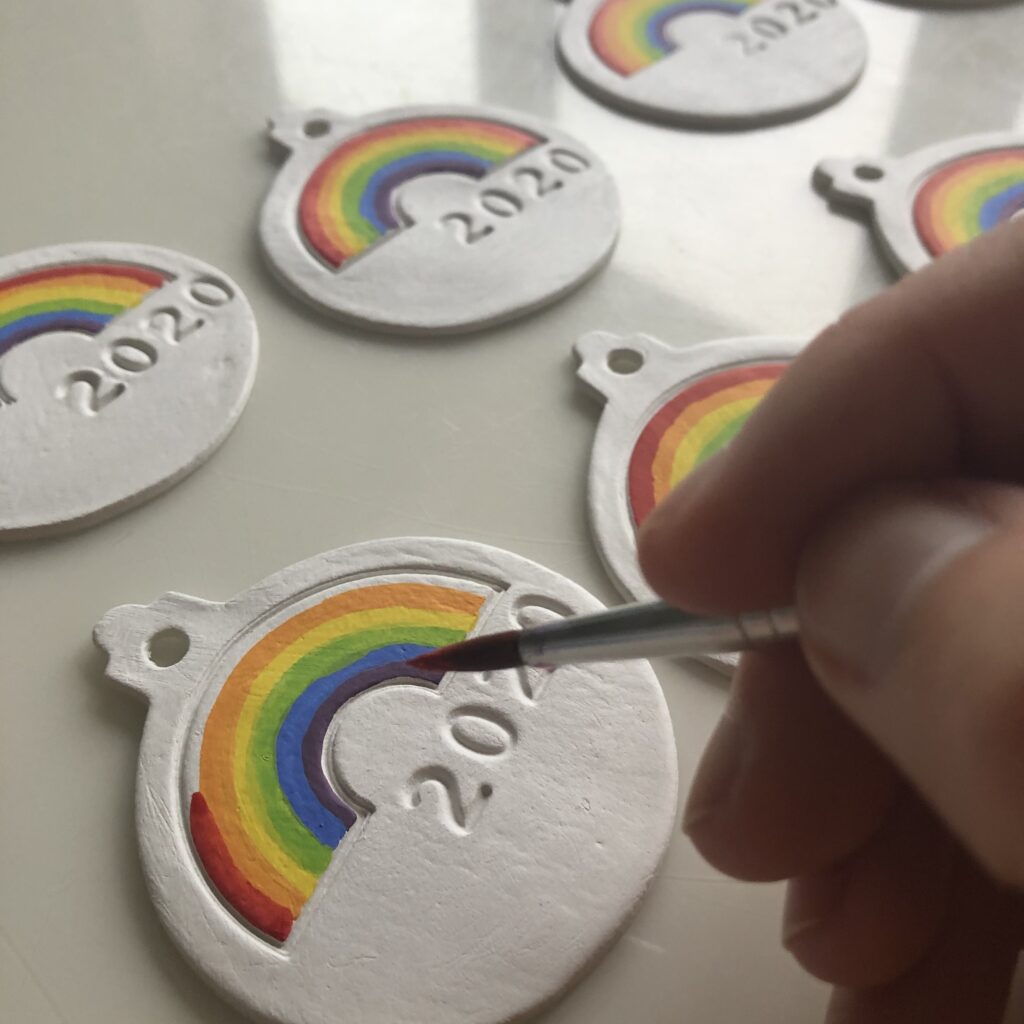
- for painting: you need an intense pigment paint to paint on clay (I used a Derwent Inktense set)
- a ribbon or twine to hang it
I use DAS air dry clay as it dries beautifully, and you can reseal the packet and keep it in an airtight container for months. To start you need a clean surface and a rolling pin. Like dough, you pull off a section of the air dry clay, kneed it and then roll it until thin. Then you use the ornament shaped cookie cutter to cut out your decorations.
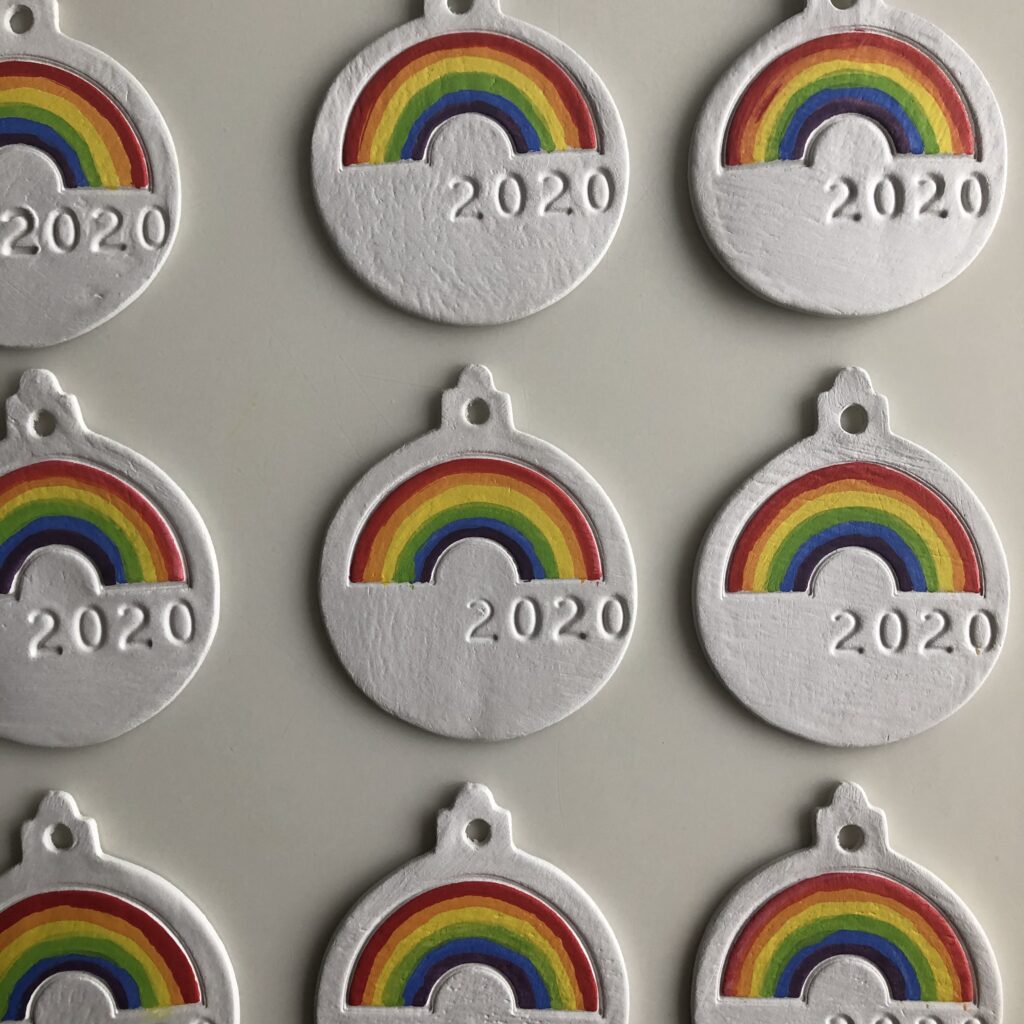
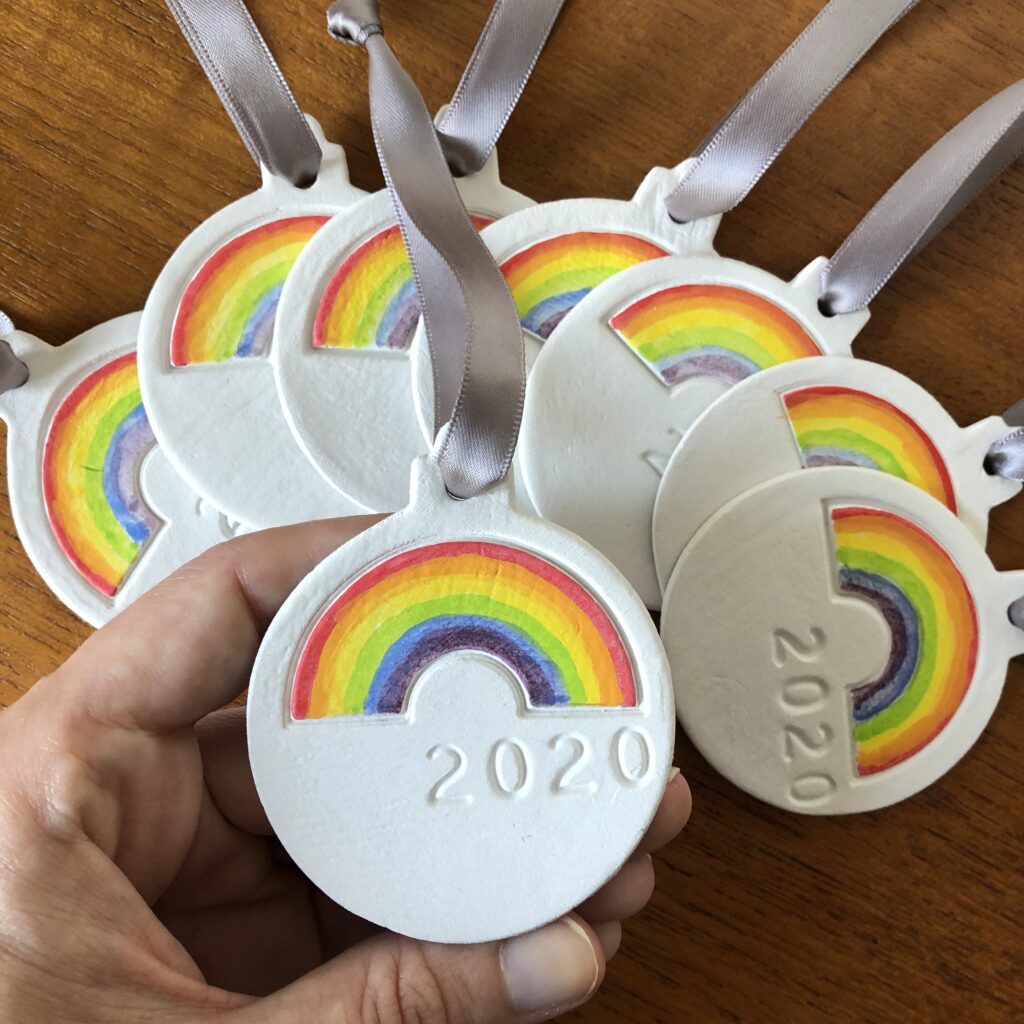
For the stamping I used a rainbow cookie cutter and 2020 number stamps. I lightly pressed the rainbow cutter to leave an imprint, rather than cutting through. My tip when you’re using letter or number stamping, I keep a small bit of clay to one side to test my letters are the right way round before stamping the finished product. I use these letters to stamp FIMO, air dry clay, cookies… the possibilities are endless.
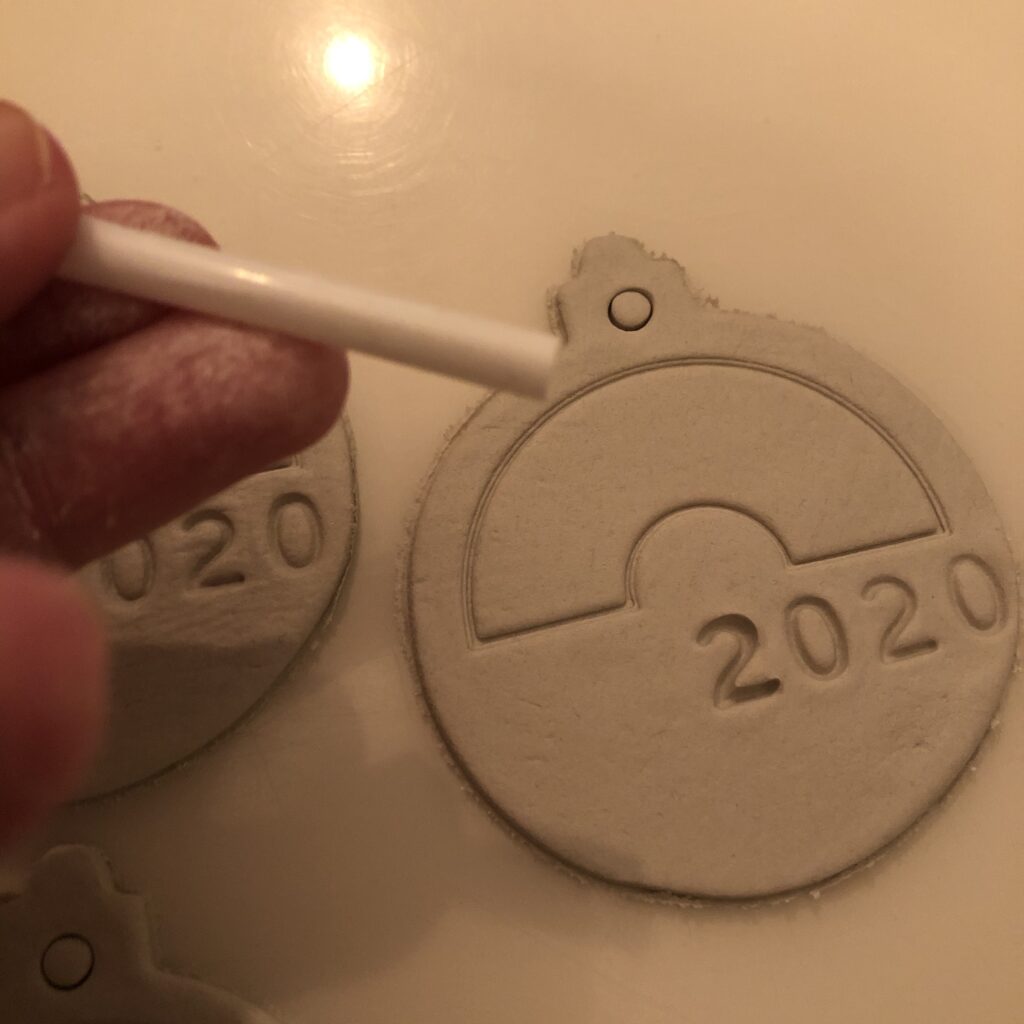
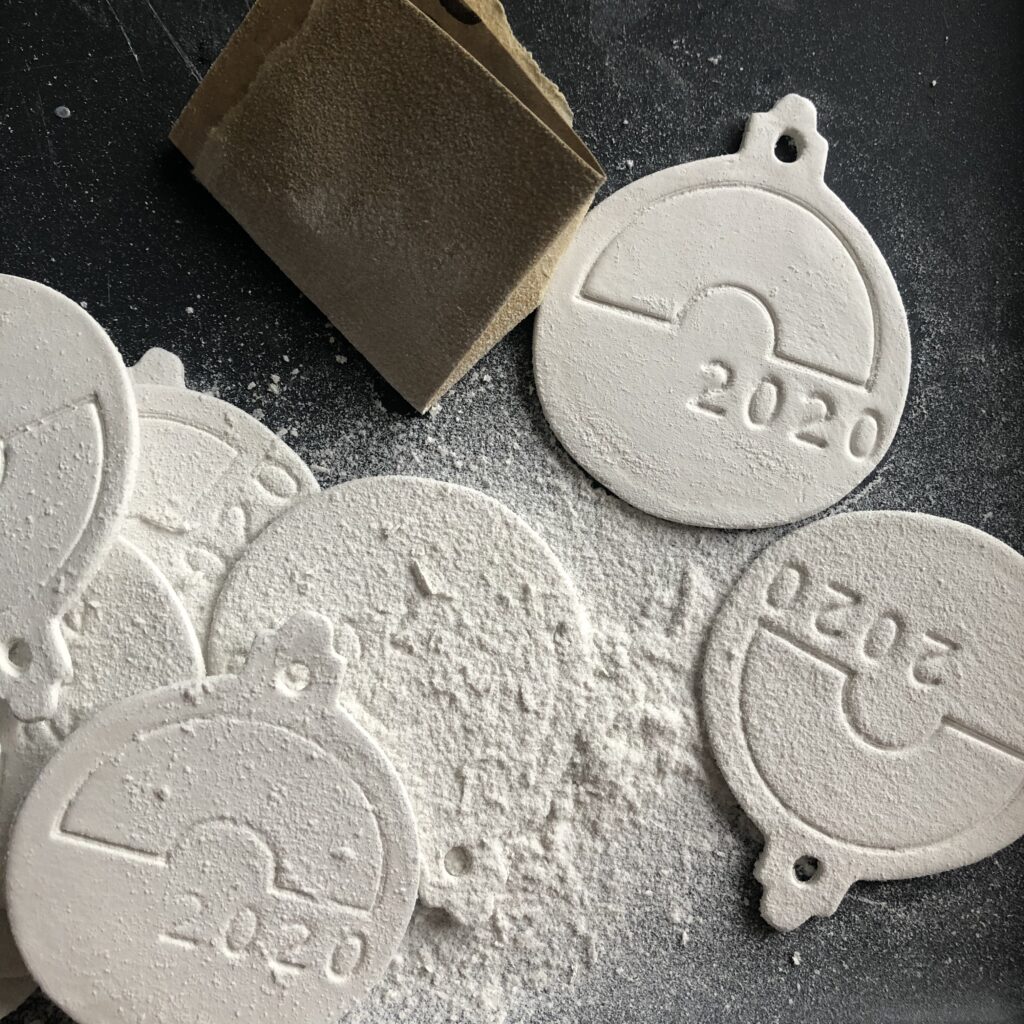
Then to make the hole to hang it up, use an old plastic straw. Make sure you make the hole in the middle so it hangs balanced.
Place them on a tray as you go. Make sure whilst they are drying that they are flat and that you keep turning them. I leave mine to dry overnight but if they are thicker, they make take a little longer. You can feel when the clay isn’t fully dry.
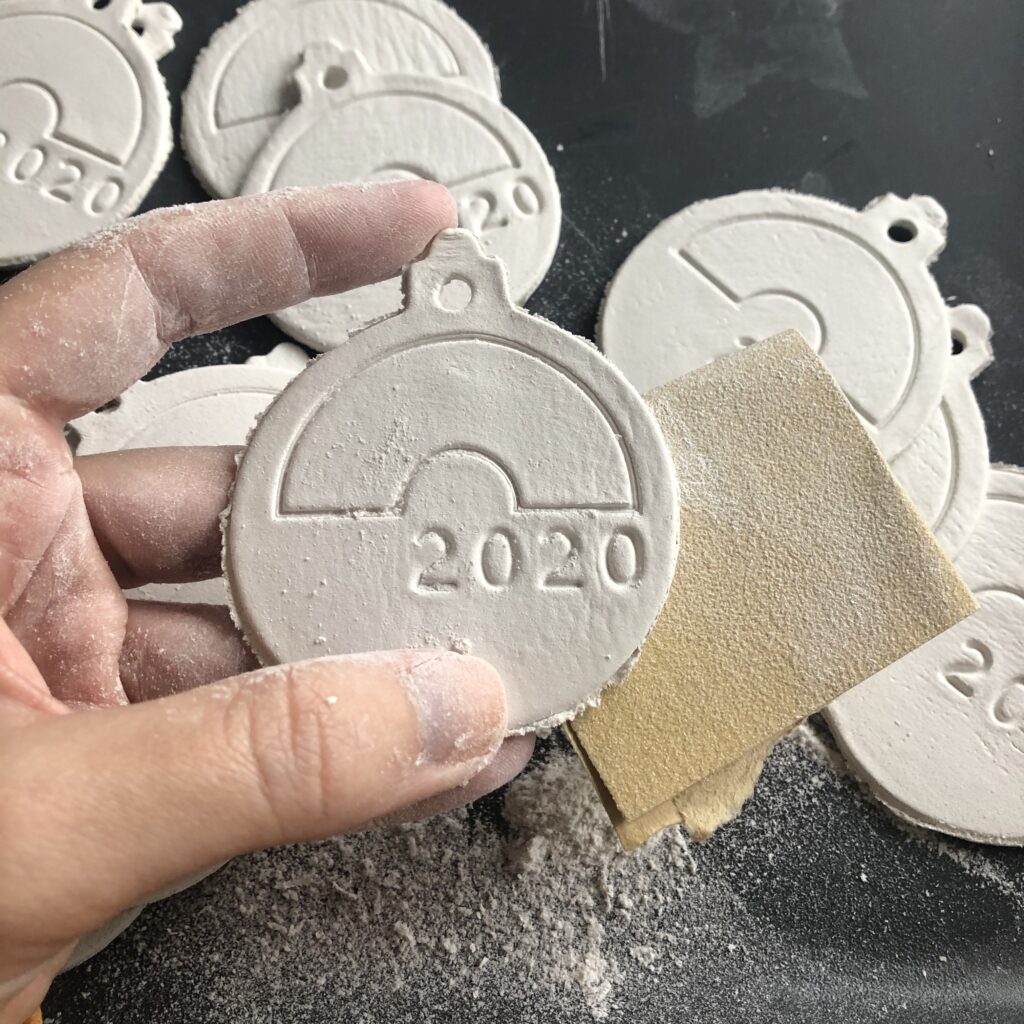
Then you need to sand the edges with fine sandpaper. It doesn’t take long, a quick back and forward on the edges but it does make a lot of fine dust. A blow or rub down with an old cloth and you’re done.
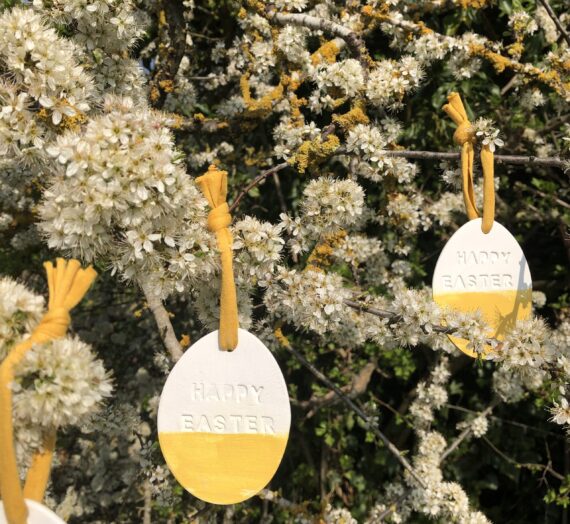
And then you can paint in the rainbow…
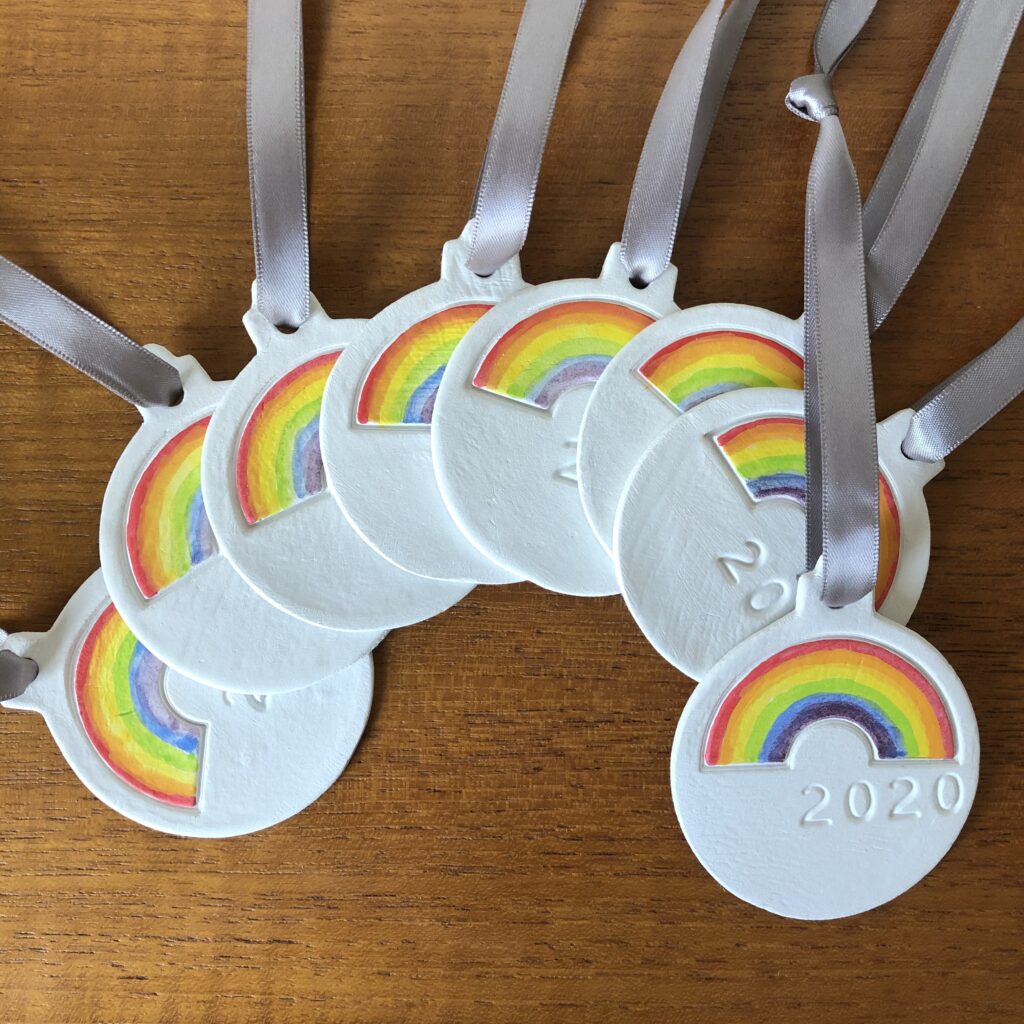
Then add your choice of ribbon or twine. Et voilà!
Pin this image to Pinterest to find this post later.
Please comment below if you have any questions and please share your inspired home made productions on social media with the tag #homemadeproductions
Happy making!