I love plants so when I spotted this stunning vanilla orchid for 19,95€ I couldn’t resist putting it in the car and driving it back to England. It’s a hanging plant which needs light so I decided to make a plant hanger so it could go in front of our landing window. Here’s how to make a super easy plant hanger. (This is my 3rd post sharing this technique – hence the V3.0 title – but honestly it’s so simple but beautifully effective I love making them and I hope you will to.)

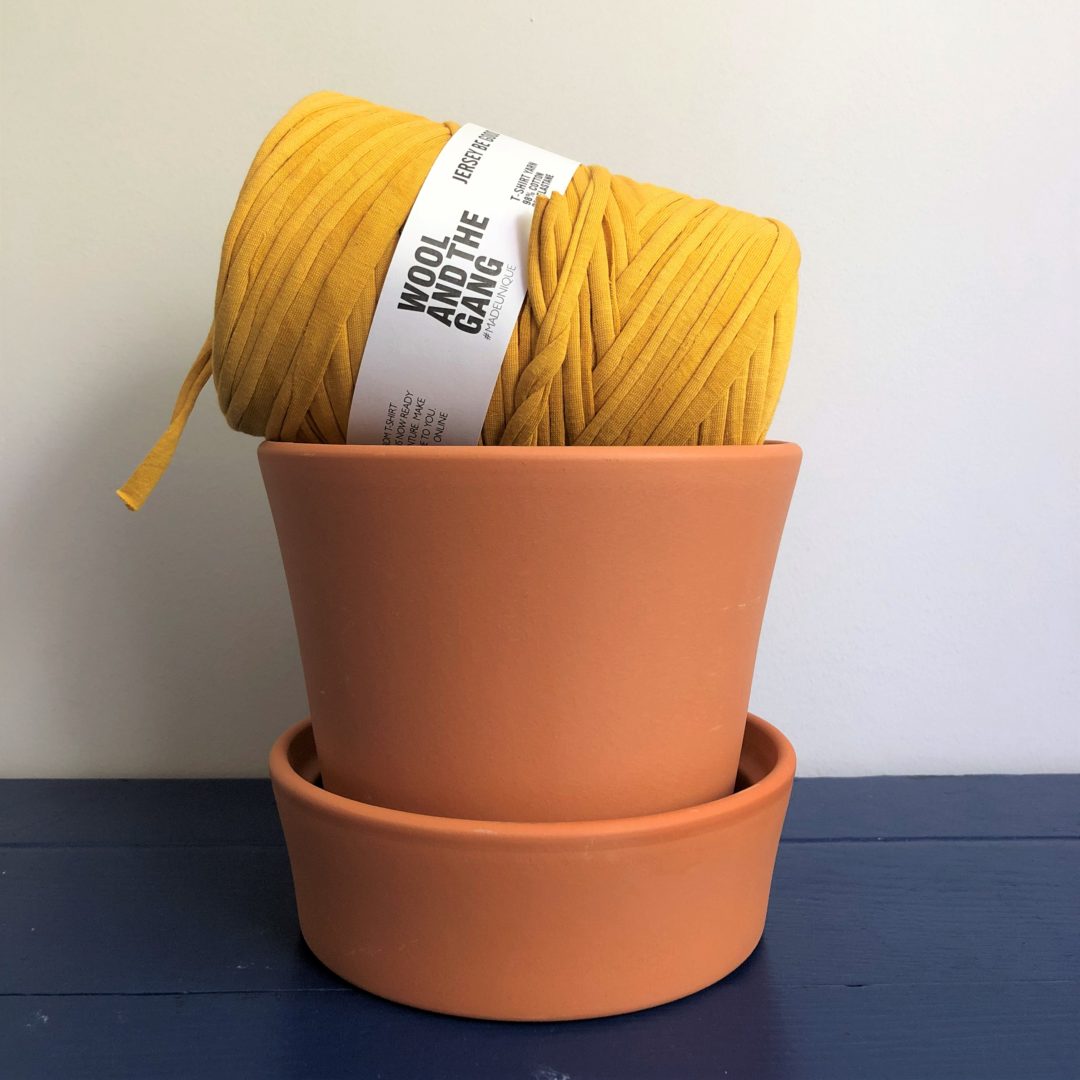
The orchid came in a plastic hanging pot so I bought a simple and affordable terracotta pot with tray from IKEA for it. But depending what pot your plant comes in, you won’t need a new pot.
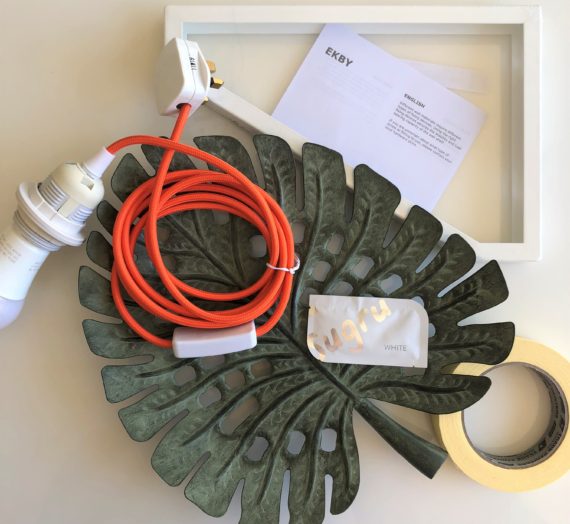
What you need to make the hanger:
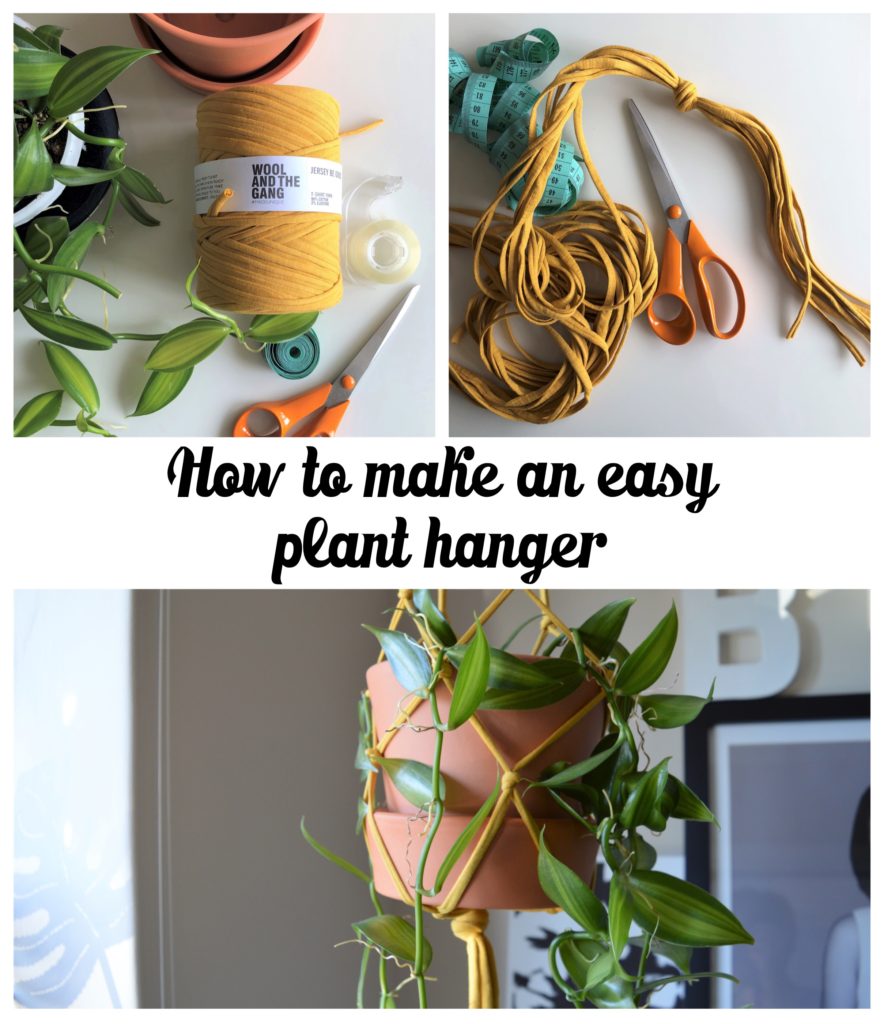
- Golden Compass Jersey Be Good from WOOL AND THE GANG. This unique t-shirt yarn is made from recycled factory off-cuts. I choose this yummy mustard colour but obviously you can pick which ever colour suits your decor.
- A measuring tape, scissors, sellotape and 1 ceiling hook (I forgot to include it in the photo)

Start by cutting 8 lengths of the yarn. I cut 2m long lengths but it depends on where you’re hanging your plant from, if your yarn is stretchy or not, and if you want a long tassel at the bottom. Of course you can cut it down after but you can’t add length so if in doubt, go long.

Then knot the lengths together. I wanted quite a long tassel.

Separate the lengths into 4 and do 4 knots about 1 inch from the big knot. Make sure you pull tight throughout the process as the weight of the plant – when hanging – will pull on the hanger so it’s best to get it all tight and in the right place to avoid surprises when you hang it up. Then secure the tassel to the middle of the base of the pot you are using with sellotape.
If your pot already has the plant in it and can’t be turned upside down, find a glass or container which was a similar size and used that. Then when finished transfer the hanger to the pot with the plant in it.


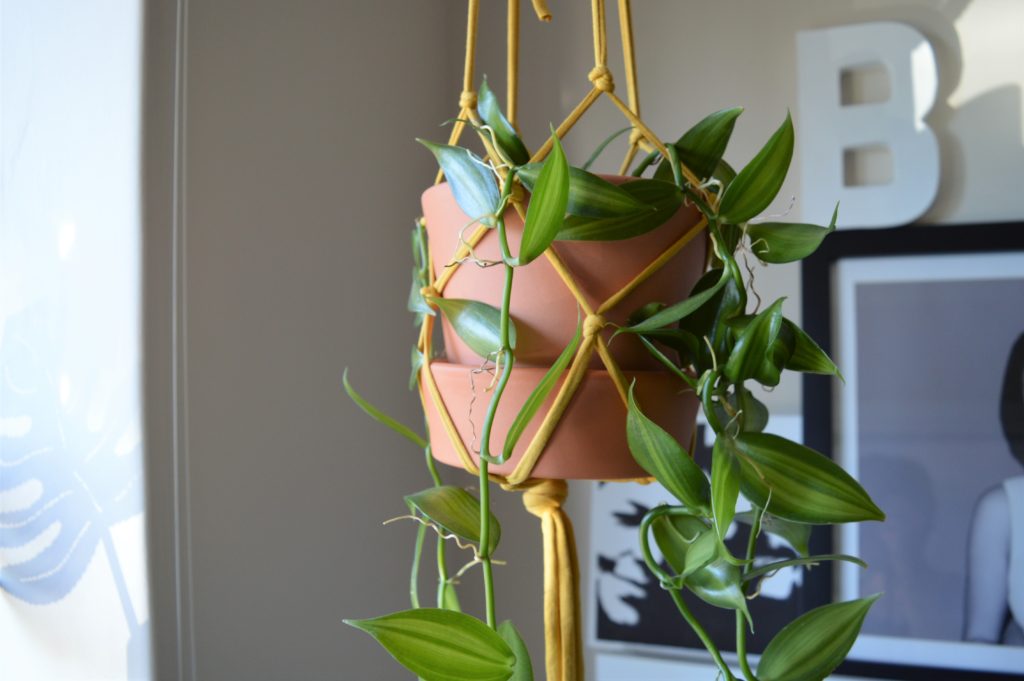
Take a length from 2 neighbouring knots and knot them together. Sellotaping as you go along makes it much easier. Depending on the size of the pot you are using, carry on knotting lengths from neighbouring knots until you reach the edge of the container.
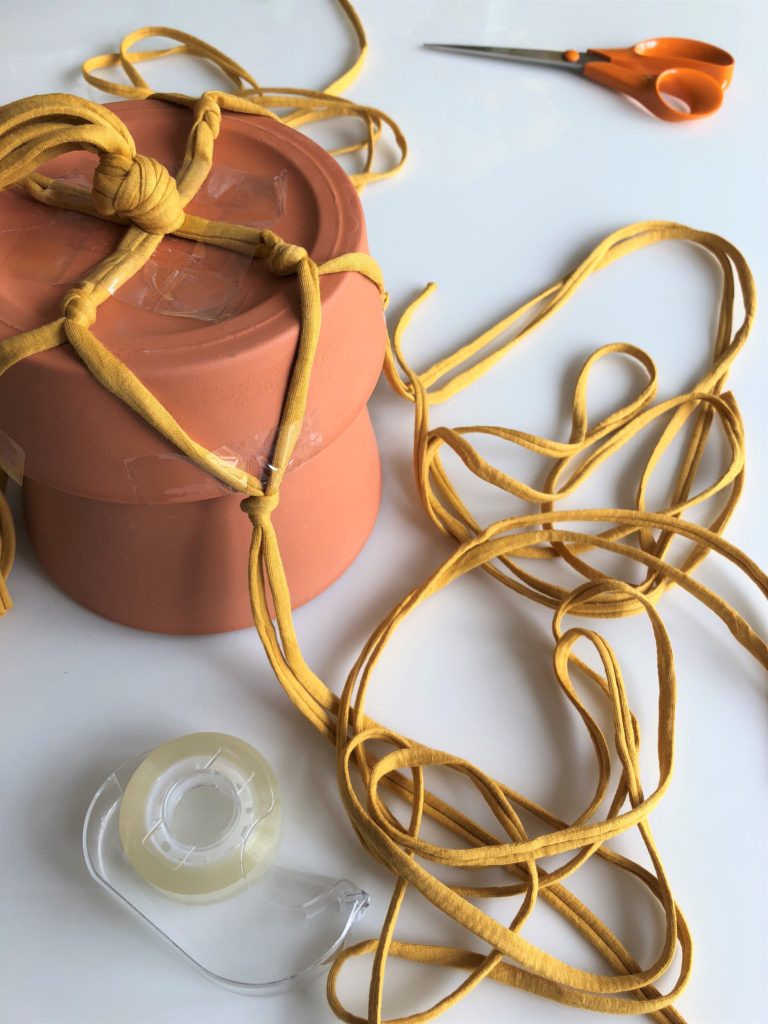
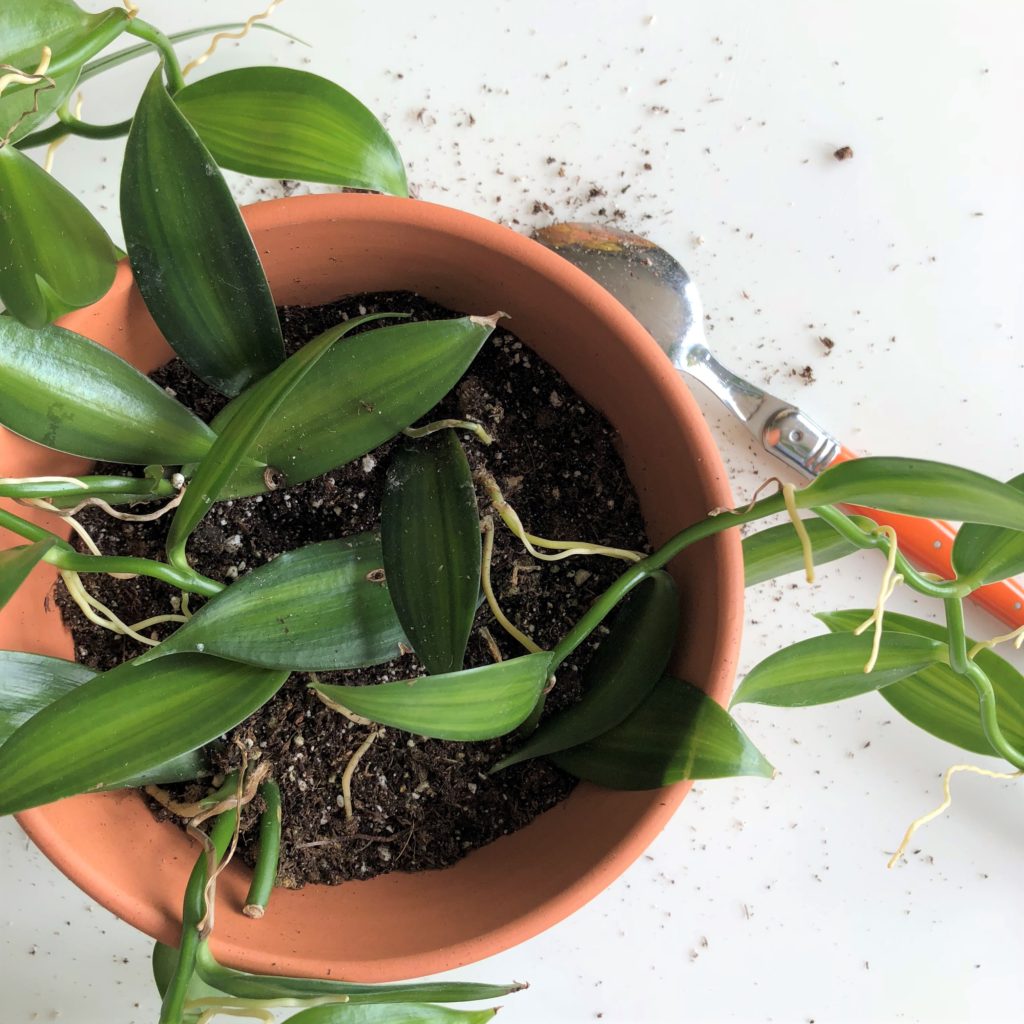
Once you’ve done enough knots simply remove the sellotape. I had to repot the orchid into the new pot.


Once the hanging hook is in the ceiling, take some time to get the hangers straight with equal length yarns. It takes a few minutes but you only have to do it once. Et voilà!
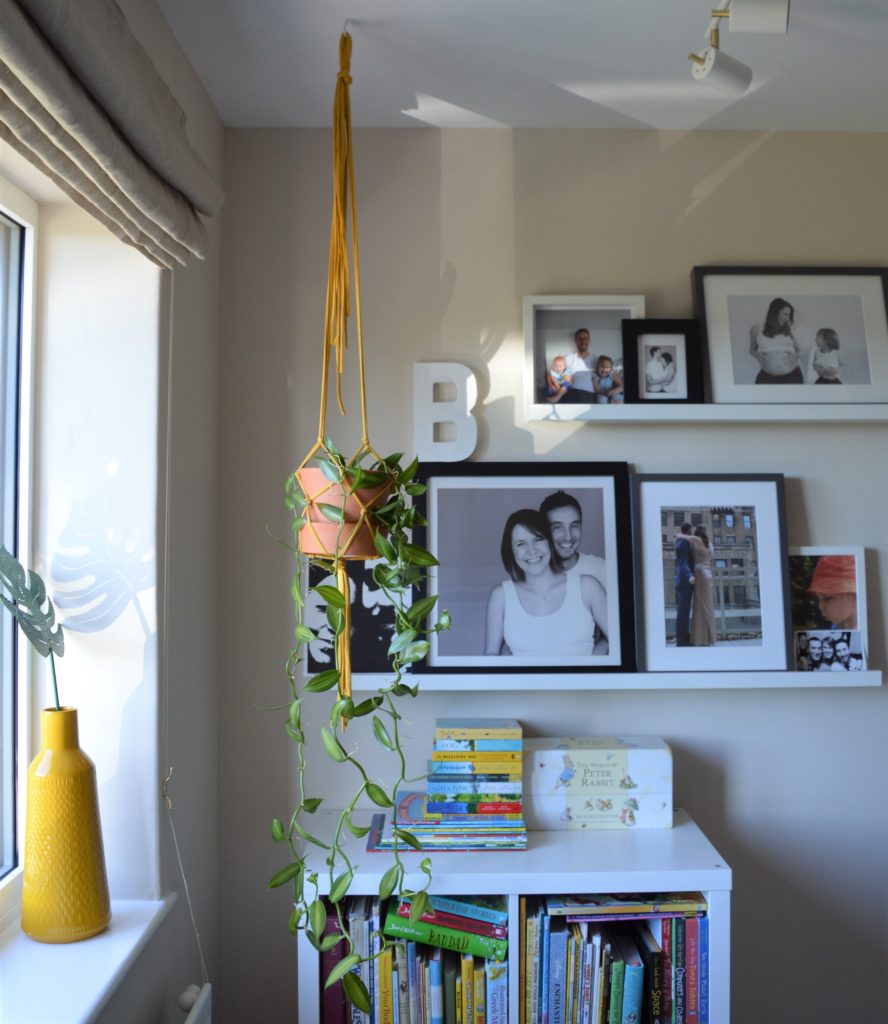
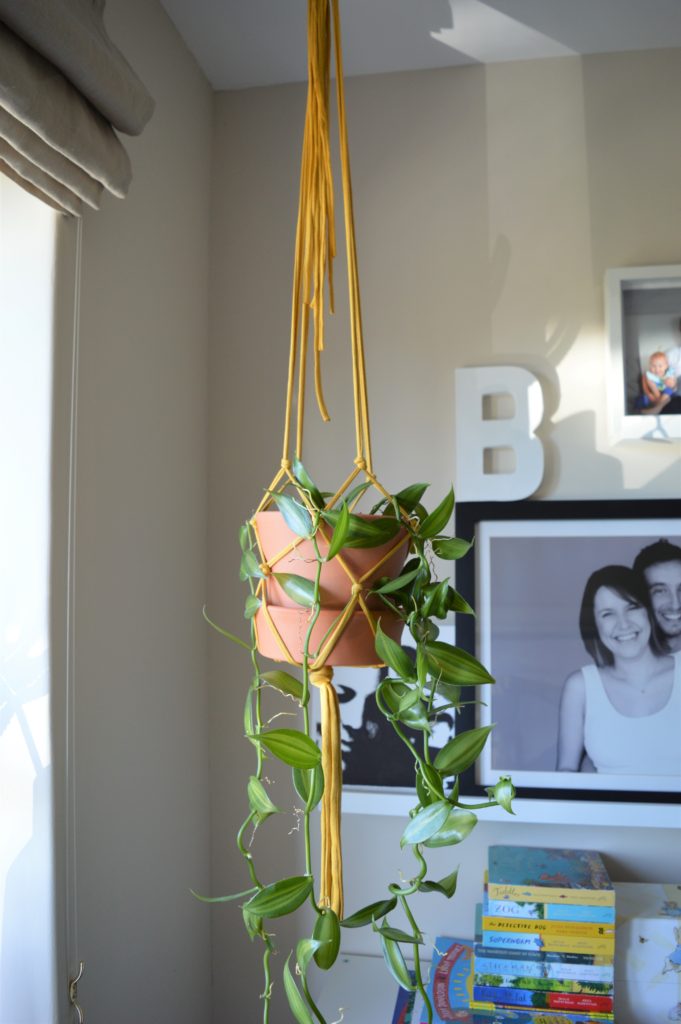
I hope my vanilla orchid likes it’s new English country side view!
Pin this image to Pinterest to find this post later.
Please comment below if you have any questions and please share your inspired home made productions on social media with the tag #homemadeproductions
Happy making!

