December is around the corner and you might be thinking about getting a wreath so I thought I would share with you a super easy Annie Sloan painted bauble wreath 3 ways. As these include no fresh elements you can put it in a box and reuse it every year. Plus you can use old baubles so it’s a win win.

First paint some baubles your choice of Annie Sloan chalk paint. No prep, it takes 2 coats and a coat of clear wax to seal them. Be prepared to get your fingers covered in paint as it is a bit tricky especially with the tiny baubles. You can either do what I call the half and half technique – you paint half and by the time you’ve done a few, they are dry enough to hold so you can do the other half – or you can fix them onto little cardboard holders (as shown in this post). I went for Scandinavian Pink and Paris grey for this project but as you can see I had quite a painting baubles session! If you are buying the paint for this project specifically, you’ll hardly dent a tester pot which is great as you can have a go painting something else after.

With wreath making there are 2 options really: glue gunning or florist wire. I picked 2 different wreath bases so I could show you both techniques.

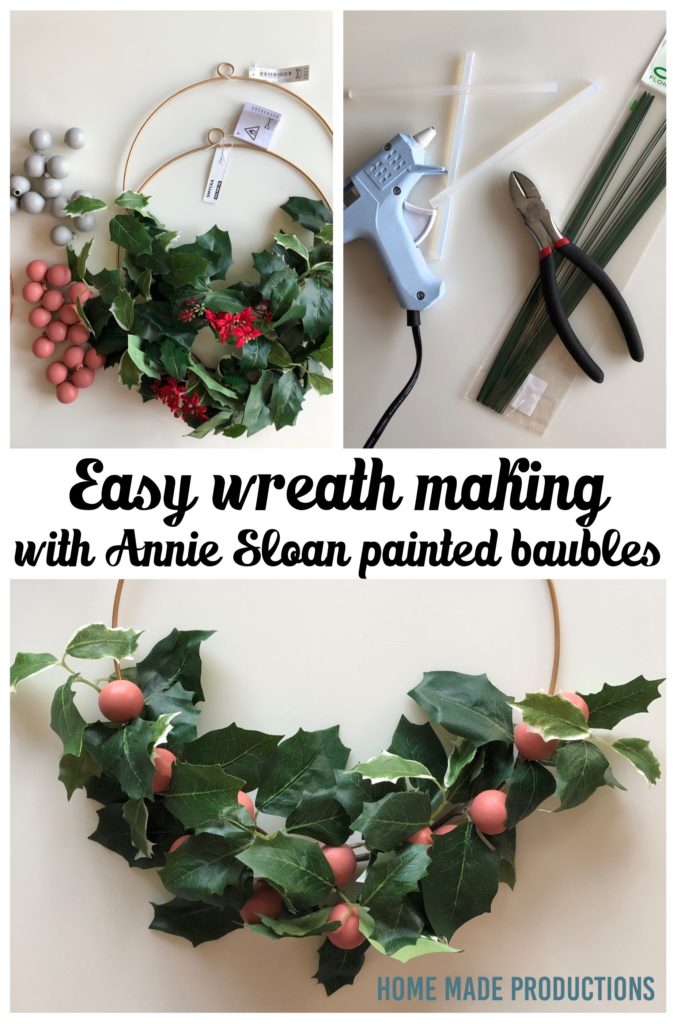
Here are my supplies. On top of the painted baubles, I’ve got 2 IKEA SMYCKA artificial wreath bases, matte copper tinsel, a copper wreath base and some green felt. Or you can mix and match with what you have at home already.

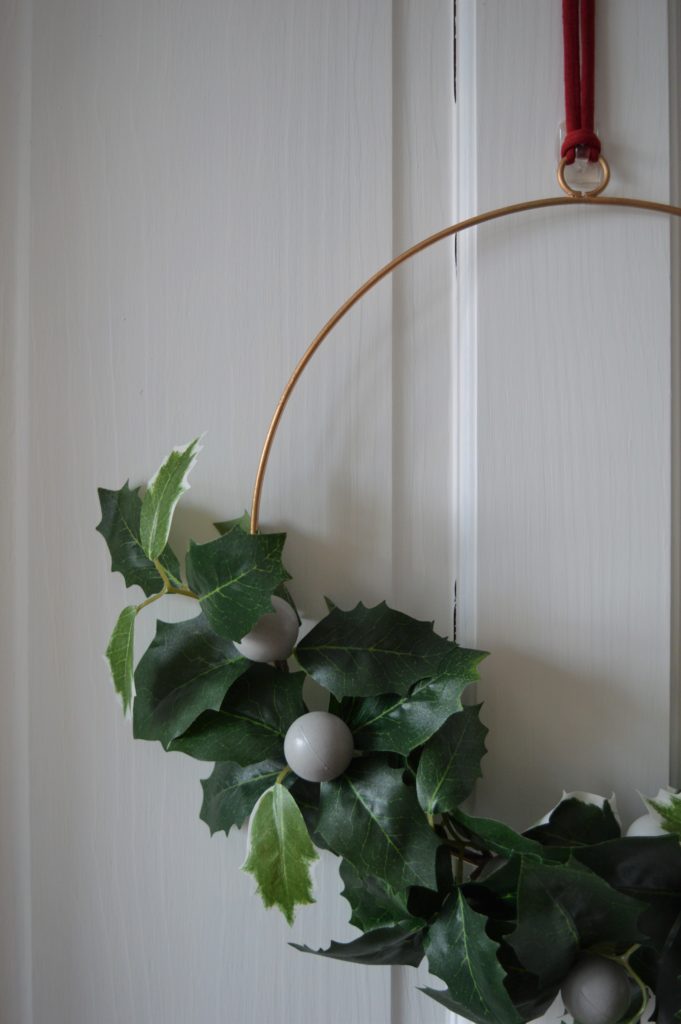
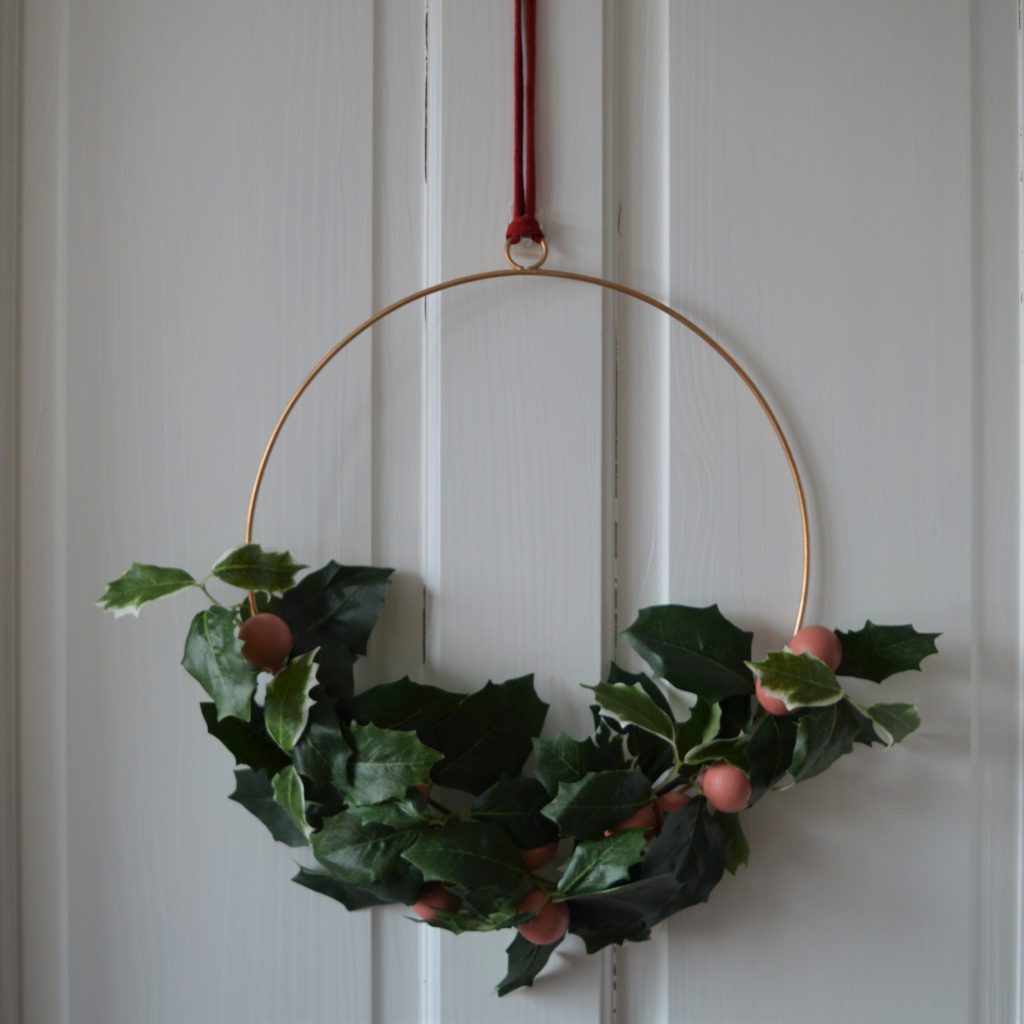
Starting with the IKEA hack ones. When I saw them in IKEA I fell in love with their simple design but I felt the little red flowers made them look twee so my first job was to remove them. They just pulled off so not too hard.


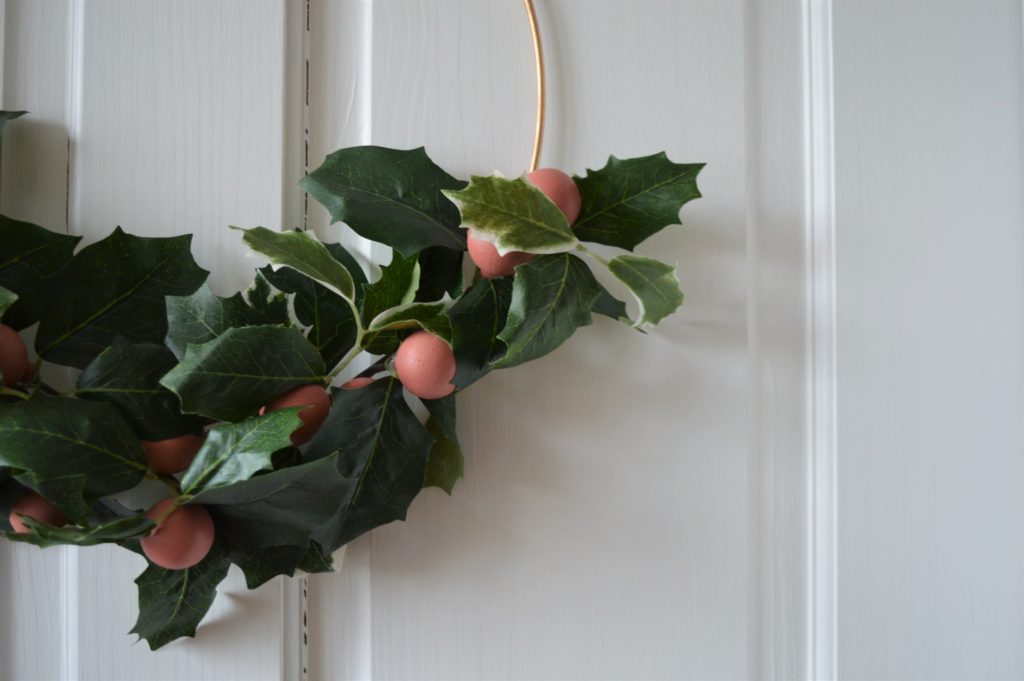
Then I glue gunned the baubles on. I went for an even spread across the leaves trying to pick cluster points for better anchoring. Literally that’s it! Super easy.


Same for the grey baubles.

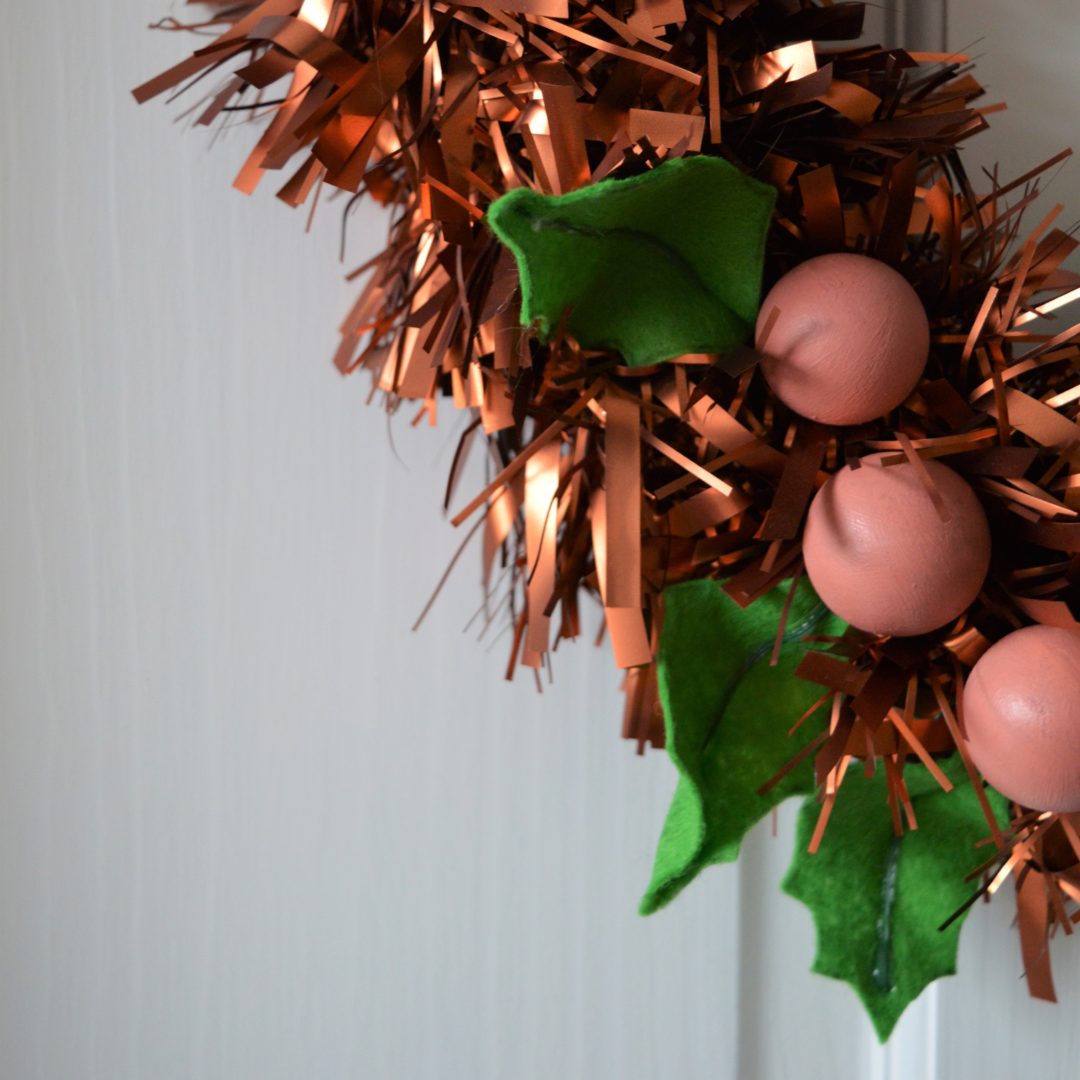
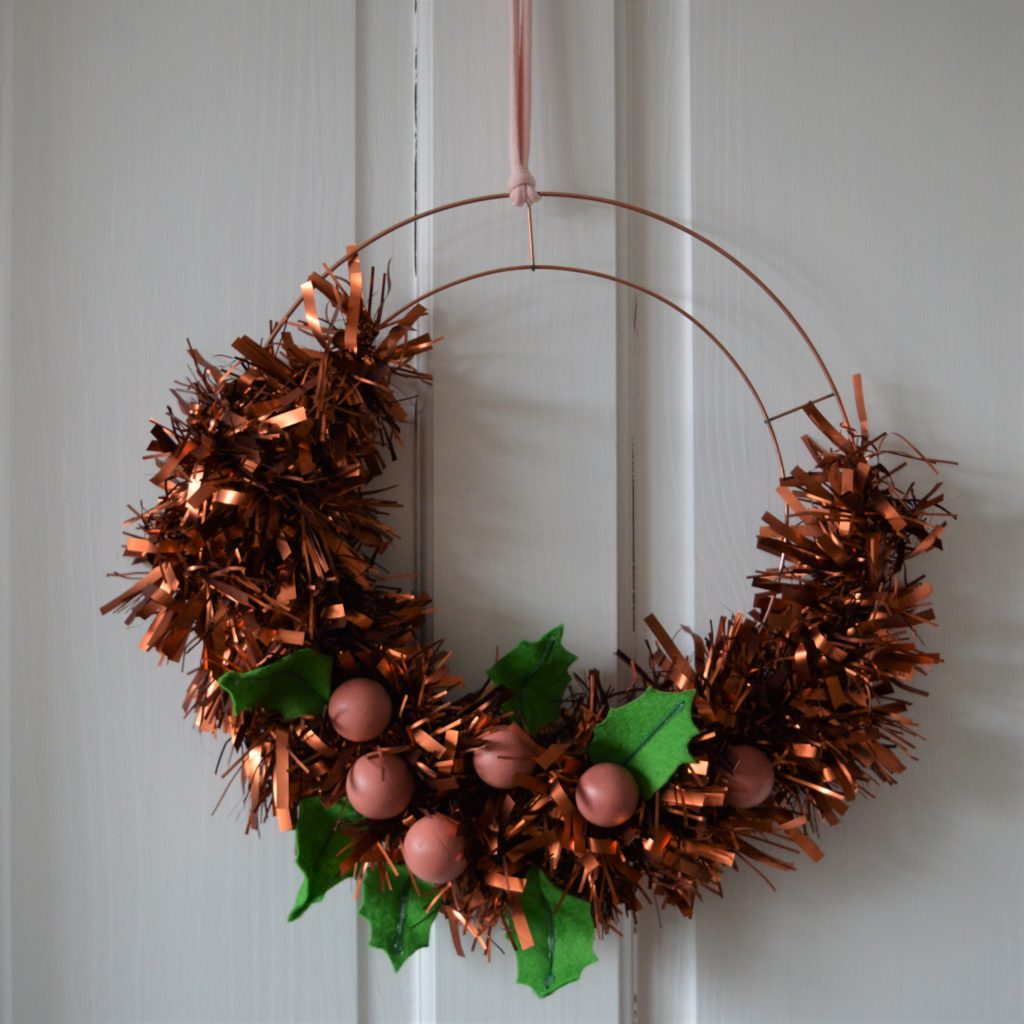
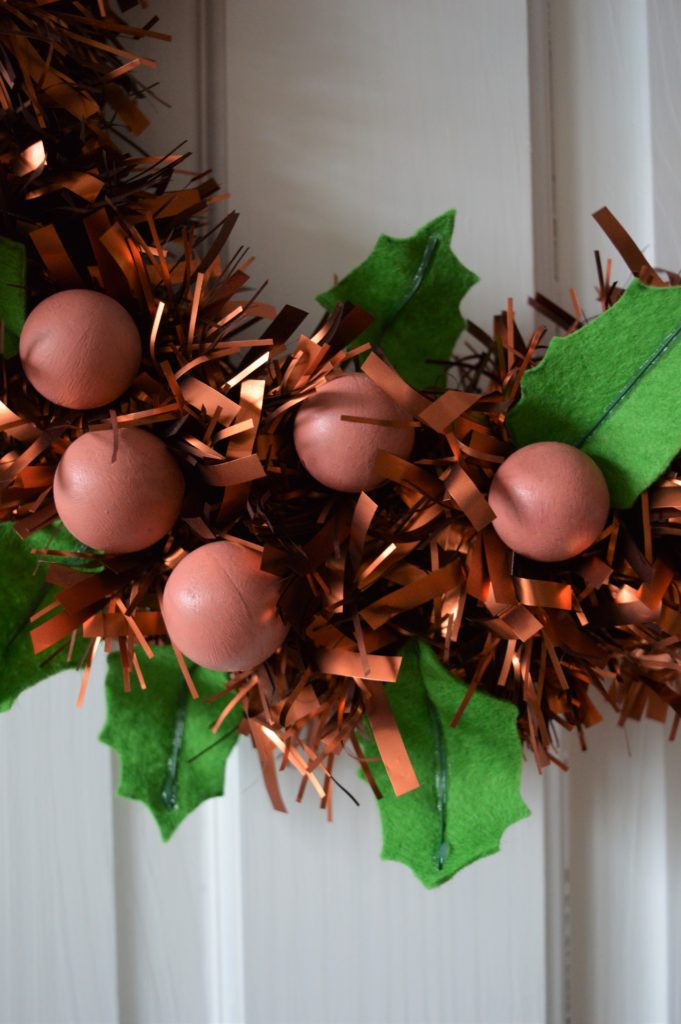
Now for the copper wire wreath base, I wanted a slightly kitsch and very matte design. I laid out my items until I was happy with the broad design: a half moon with Scandinavian Pink baubles and felt leaves. I wrapped the matte copper tinsel around and through the base and glue gunned the end so they didn’t unwrap.
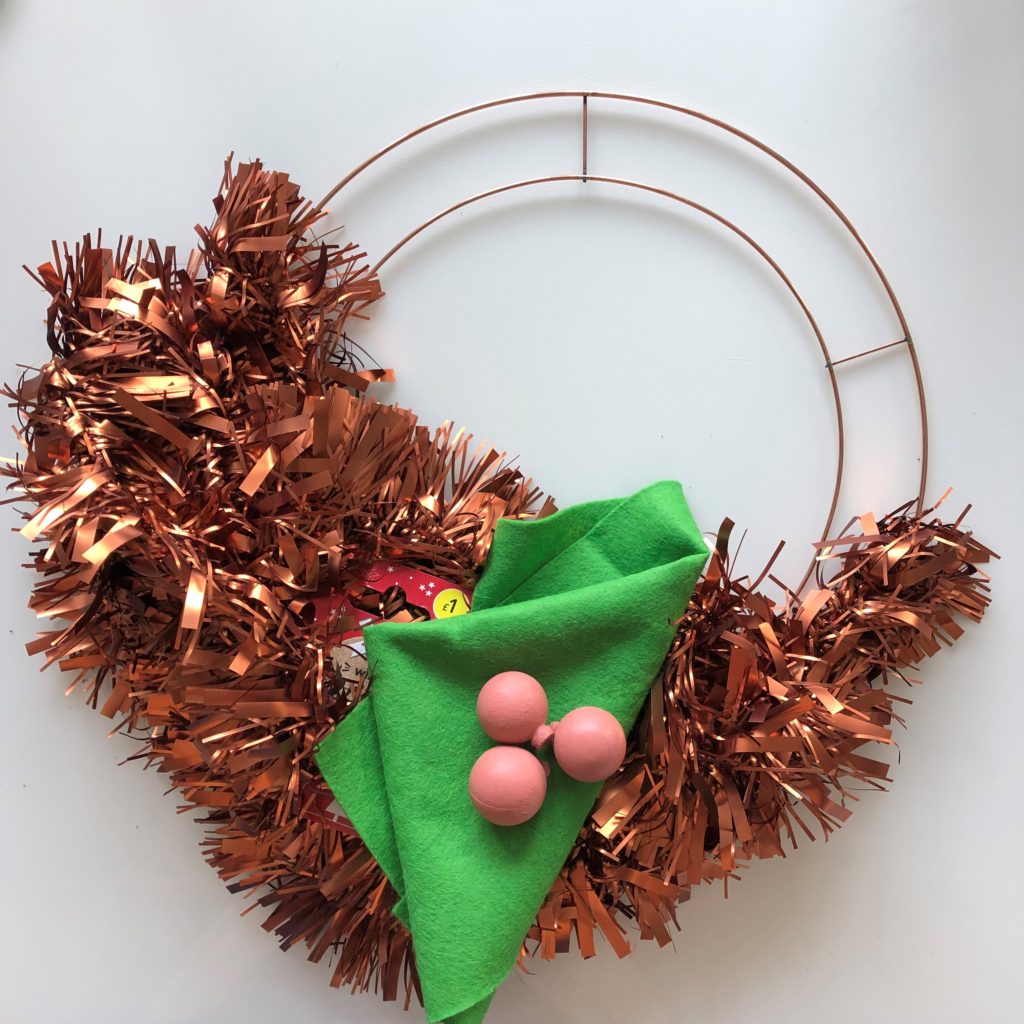

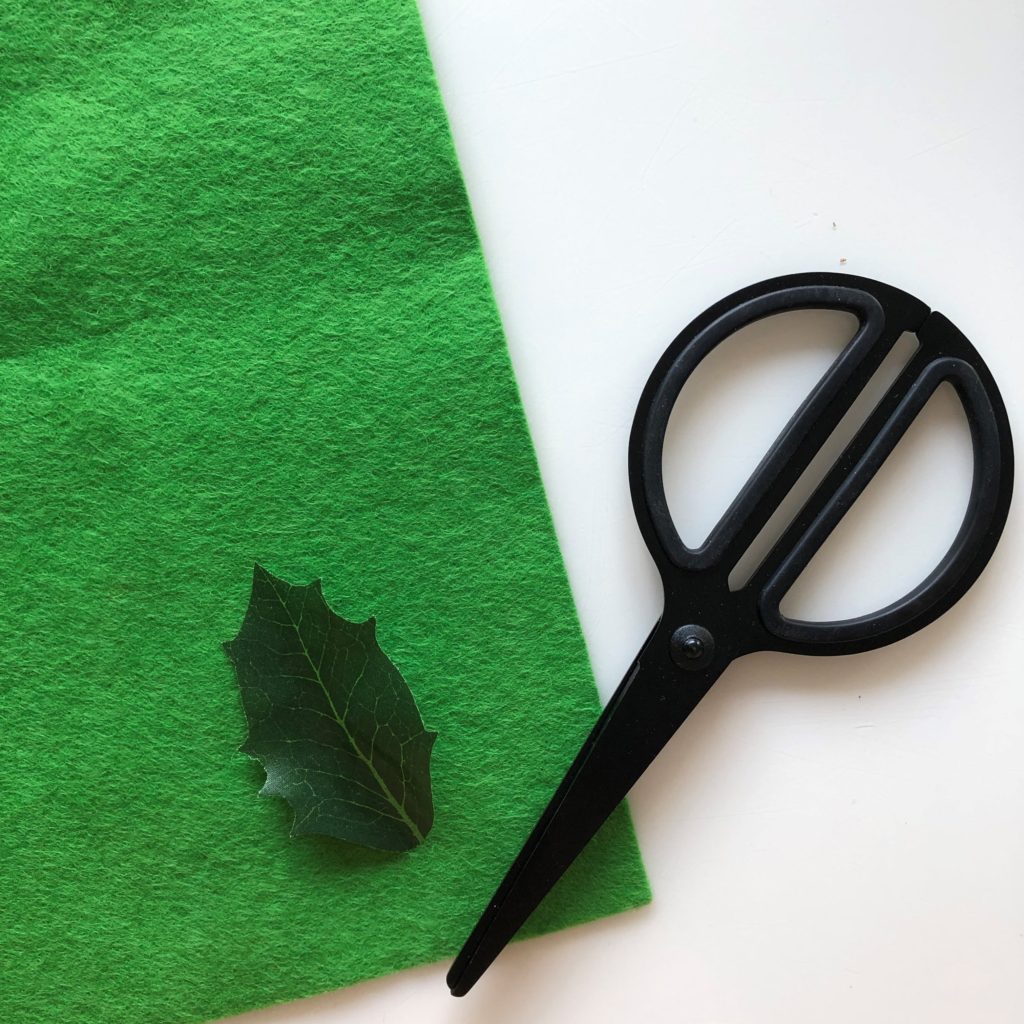
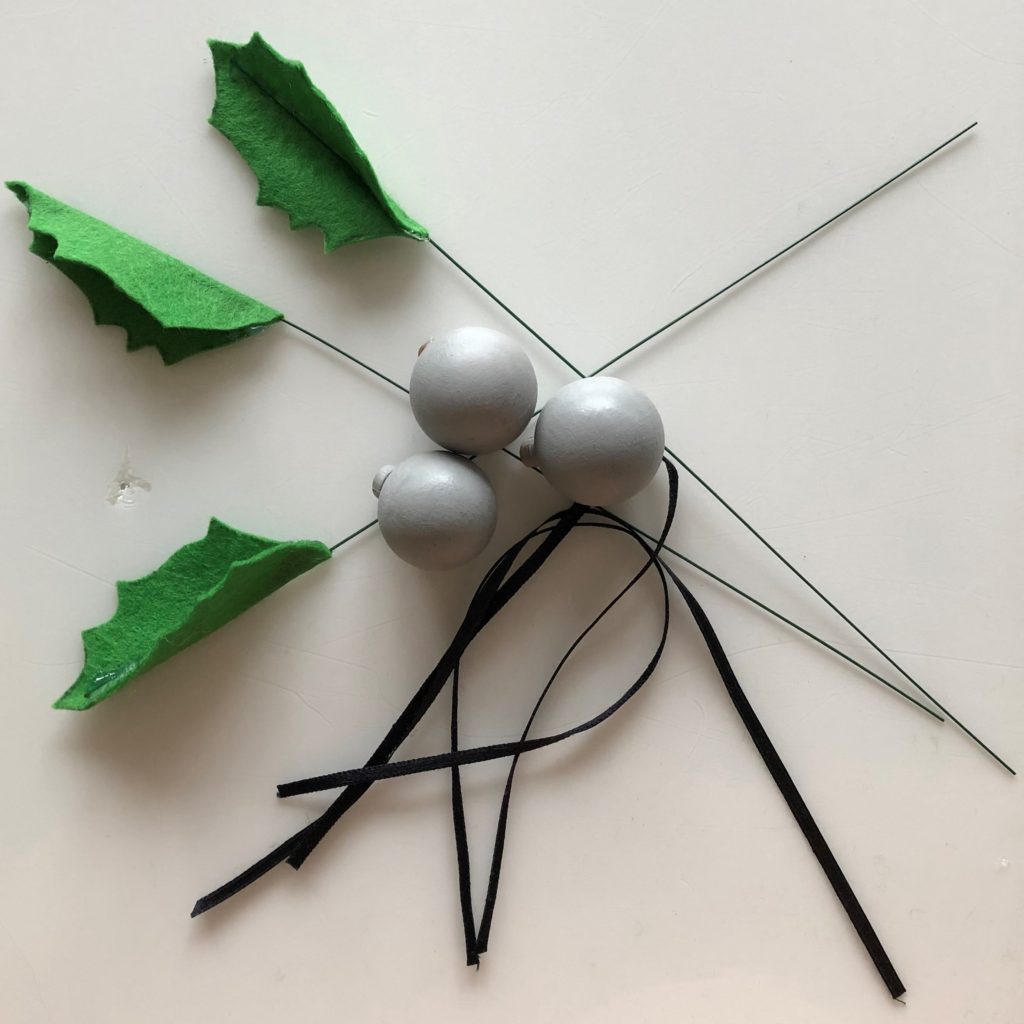
Time to make the leaves. The leaves are decorative but also structural as they are made with florist wire so they can go through the tinsel and wrap round the wreath base. I cut out the felt leaf (a leaf fell off the IKEA wreath so I used it as a template) and I then glue gunned it to the wire.

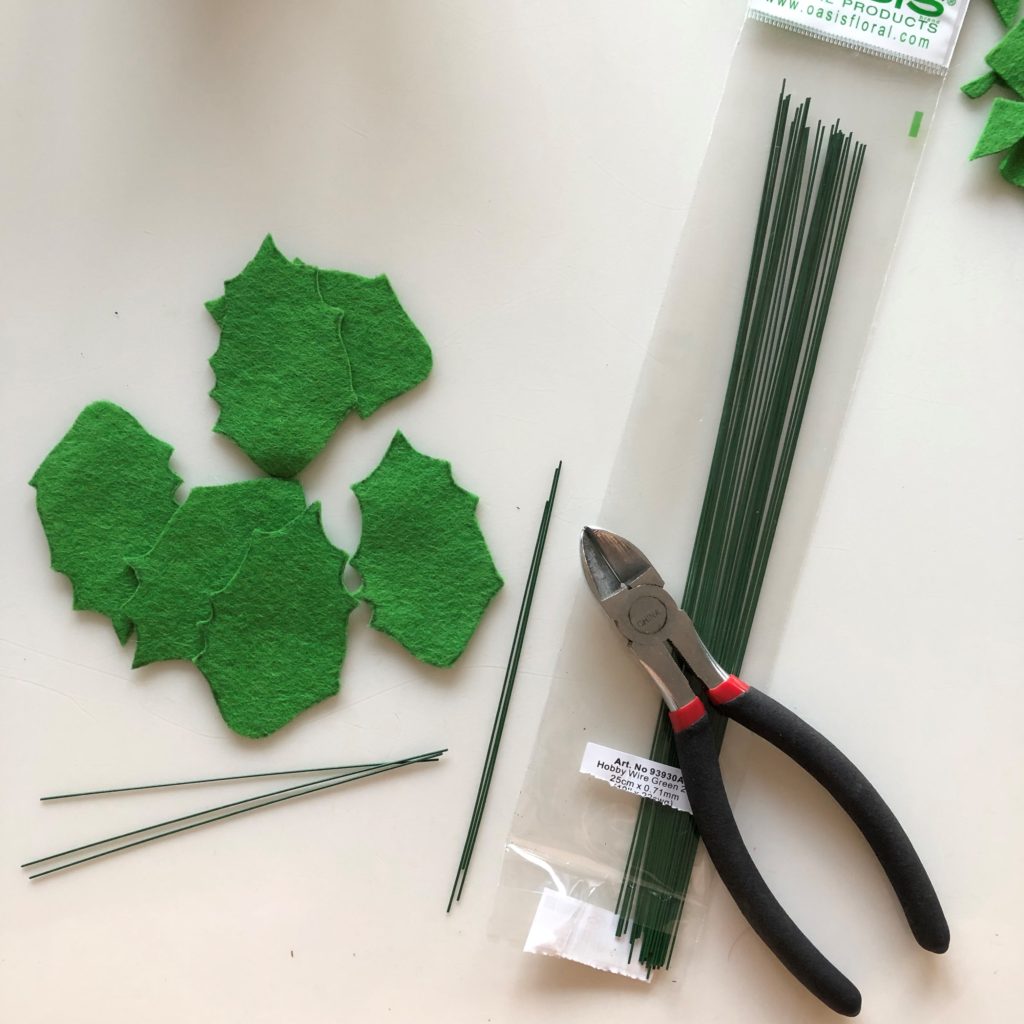
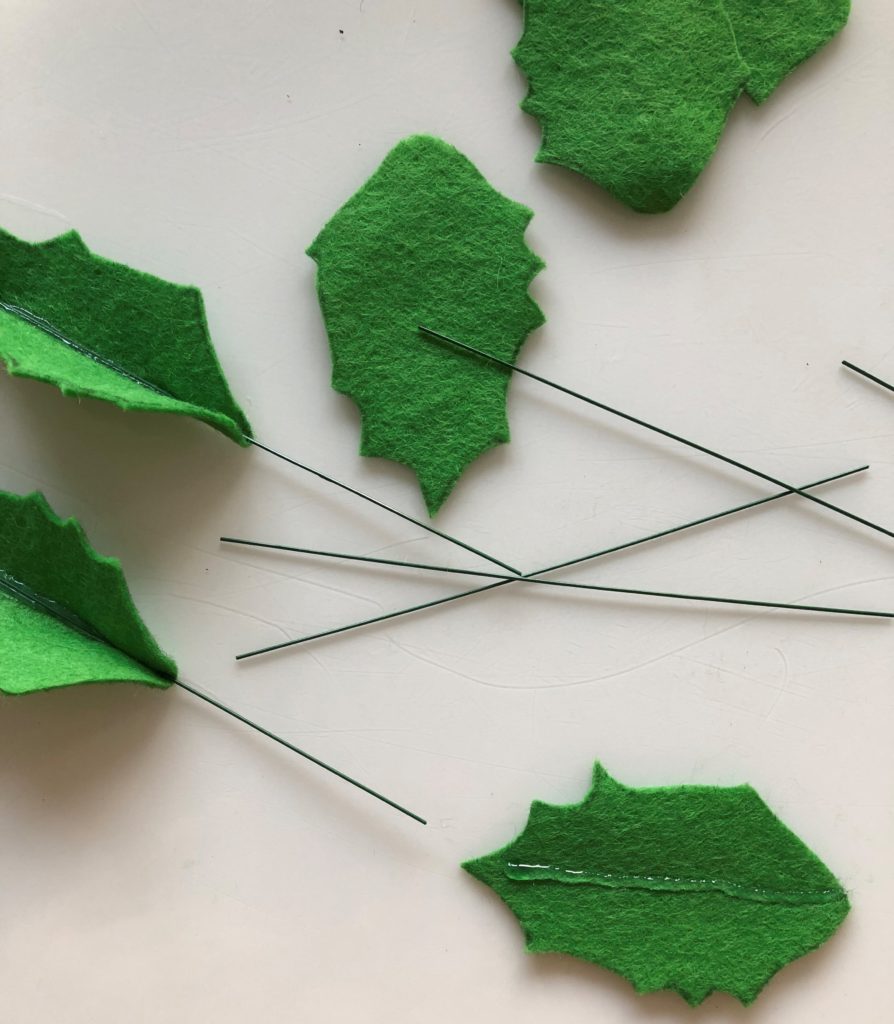
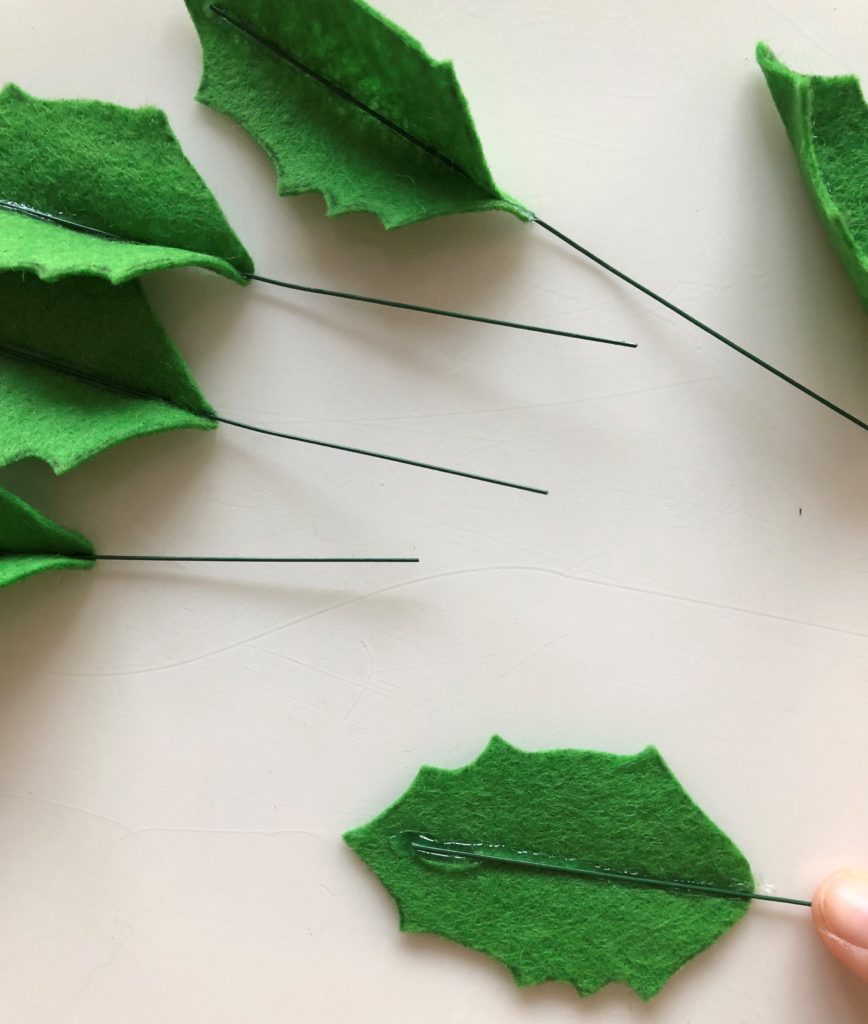
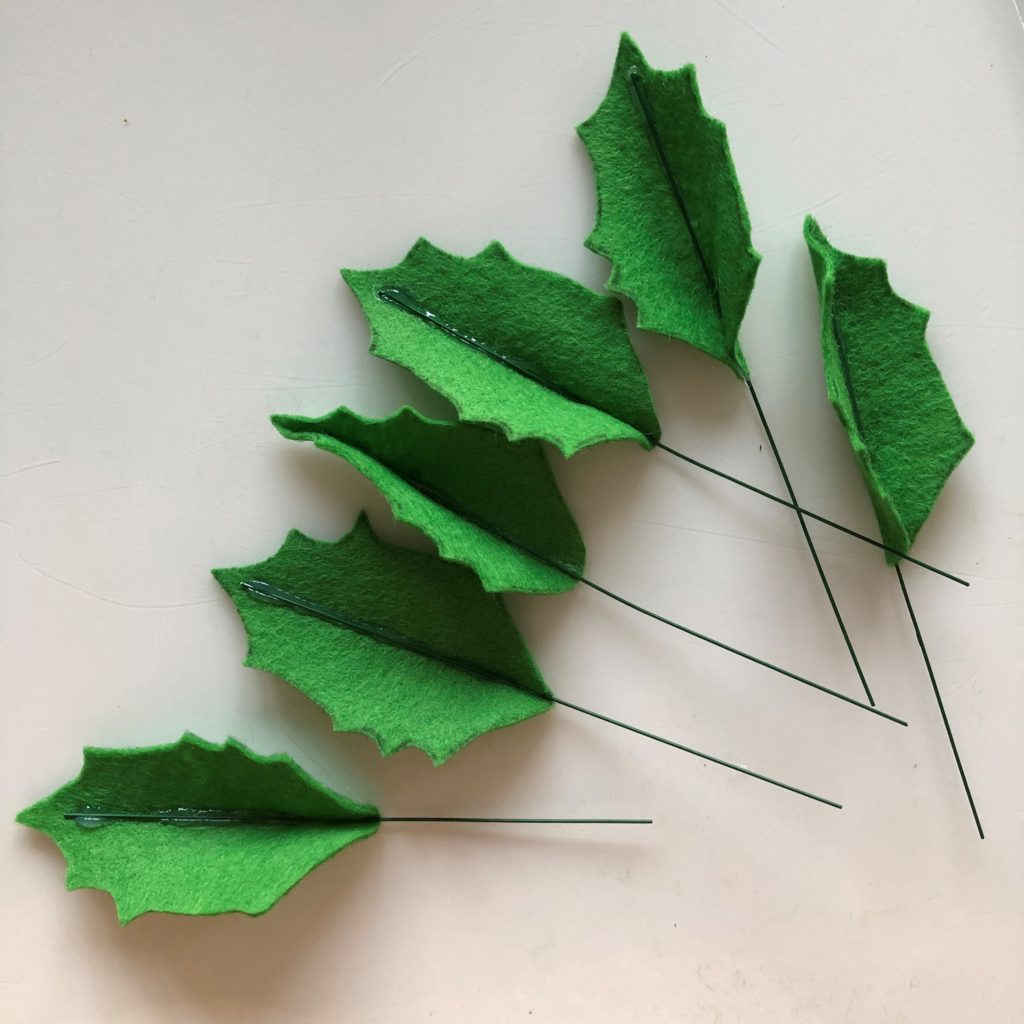
Once threaded through and secured onto the base of the wreath, I then glue gunned the baubles onto the leaves.
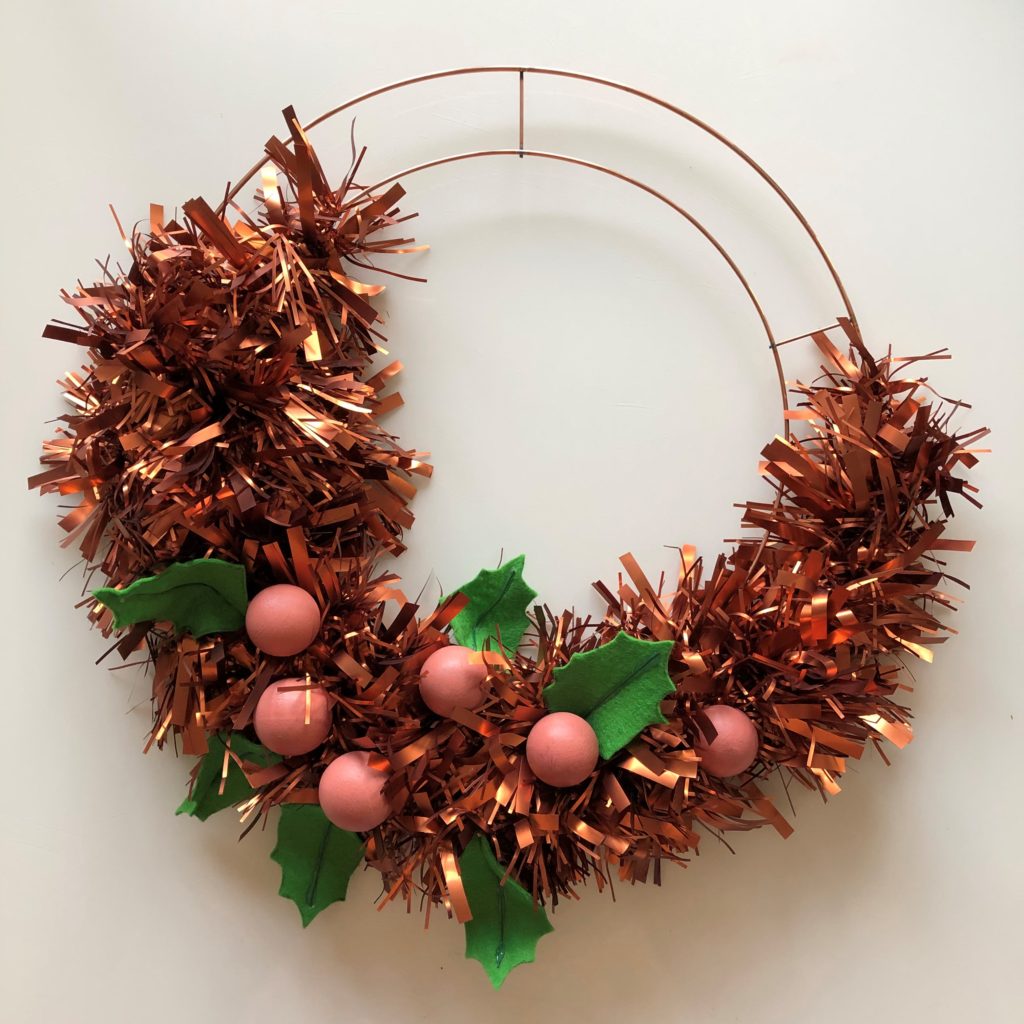
Here they are on a door hung up with Jersey Be Good from WOOL AND THE GANG. This unique t-shirt yarn is made from recycled factory off-cuts. If you follow my blog you will have seen me make plant hanger with it.
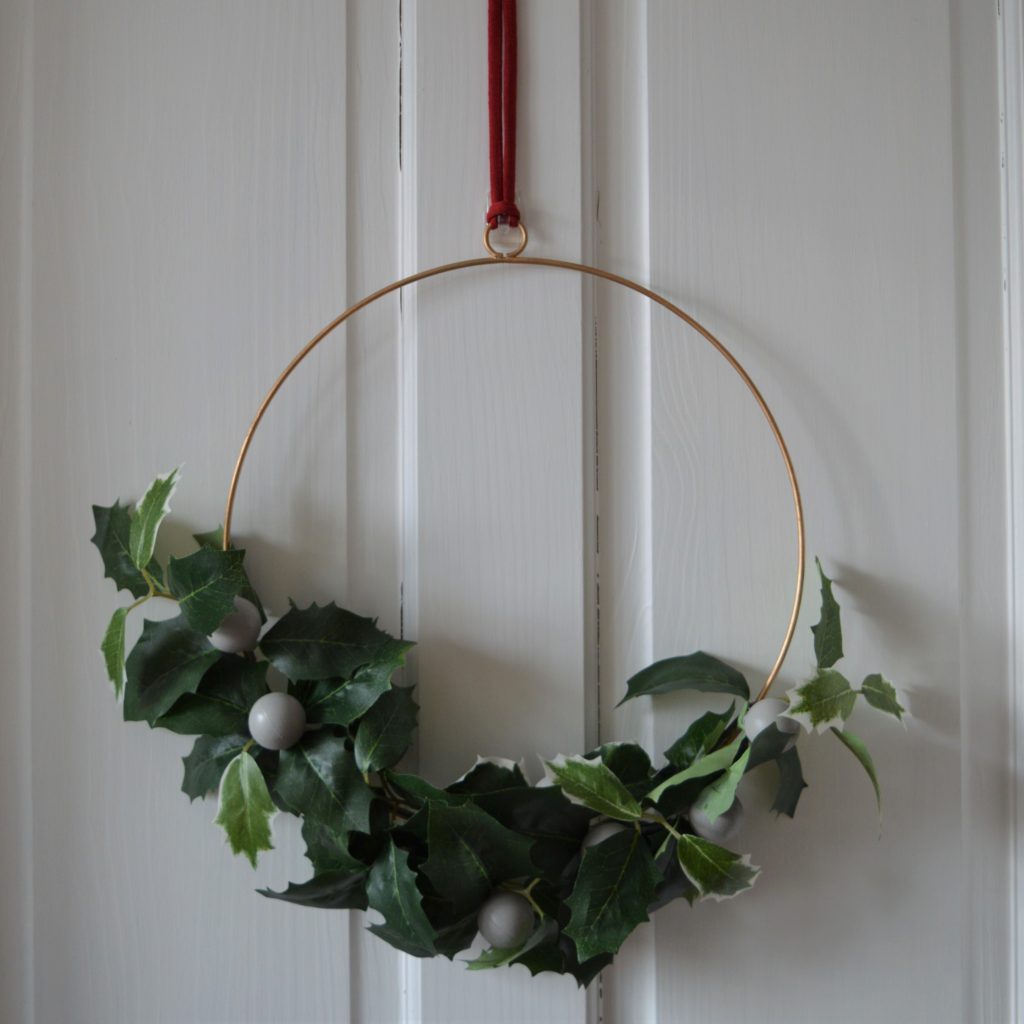
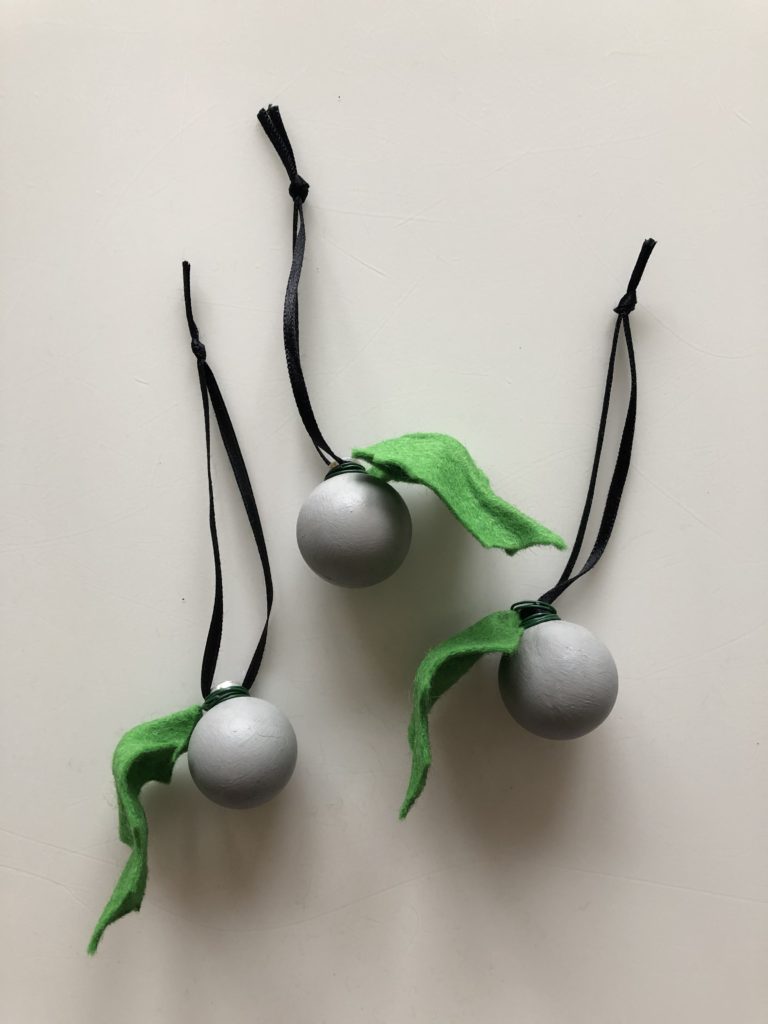
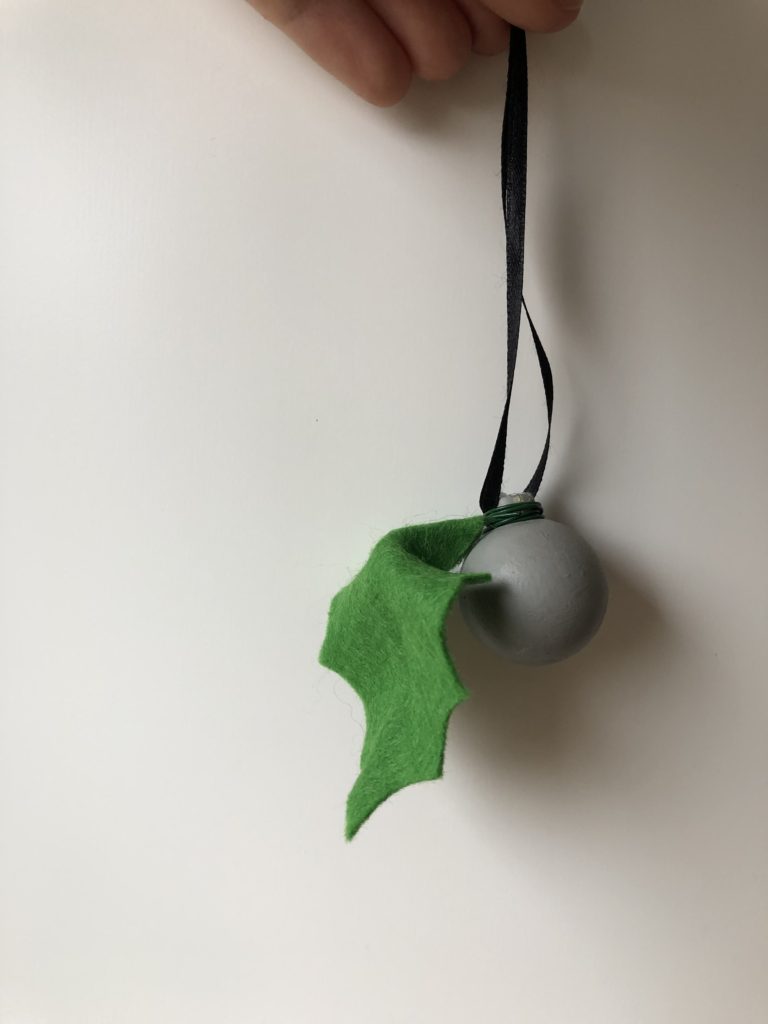
I had some grey baubles left over so I made some individual creations using the leaf technique again.
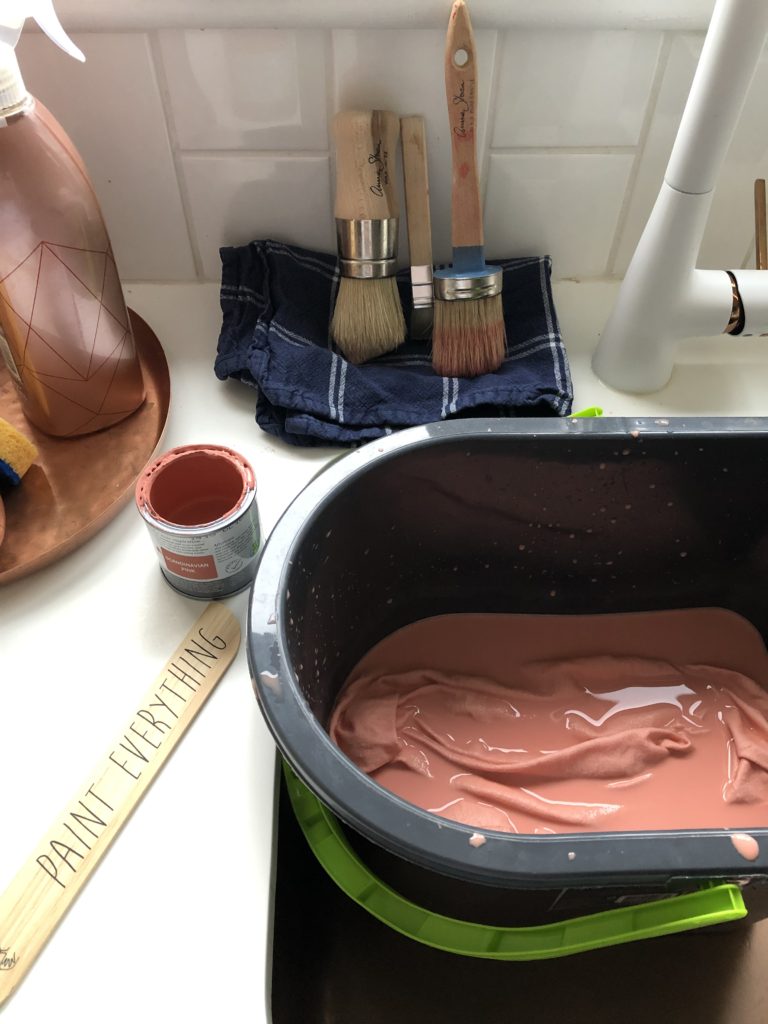
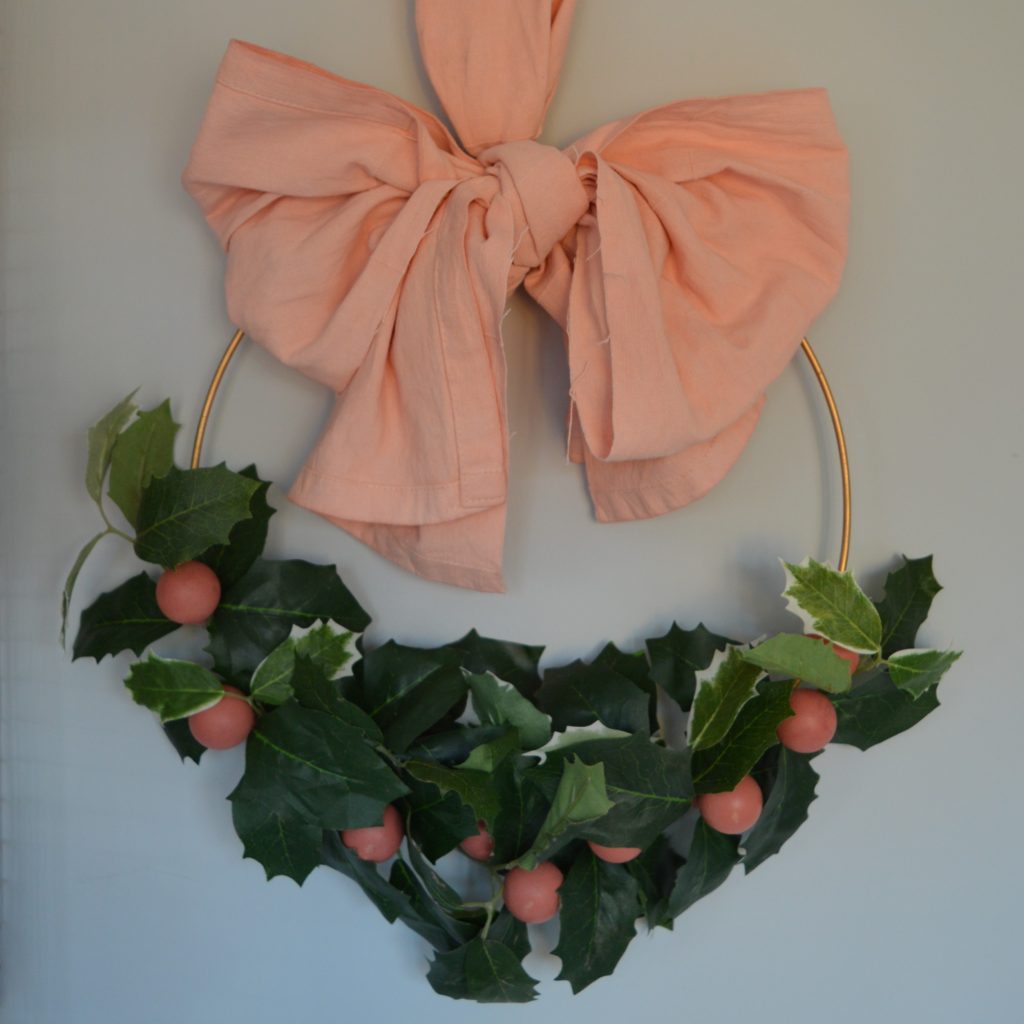
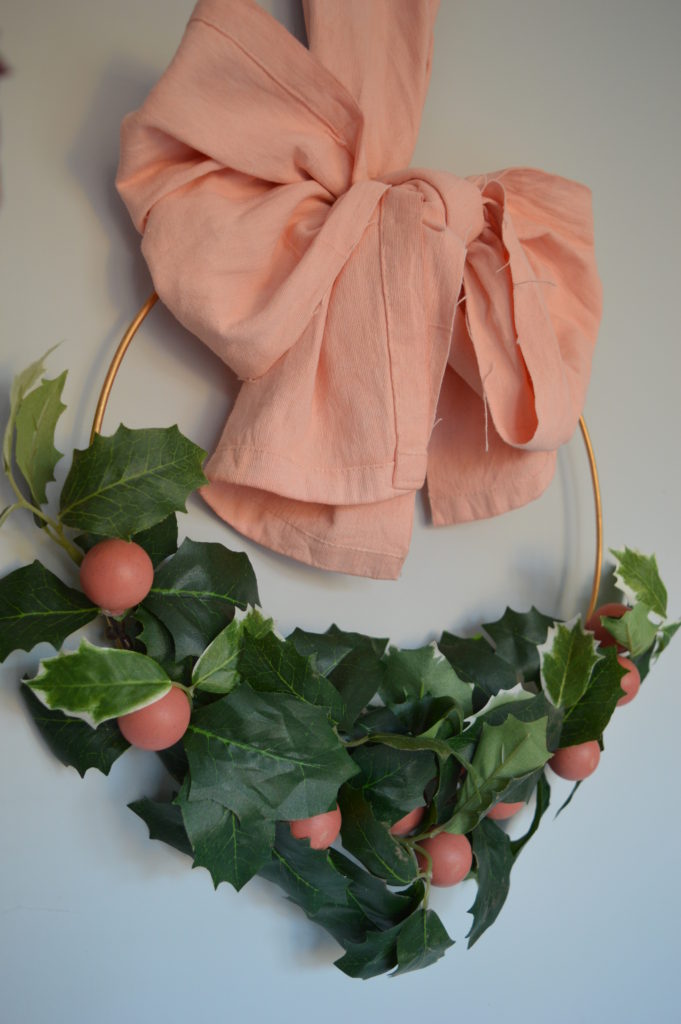
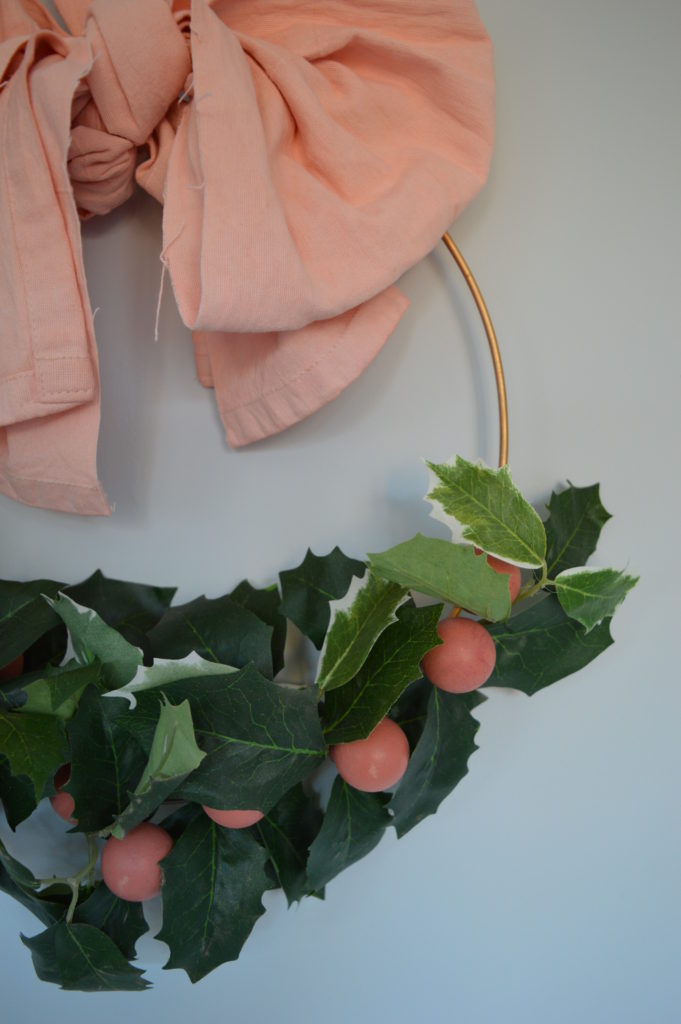
Now in a wreaths are not just for Christmas plea, I thought I would show you how you can keep your wreath out of the loft by switching it to Spring’fabulous with an added bow. I dyed some washed white cotton curtain off cuts with the Scandinavian Pink Annie Sloan Chalk Paint (check out Annie’s how to linked here) and added it to the wreath. Now it could completely see you through at least until after Easter!
Pin this image to Pinterest to find this post later.
Please comment below if you have any questions and please share your inspired home made productions on social media with the tag #homemadeproductions
Happy Christmas making!

