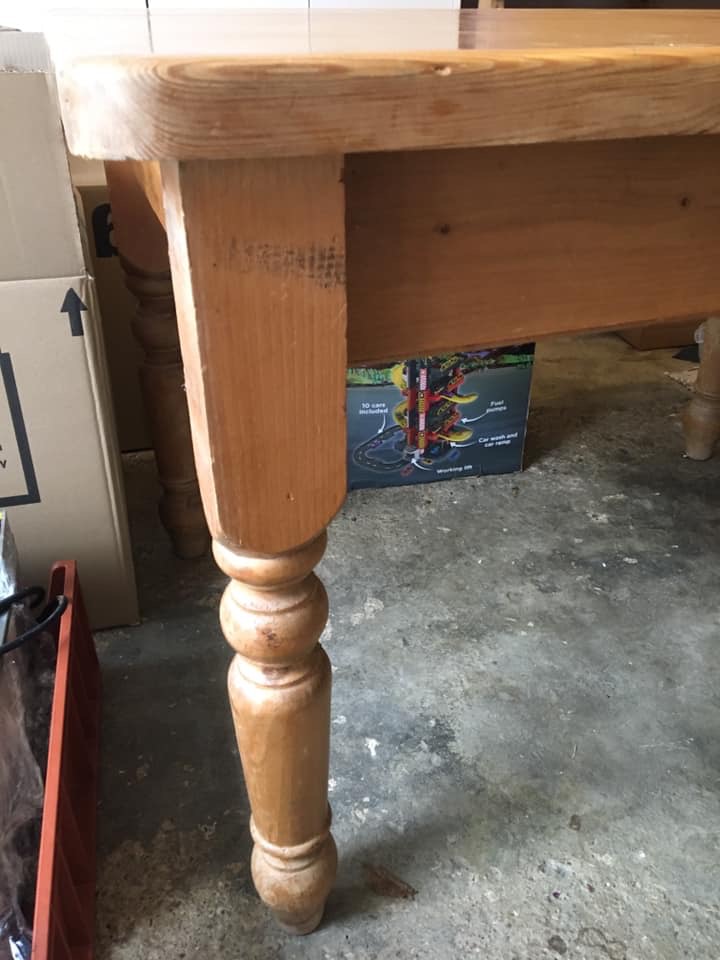
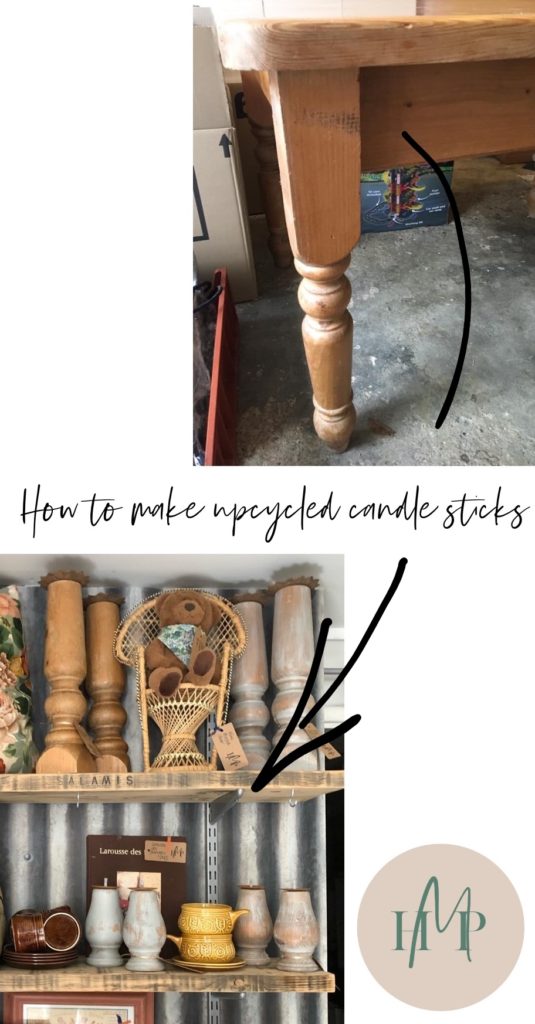
When I saw a school parent getting rid of this pine table, I knew I had to have it. I had no idea what I was going to do with it but that quality of worn, well loved wood is priceless. The table cost £15.
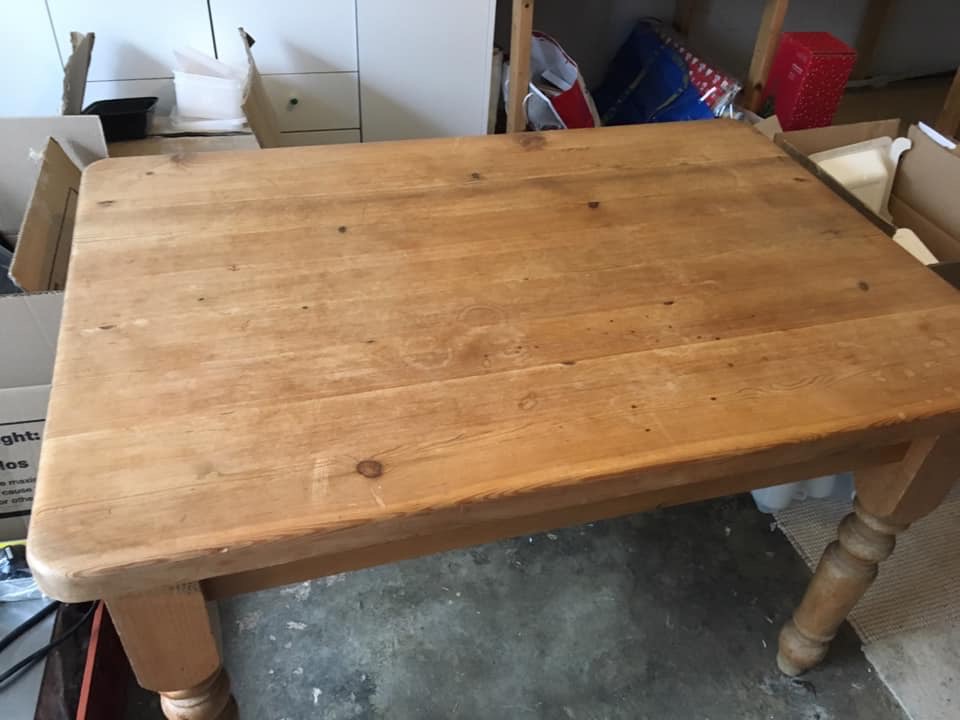
Fast forward a few months and in April, I updated my girls’ playroom. My girls had grown out of their much loved French school desk and I was trying to work out a worn wood but adjustable replacement option. And bang: it came to me, I could do an IKEA hack. The legs are IKEA PÅHL legs and they adjust to 3 different heights so the desk can grow with your child. The top is the pine dining table top cut in half. (You can see more photos of the playroom here.)
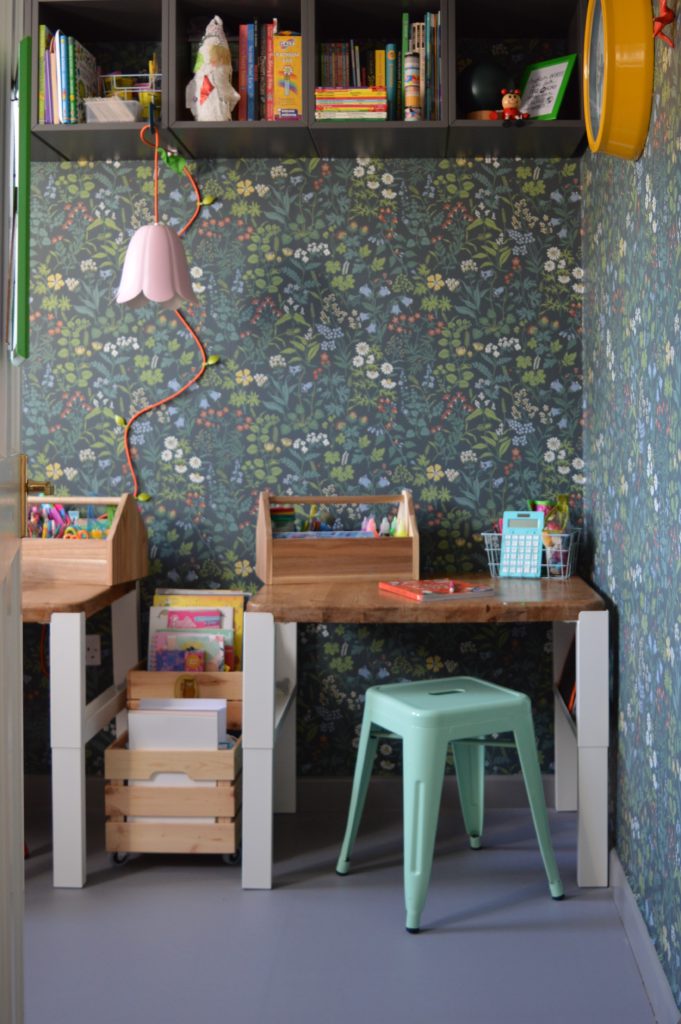
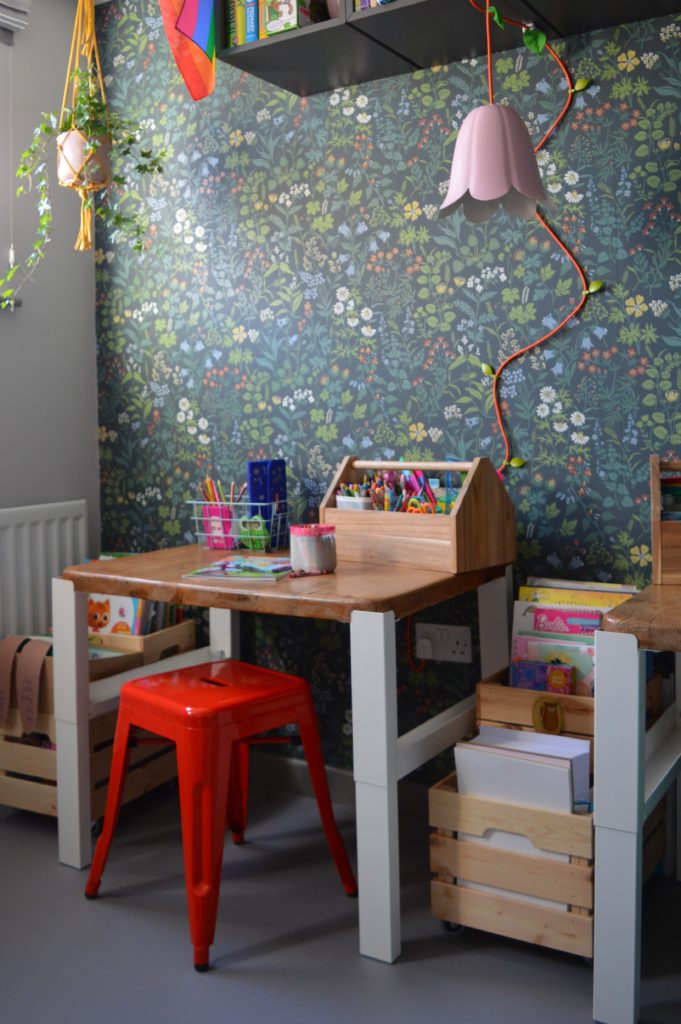
I love the weathered and warm look of the wood but all with the modern convenience of the adjustable legs.
I never throw anything away so I was left with the support frame and 4 legs. The support frame was cut up and burnt in the wood pit but I had a plan for the legs…
To make upcycled candle sticks you will need:
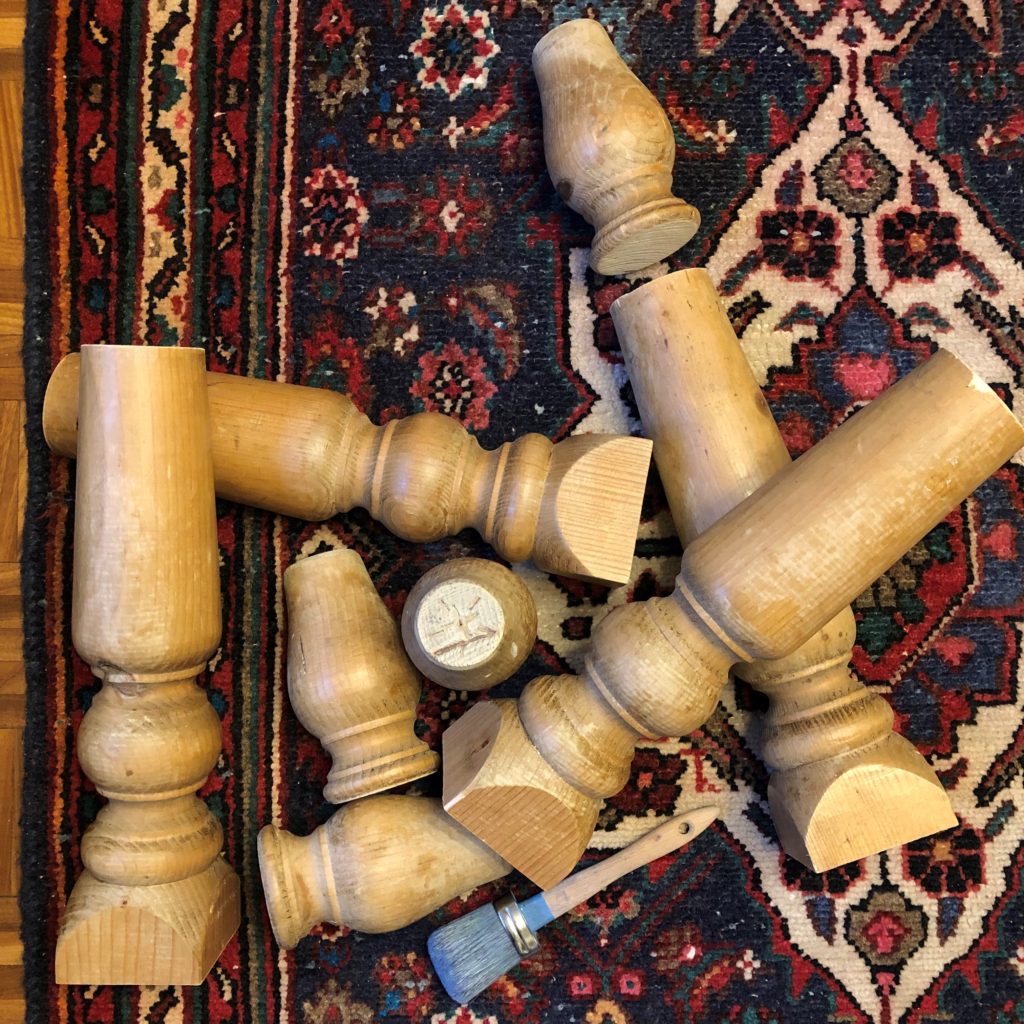
- Table legs cut to size (from 4 legs, I cut 8 candle sticks, playing on the shape of the legs)
- Annie Sloan Chalk Paint. I used Paris Grey as I had it but you could use any colour to suit your decor.
- Annie Sloan clear wax. Personally I think as you’re doing a worn washed effect with the paint to keep the wax clear but you could use the dark or the white wax.
- Water.
- A paint brush and wax brush (and a rag to buff).
- Fine sandpaper.
- Candle sticks IE the metal bit you put at the top which has a stick to fix the candle on to. I wanted rusted ones and found them on eBay (here’s a similar listing from the same seller).
Here are the legs cut up into sections.
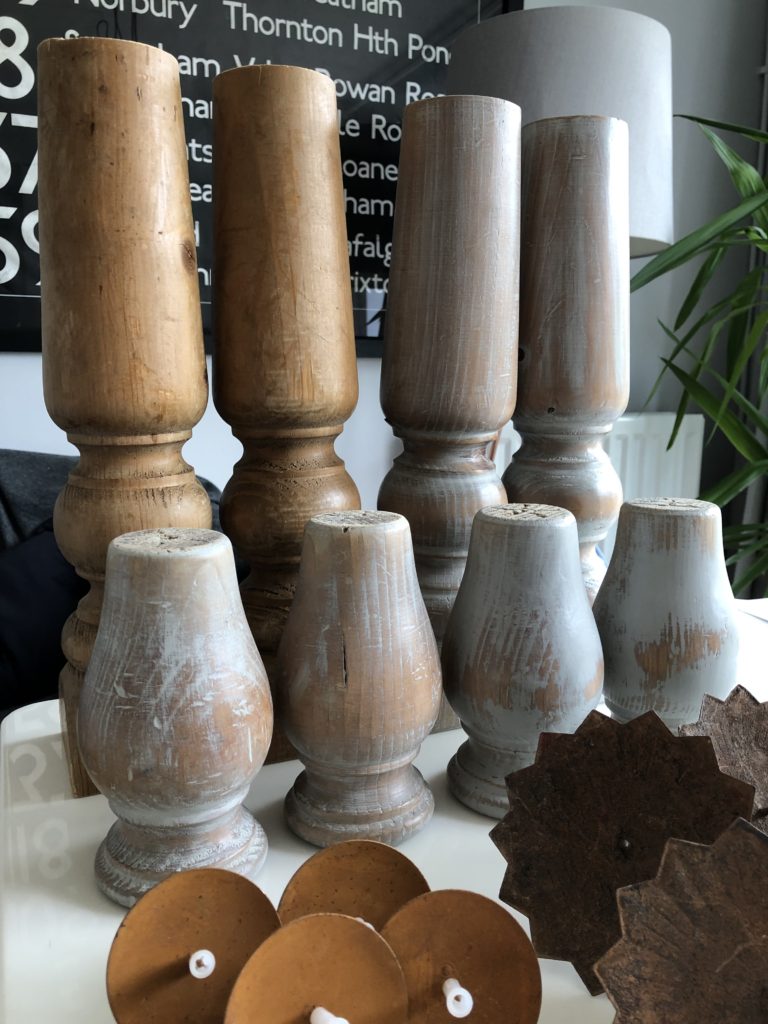
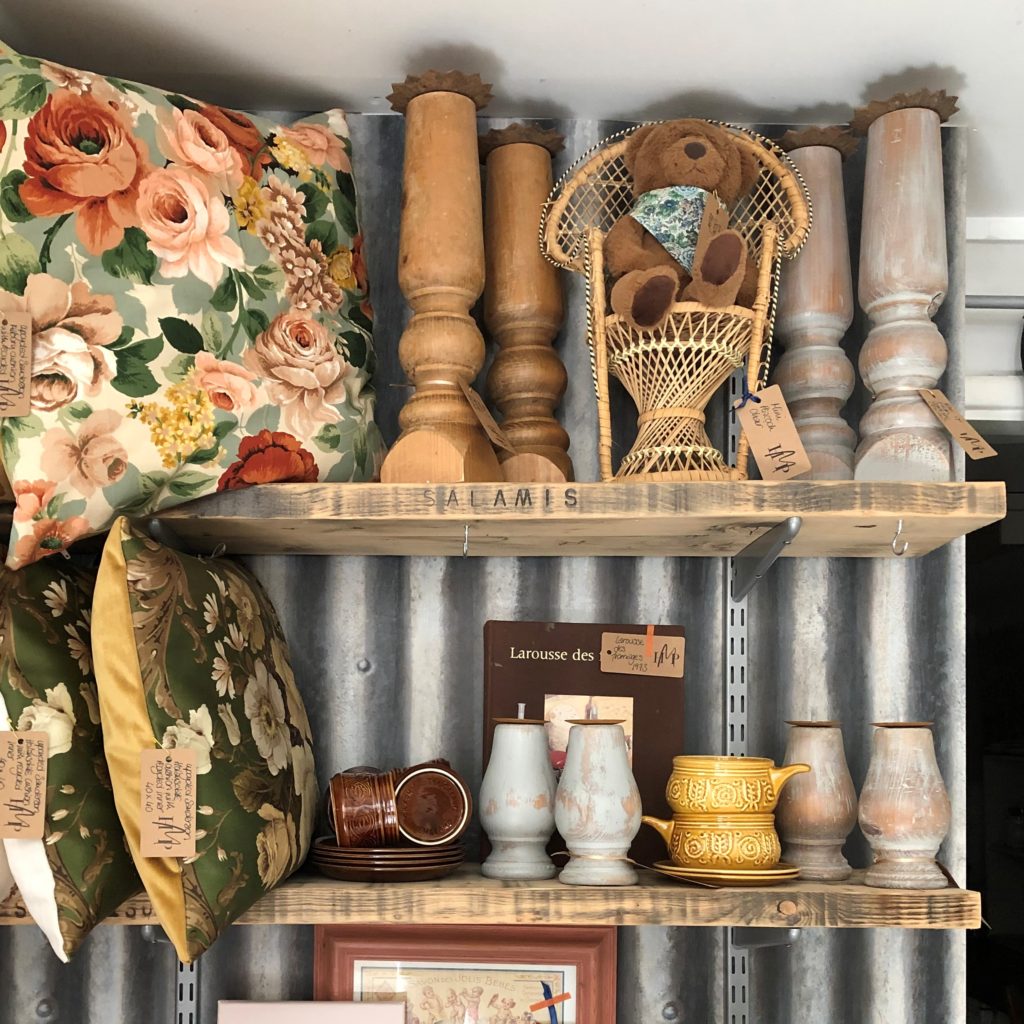
With a brush full of water, I washed the paint on. This give you a very fine, diluted layer of paint. Once this is dry, you can sand off the areas you want to expose. Then wax and buff. I left one set unpainted as you can see. The two at the bottom have a different amount of paint on them so you can see the difference – left light and right hardly watered down at all.
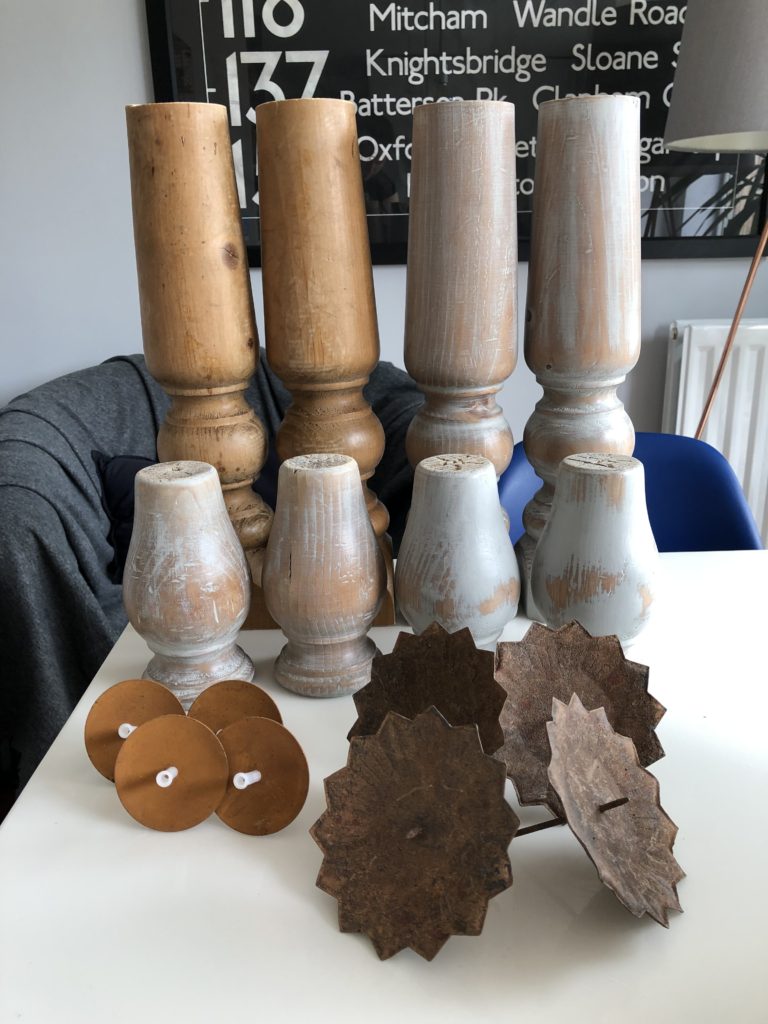
I wanted rusted candle sticks IE the metal bit you put at the top and found them on eBay. You could get shiny new ones from Amazon and age them if you wanted. Or of course leave them shiny. They come with a metal stick out of the bottom which you insert into the wood. As the wood was pretty solid, I had to drill a hole for them.
Pin this image to Pinterest to find this post later.
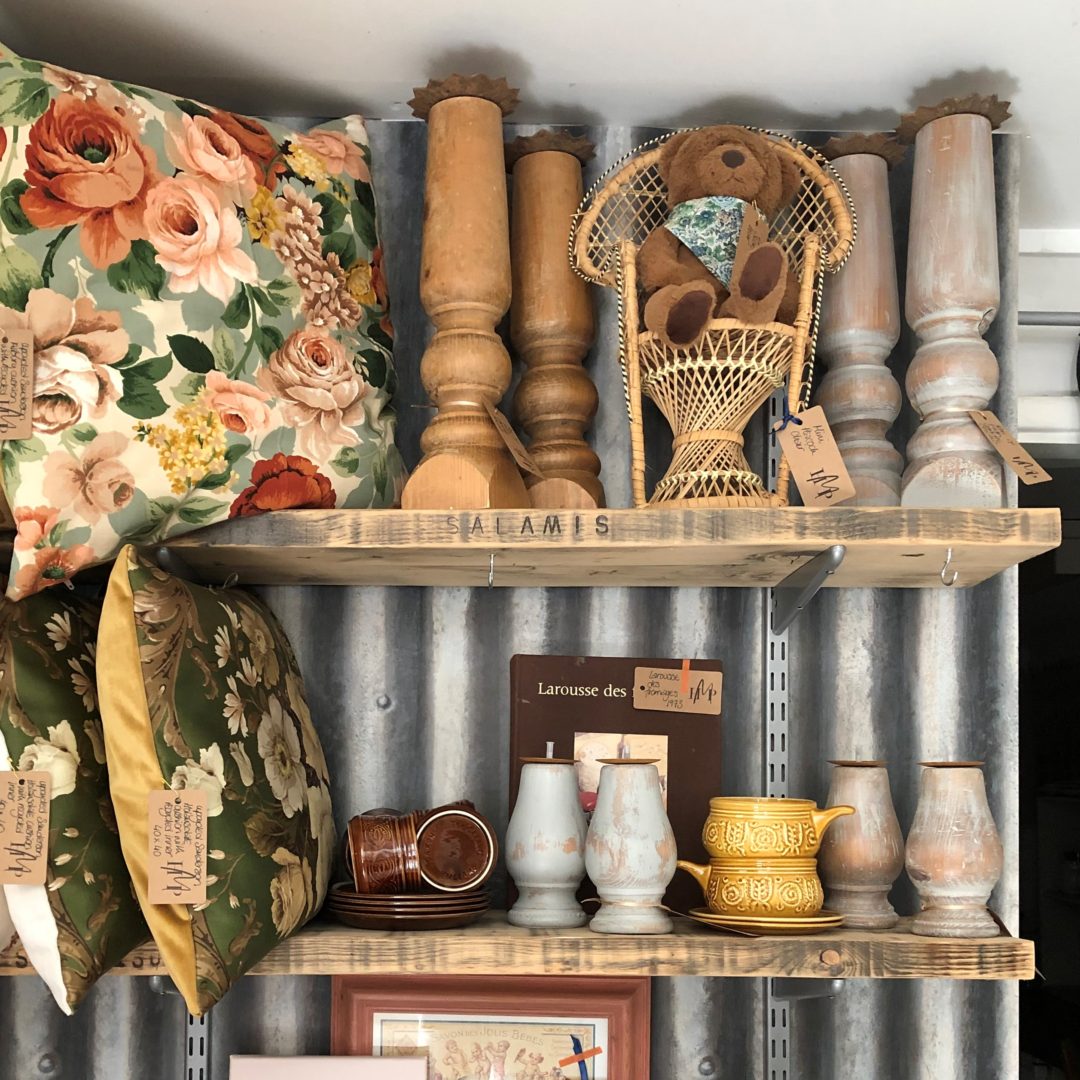
Et voilà! Here they are all done and for sale in The Old Pill Factory in Witney. Please comment below if you have any questions and please share your inspired home made productions on social media with the tag #homemadeproductions
Happy making!

