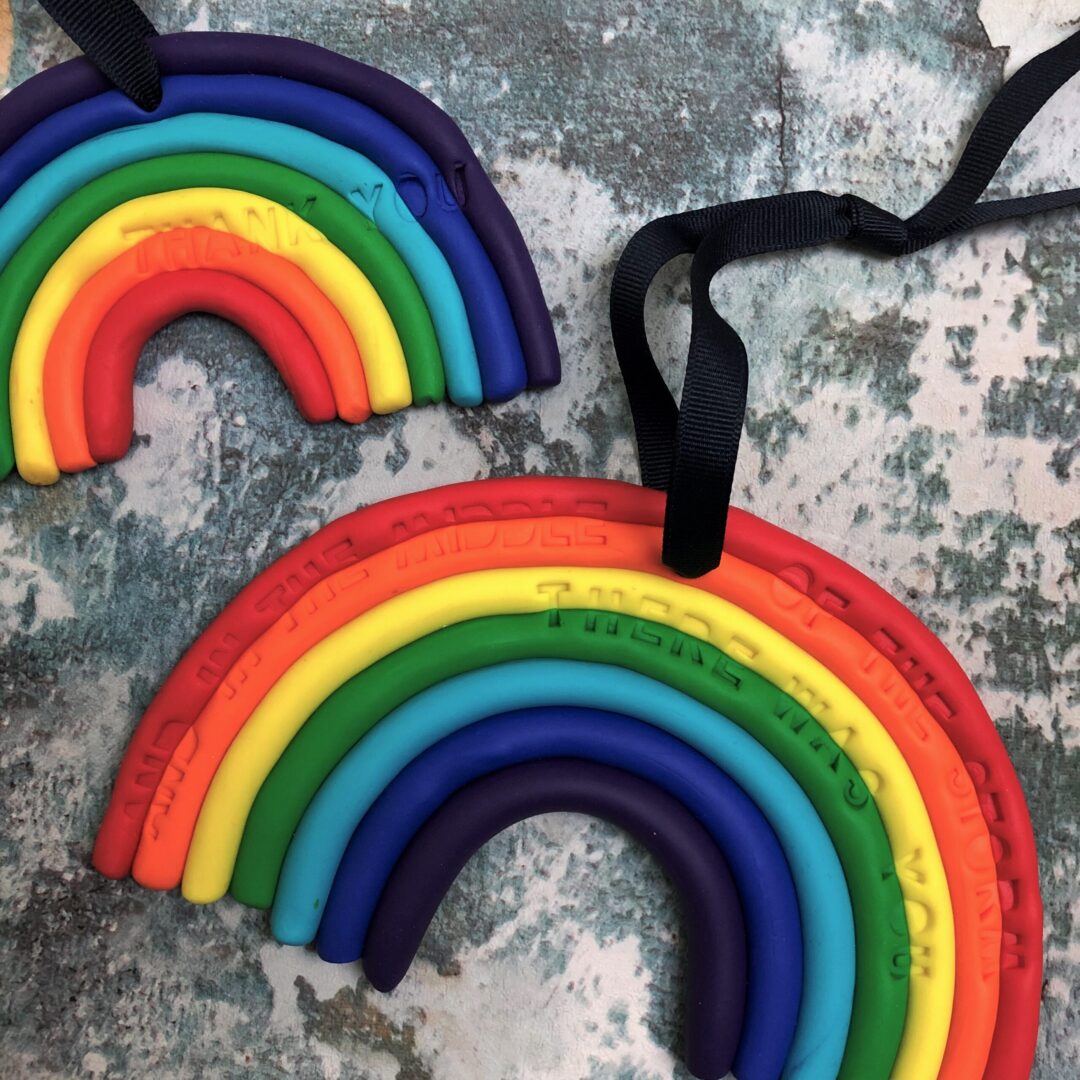
Rainbows are a wonderful symbol of hope in these strange times. We have been drawing them in chalk on the drive, painting them and making them in FIMO. Here’s my easy how to make a FIMO rainbow decoration.
You will need:
- FIMO (I bought the basic 12 colours kit pictured below)
- a tray
- a plastic straw (I have an old one that I reuse)
- if stamping: letter stamps (I have a set similar to this)
- an oven and baking tray with baking paper
- a ribbon or twine to hang it
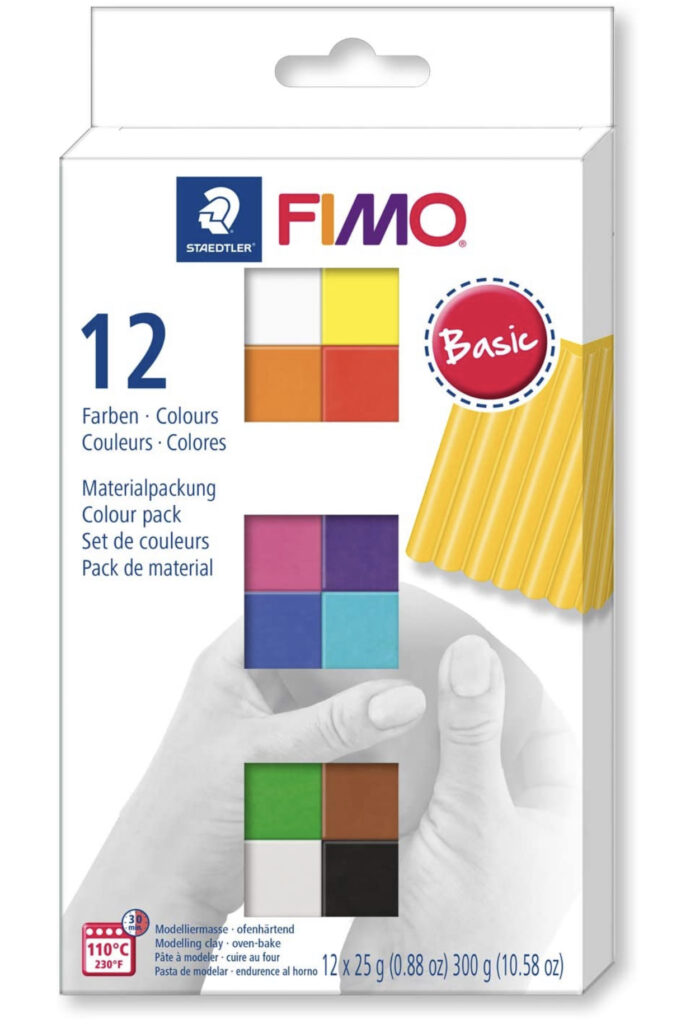
For this post, I used 7 packs from the 12 pack of 25g of FIMO shown above. I chose the classic rainbow colours but you could use colours to suit your project or the effect FIMO (which comes in different finishes). With 7 x 25g packs I made a large decoration (slightly larger than the palm of my hand) and a small one with the off-cuts.
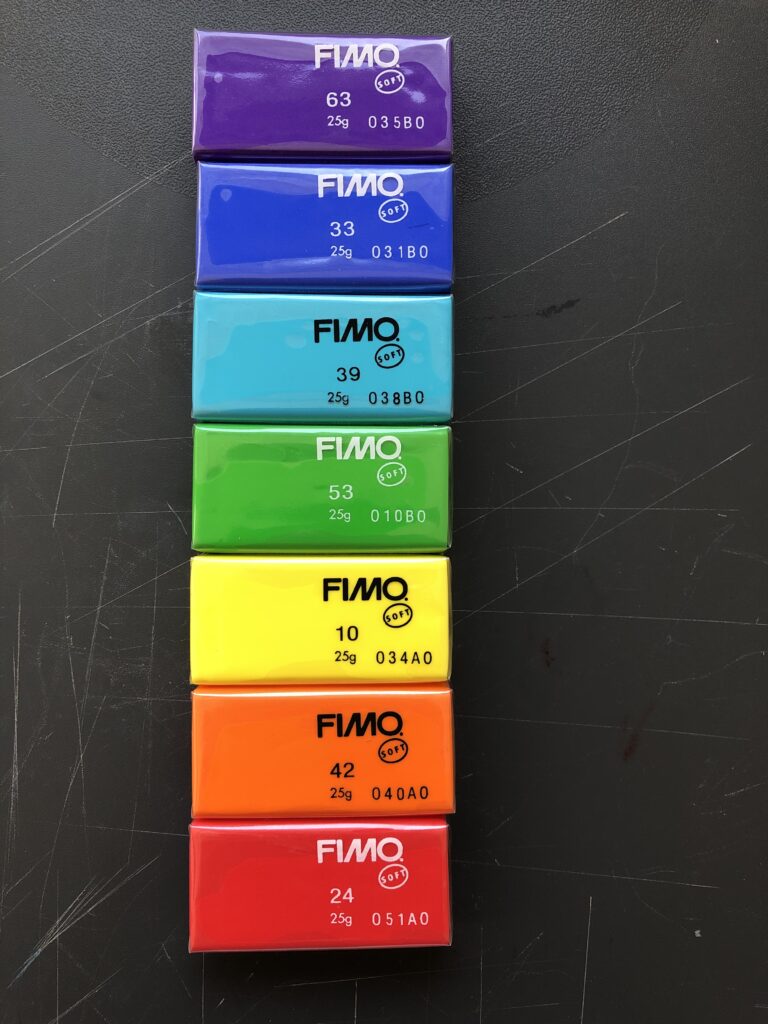
I use an IKEA plastic tray to work on. As you can see by the marks, I’ve used it a lot! But it’s great as the FIMO doesn’t stick to it and I don’t have to worry about it being stained. You just need a clean surface that you can move the FIMO off easily to the baking tray.
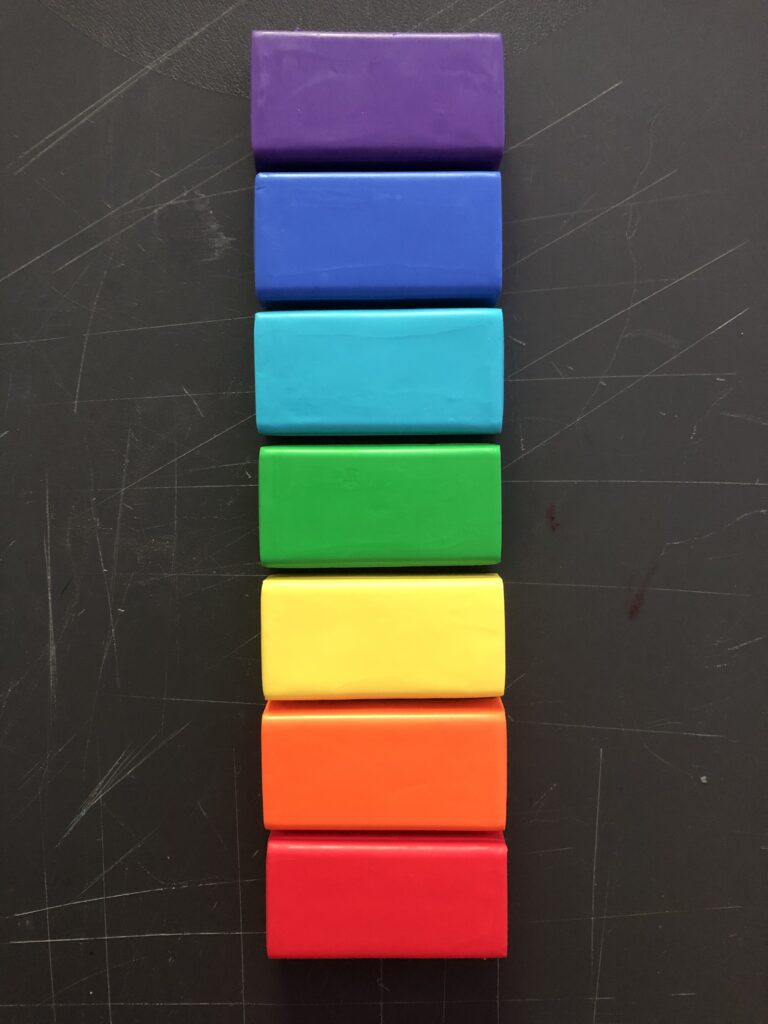
After picking your colours and unwrapping them, you need to warm them up. Then you need to roll each colour into a long length. Make them all roughly the same length.
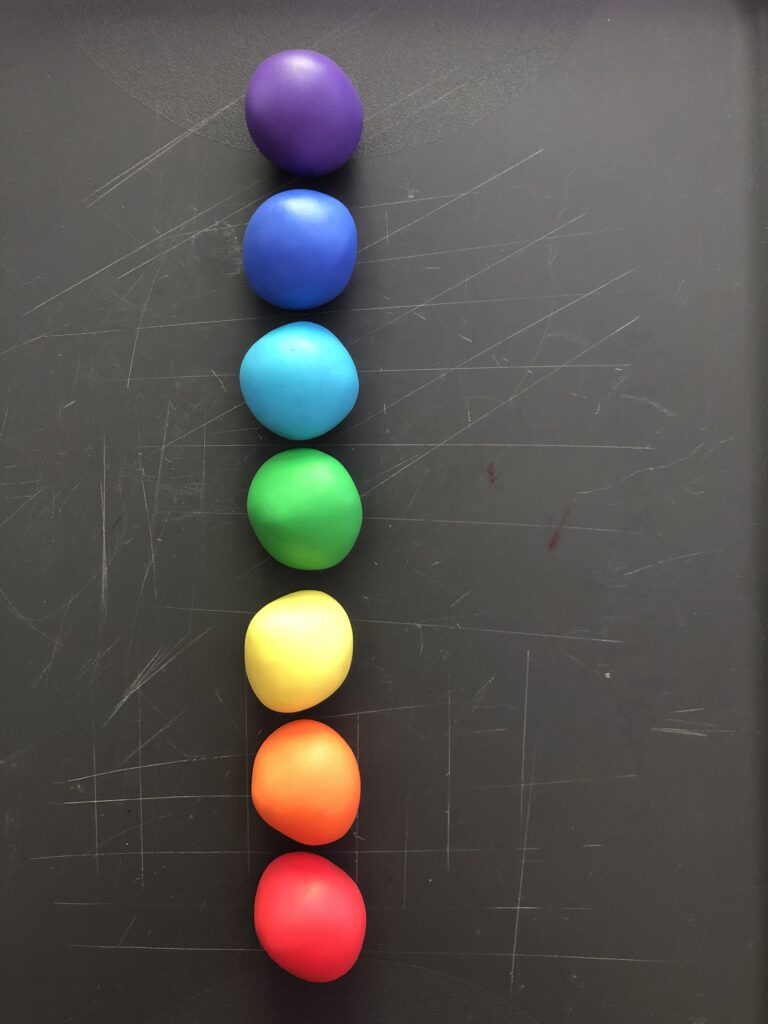
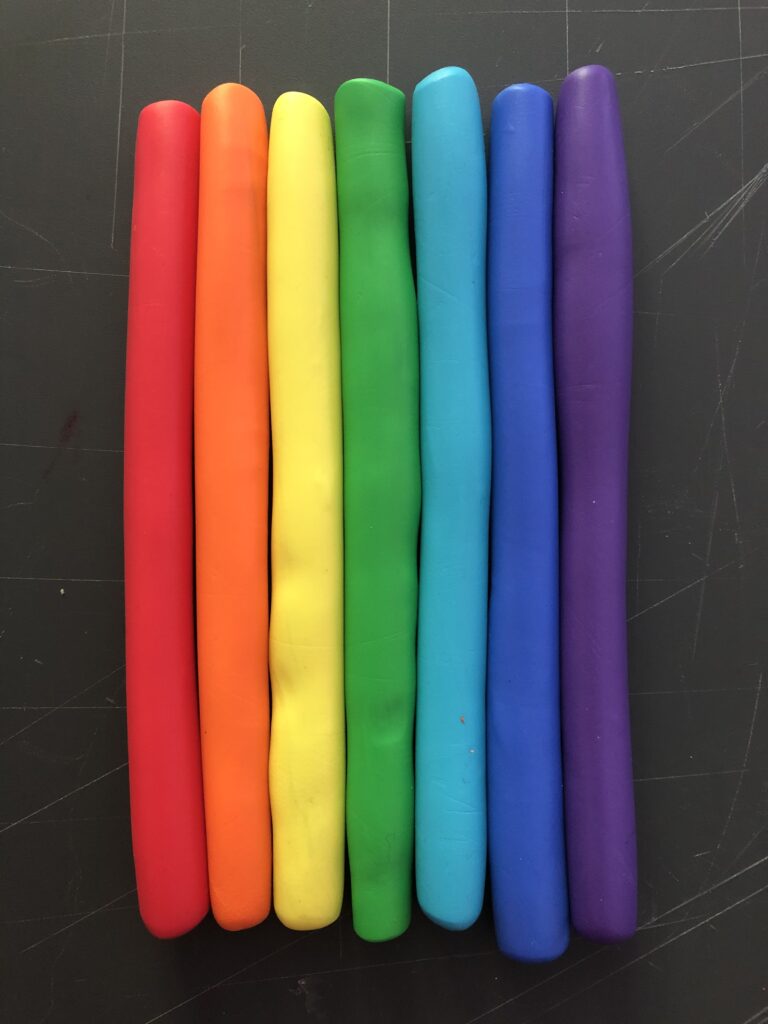
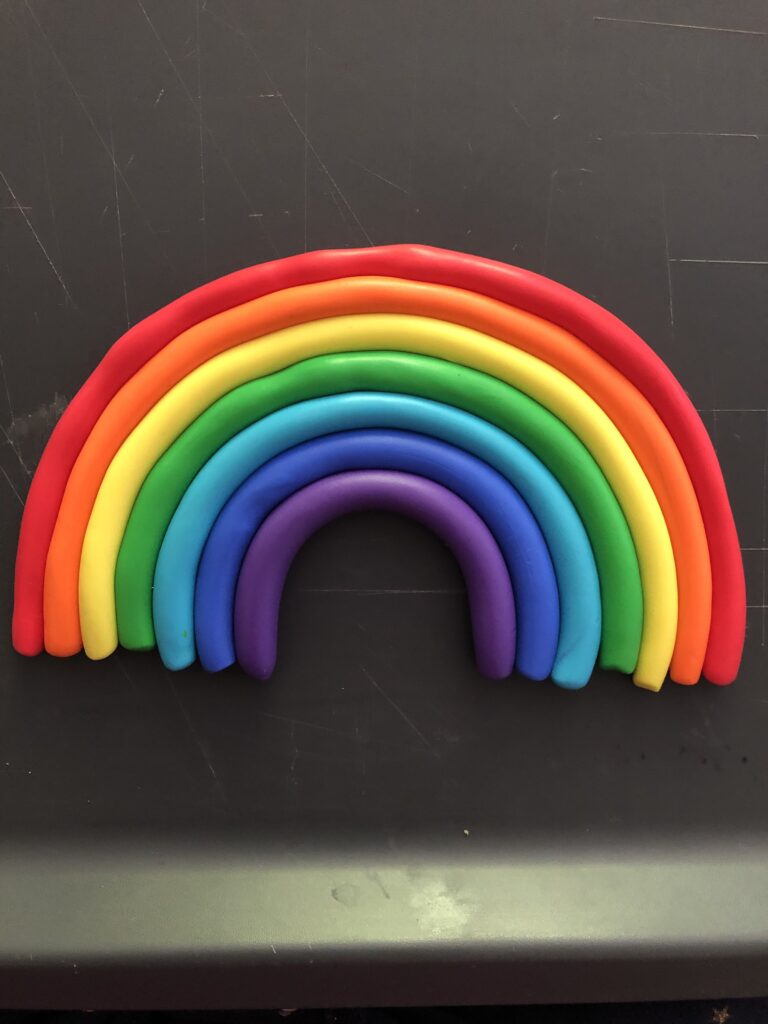
Now to making the rainbow… Of course as you go from the middle out, the arcs of the rainbow get bigger so the lengths need to be longer. But to achieve a even rainbow you don’t want to use the same amount of FIMO for each arc otherwise you would have a very fat one in the middle and a very thin one at the end. I start in the centre (in this case the purple) with half of one of the lengths, then each time I cut it 1cm longer. So purple is half, dark blue is half +1cm, light blue is half +2cm and so on. You can either shape it by hand or shape it round a small glass. You can roll the lengths to make them the right length. Apply a little bit of pressure to ensure the arcs are stuck together.
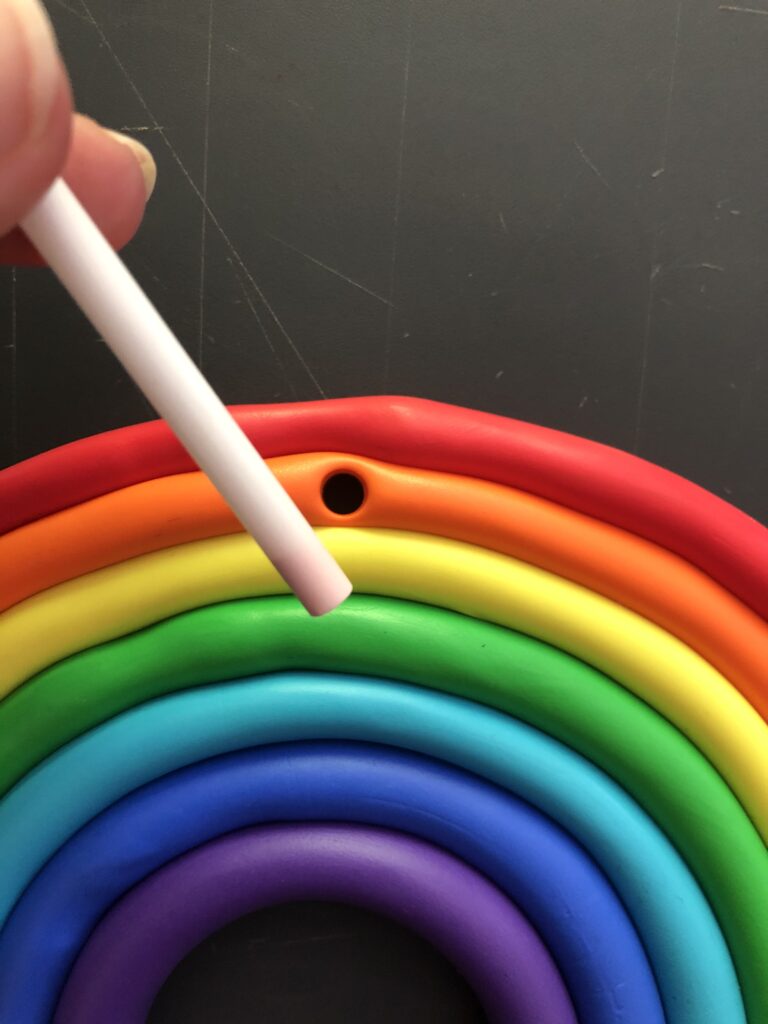
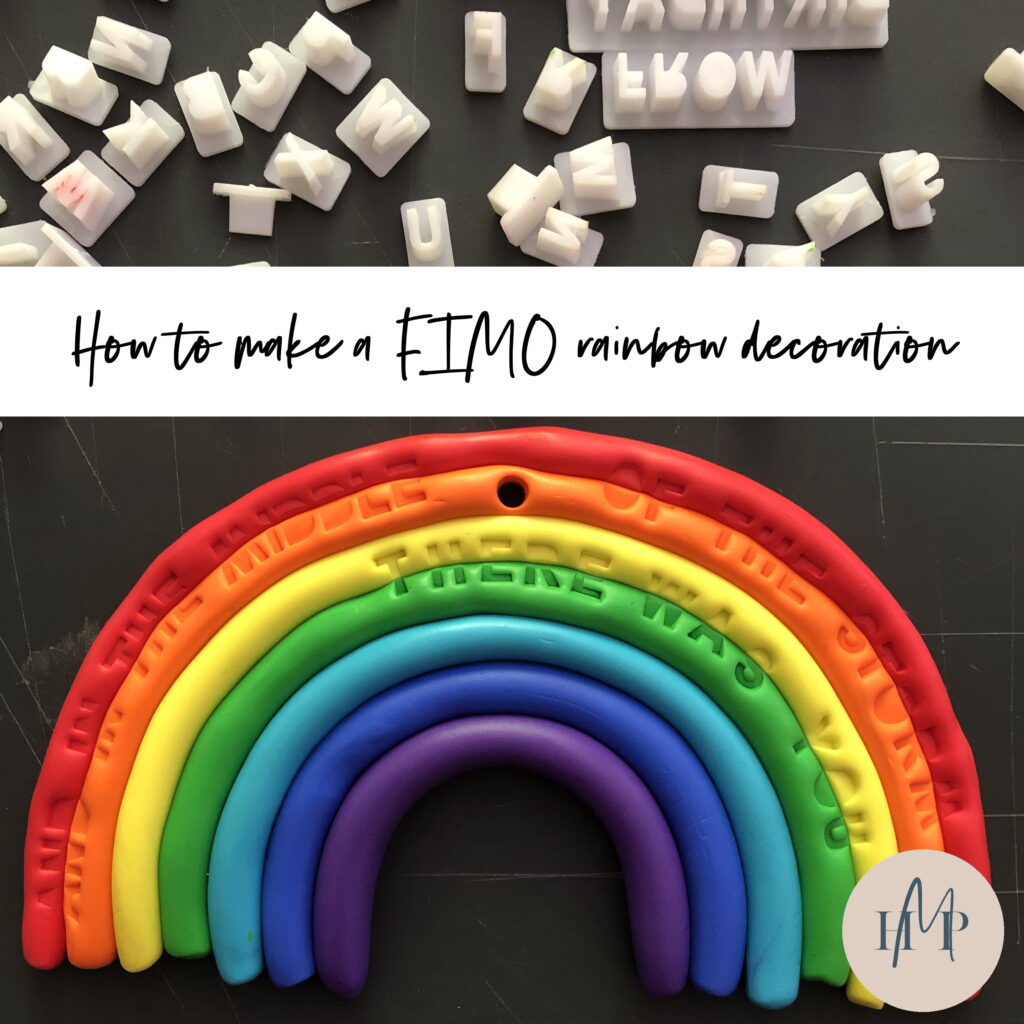
To make the hole to hang it up, use an old plastic straw. Make sure you make the hole in the middle so it hangs balanced and I would go one arc down from the top as there’s a bit of weight to the finished rainbow.
Of course you could finish here but if you want to stamp it you can use cookie letter stamps (I have a set similar to this). I keep a small bit of FIMO to one side to test my letters are the right way round before stamping the finished product. I use these letters to stamp FIMO, air dry clay, cookies…
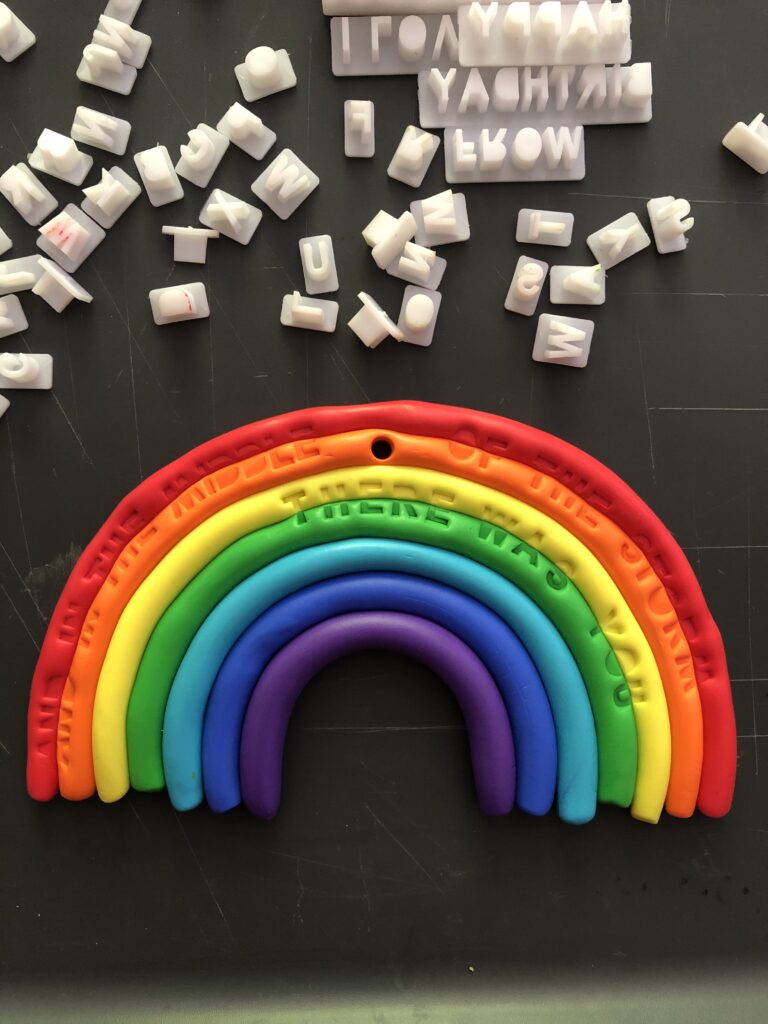
Then you follow the cooking instructions on the FIMO and let the rainbow cool before adding the ribbon or twine. Et voilà!
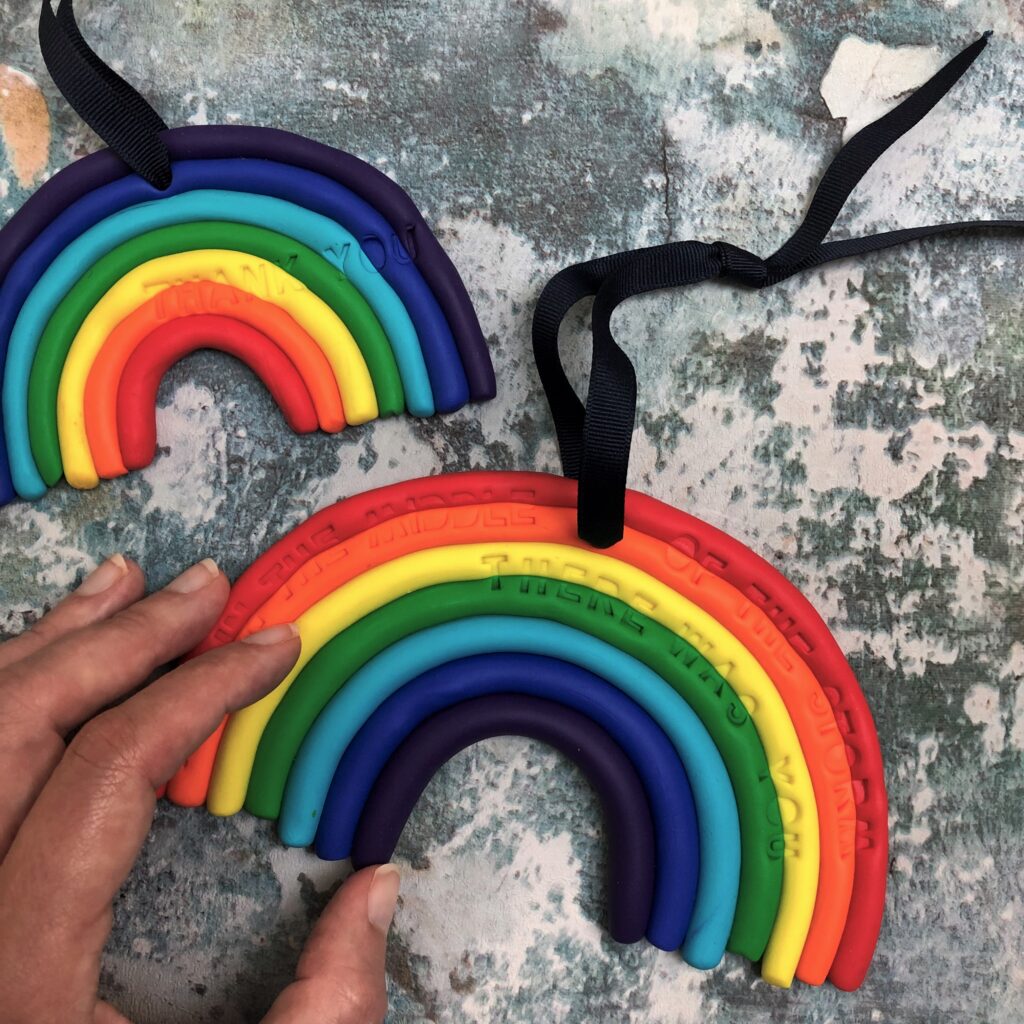
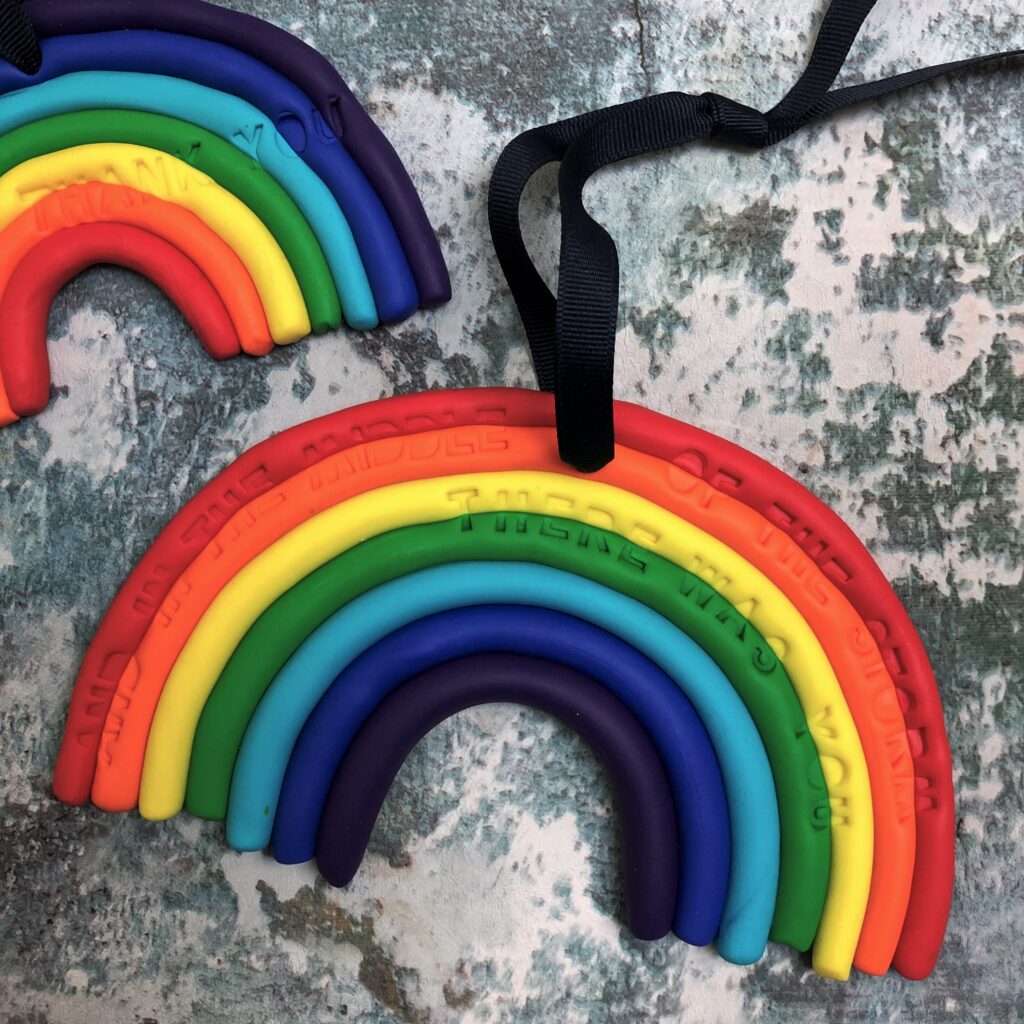
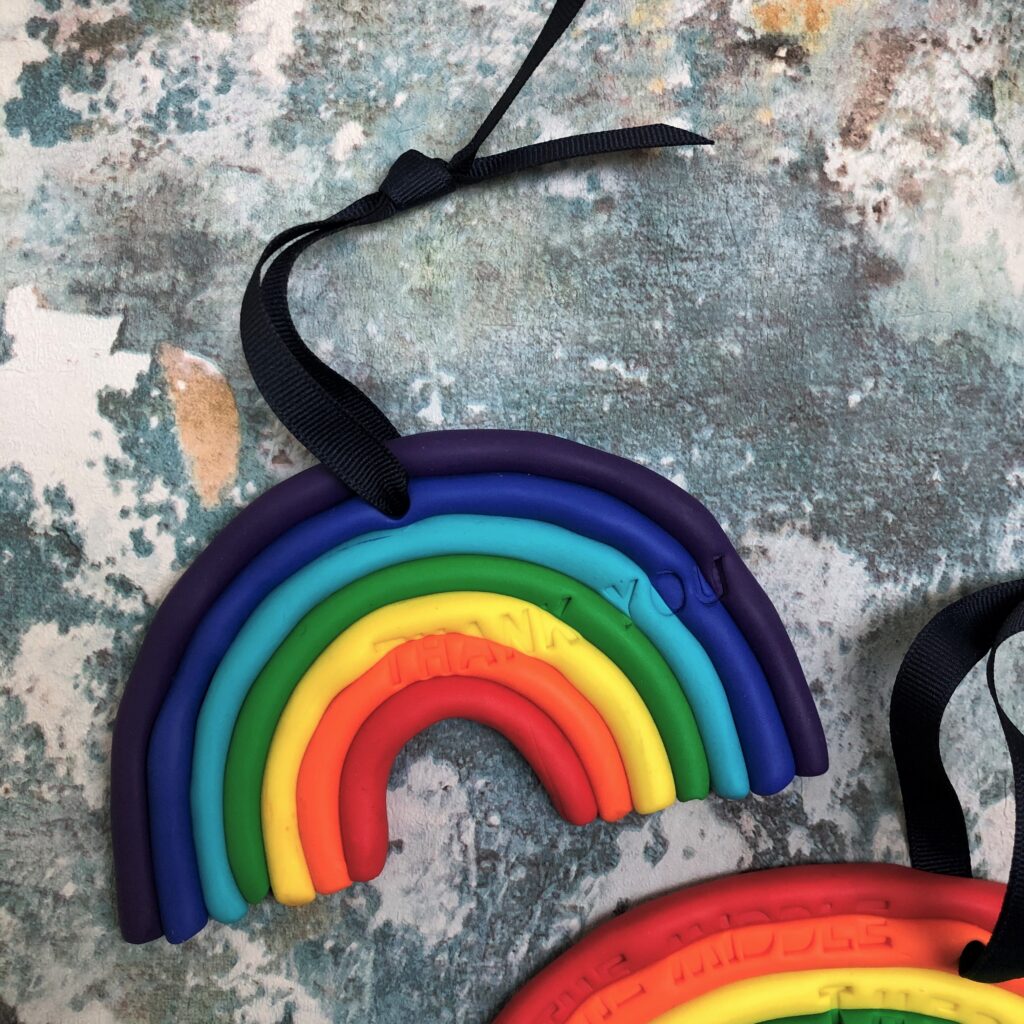
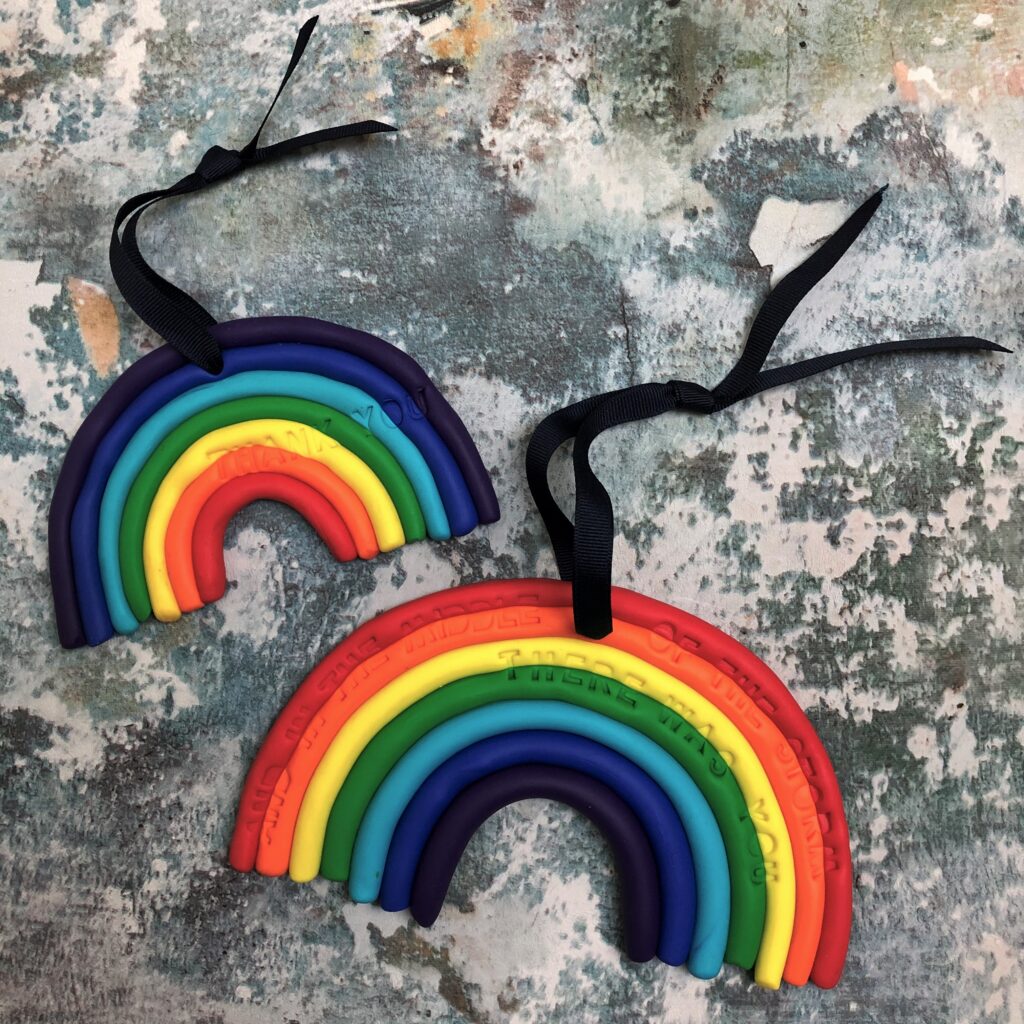
I made the big decoration for a baby born during lockdown “and in the middle of the storm, there was you”. I had enough left from the off-cuts to make the mini inverted rainbow. I stamped with “thank you”.
Pin this image to Pinterest to find this post later.
Please comment below if you have any questions and please share your inspired home made productions on social media with the tag #homemadeproductions
Happy making!

